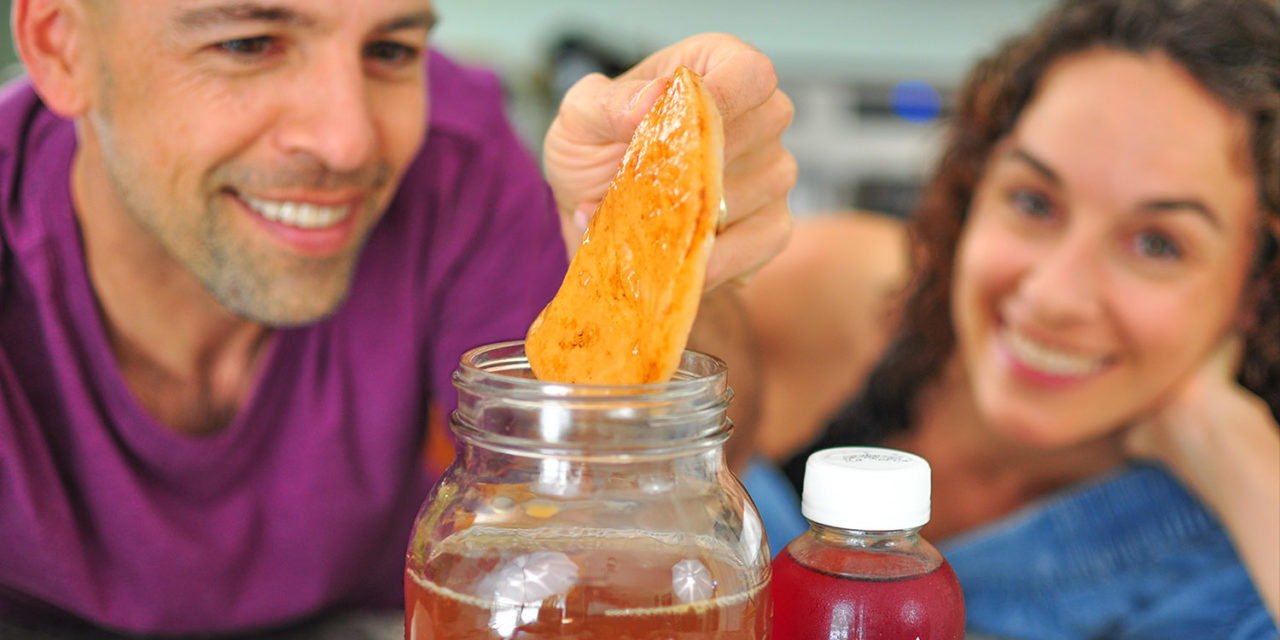
You know that addicting fermented sweet tea drink that tastes like vinegar called kombucha? It’s become super popular over the last ten years. You can find kombucha tea on store shelves almost everywhere at a hefty price, but did you know you can easily make kombucha yourself?
Today we’re showing you how to make a kombucha scoby at home!
Check out the full video and subscribe to our YouTube channel. We appreciate your support!
How to Make a Kombucha Scoby
First, what exactly is a kombucha scoby? You might have seen a big batch of kombucha brewing and at the top seen what looks like an alien mushroom floating at the top of the jar. This is what’s making that tasty drink that you love so much. An alien blob made up of bacteria and yeast.
Scoby stands for Symbiotic Culture Of Bacteria and Yeast. This means that there’s an entire community of bacteria and yeasts working together to create a stable culture. Specifically lactic acid bacteria, acetic acid bacteria, and yeast.
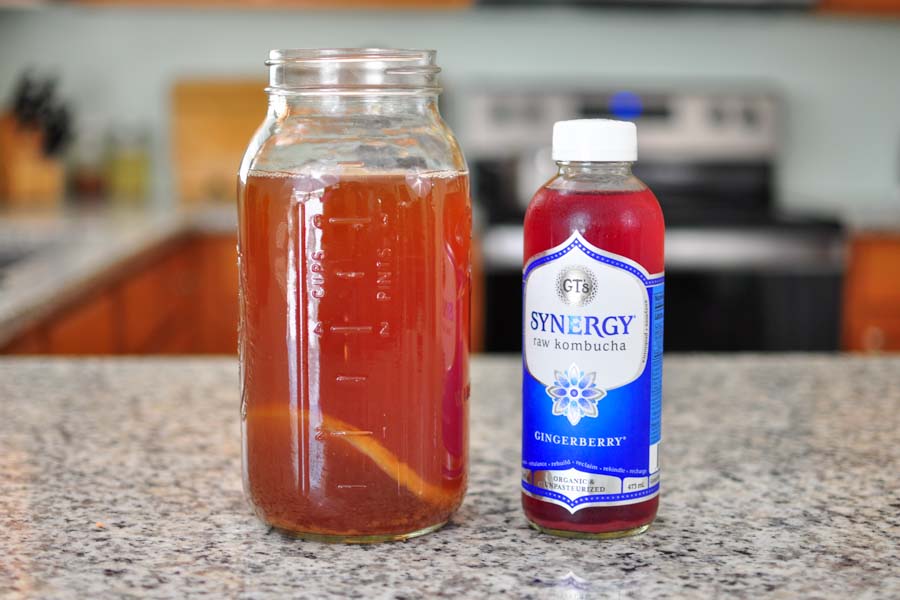
To easily make a kombucha scoby, you can use another scoby that you can get from a friend, one you buy online, or what we’re using today which is finished kombucha that we’re buying at the store.
- There are a few guidelines that we like to follow to give us the best results, but it should still work:
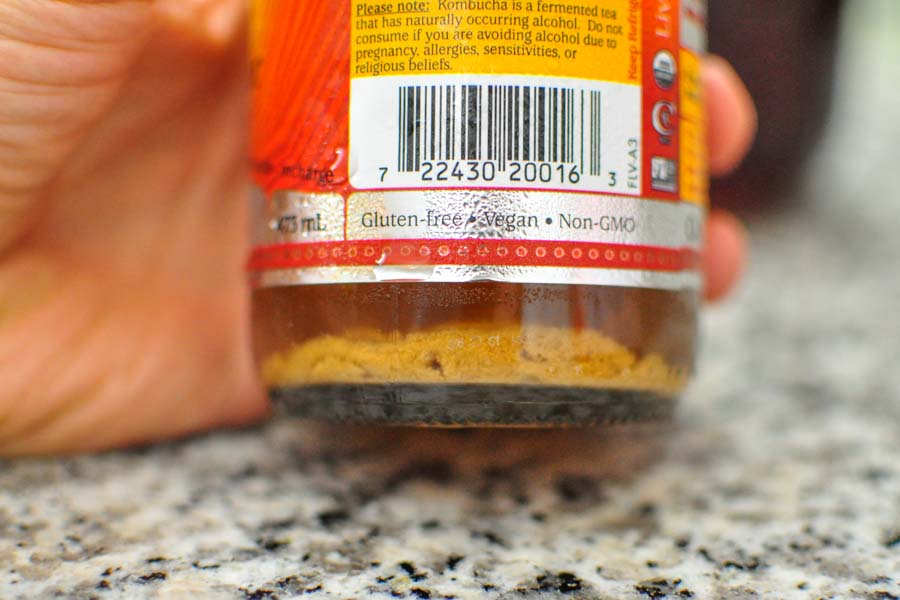
- You need a bottle of kombucha that’s not pasteurized and has a live culture
- Find a bottle with more sediment at the bottom and even a baby scoby piece if you can
- Unflavored is better, but we could only find flavored at our nearby store which also worked for us
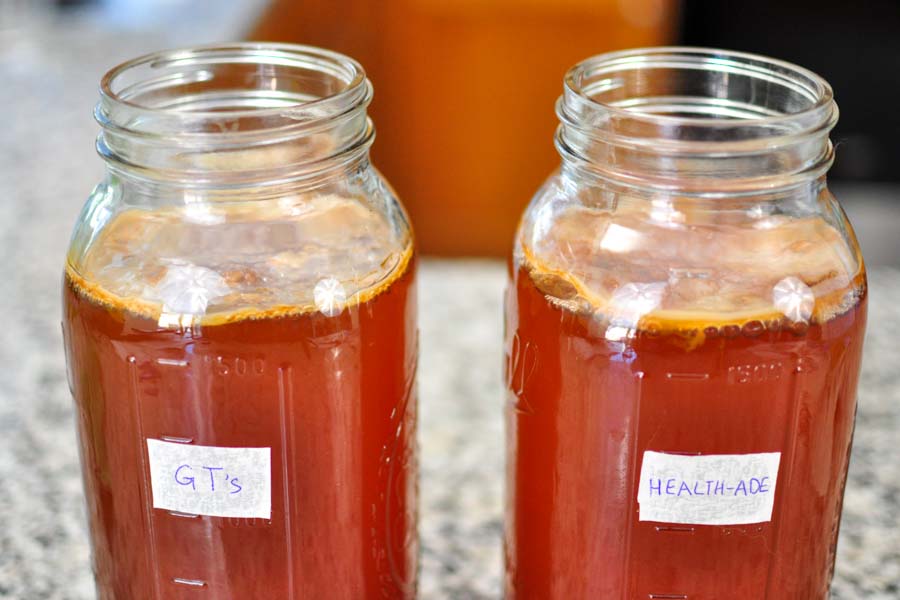
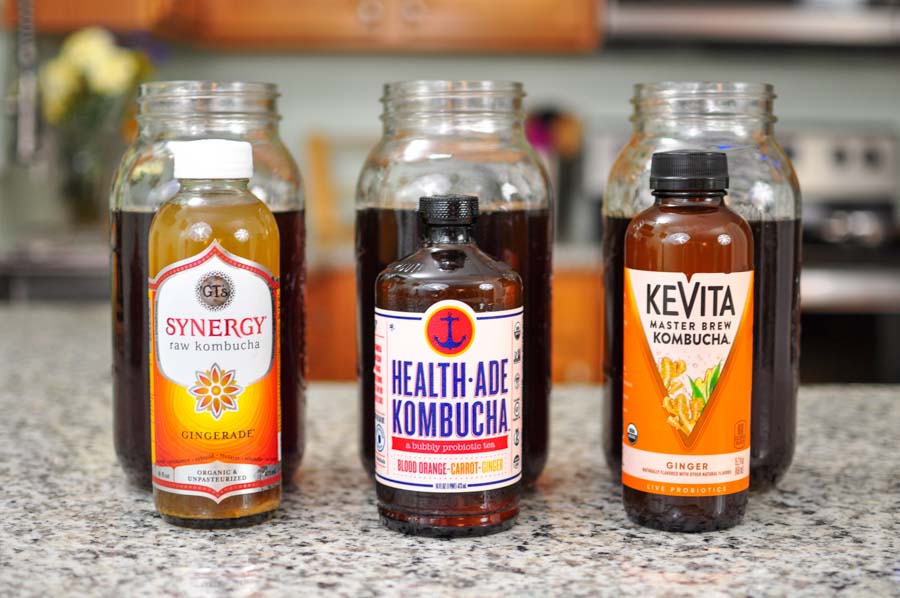
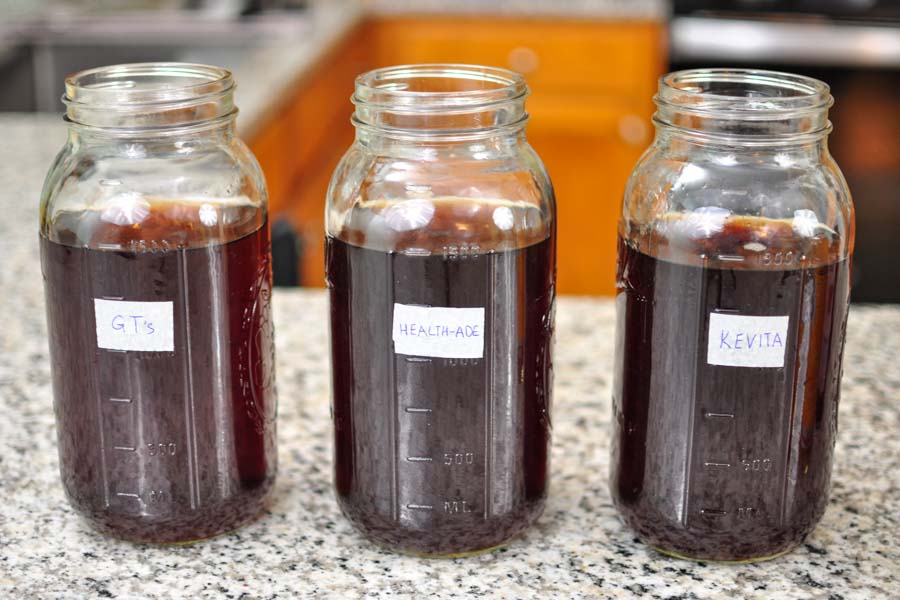
For our experiment, we tried three brands: GT’s, Health-Ade, and Kevita. We also chose the bottles at the store that had the most sediment or even a baby scoby in the bottle.
Only GT’s and Health-Ade worked for us with Kevita getting mold after a couple weeks.
Homemade Kombucha Scoby Recipe
Makes 1 kombucha scoby (for 1/2 gallon size batches of kombucha)
Use any pasteurized juice from the grocery store with any flavor of juice you like including cranberry, apple, lemonade, grape, and so many more. Delicious!
Equipment:
- 1/2 gallon jar or pot
- Cloth to cover and a rubber band
Ingredients:
- 7 cups non-chlorinated water
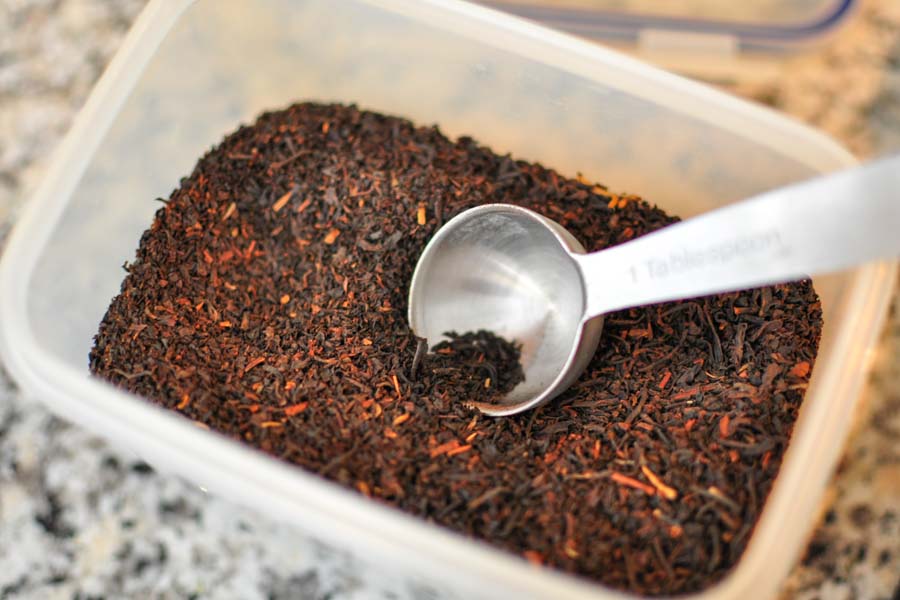
- 1 tablespoon loose black tea or 4 tea bags (black is best, but can use green)
- 1/2 cup sugar
- 1 cup finished kombucha (preferably unflavored)
Sterilize your jar thoroughly and rinse with non-chlorinated water to give you future scoby the best chance possible.
Bring your water and tea to a boil, turn off heat, and add your tea bags or loose leaf tea and let steep between 7-15 minutes. You can steep much longer but the flavor gets a little bitter.
Remove your tea bags or if using loose leaf tea, strain your tea into the mason jar. If the tea is still too hot, you can either allow it to cool more or add a bit of cool water at the bottom of the jar. This should prevent the glass from breaking just in case from the heat expansion.
Add sugar and stir to dissolve.
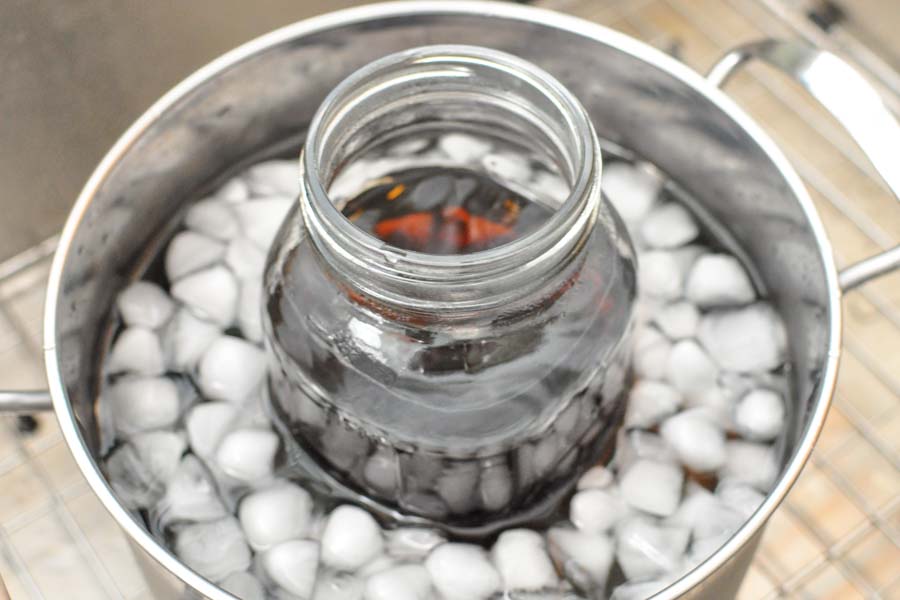
Cool your mason jar to room temperature. This is extremely important for the next step! Since we’re impatient, we like to create an ice bath in a large part to cool down the jar in 10 minutes instead of a few hours.
Once your sweet tea is cooled, add kombucha to the jar and stir.
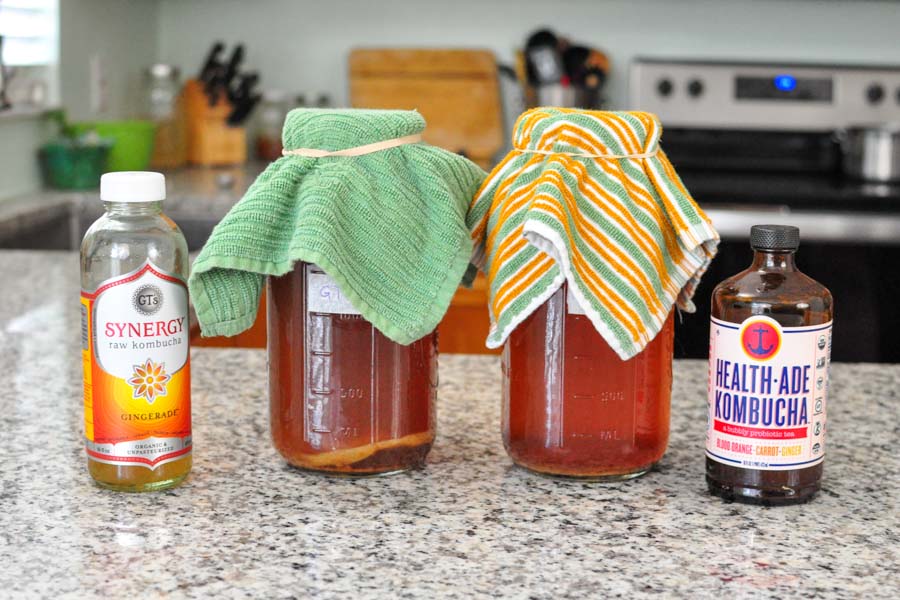
Cover with a cloth and rubber band and keep at room temperature away from direct sunlight. Kombucha usually likes temperatures in the mid 70 degrees fahrenheit to grow the best.
Ferment between one to four weeks checking on it regularly. Once your scoby is 1/4th inch thick, it’s ready to use! You might not want to drink the kombucha that your scoby was growing in since it will be very acidic and strongly like vinegar. Many people use it for cleaning or cooking.
What To Expect During Fermentation – Making a Kombucha Scoby Mother
You can lift the cloth to check on it but don’t disturb! The bacteria and yeasts will be working their magic turning the sugar into lactic acid, acetic acid, and ethanol.
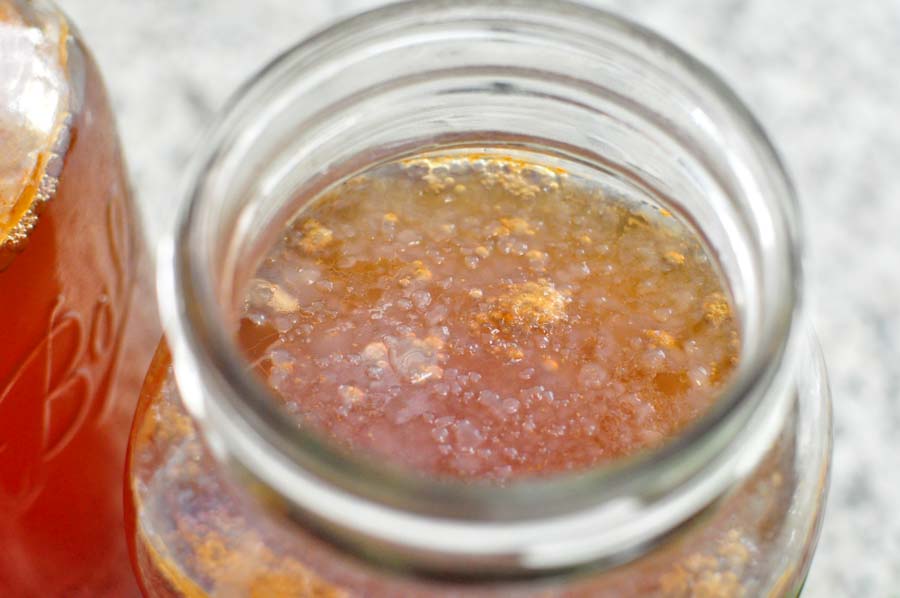
For the first few days you shouldn’t expect to see much from your kombucha jars as the bacteria and yeast work on multiplying. We finally started seeing some bubbles by day 4 as they began eating the sugar. This continued for a few days and then something new happened!
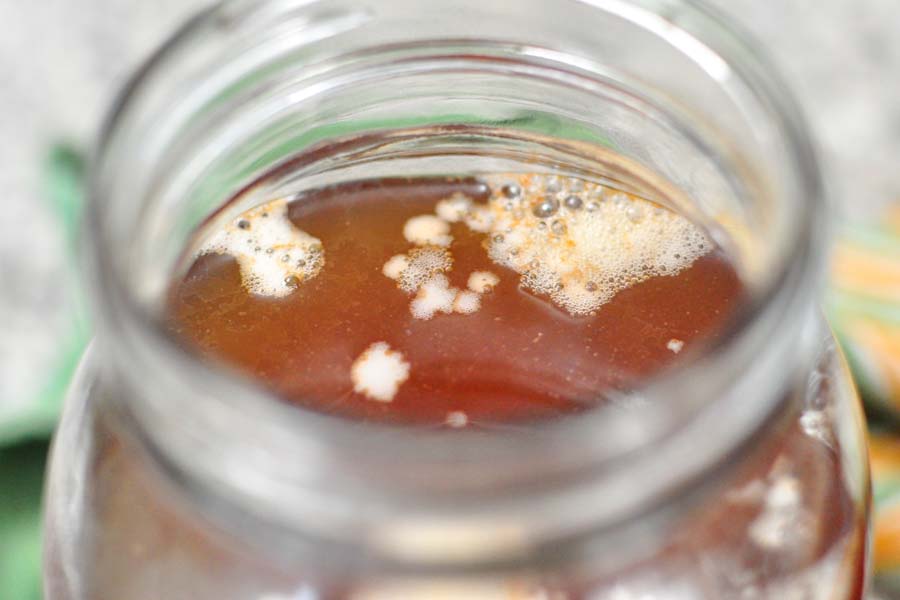
On day 8 or a little over a week we began to see a thin translucent cellulose layer forming at the top of the jar. This was our new baby scoby! Depending on how cold or warm your house is, this could take from one to two weeks and will get thicker over time.
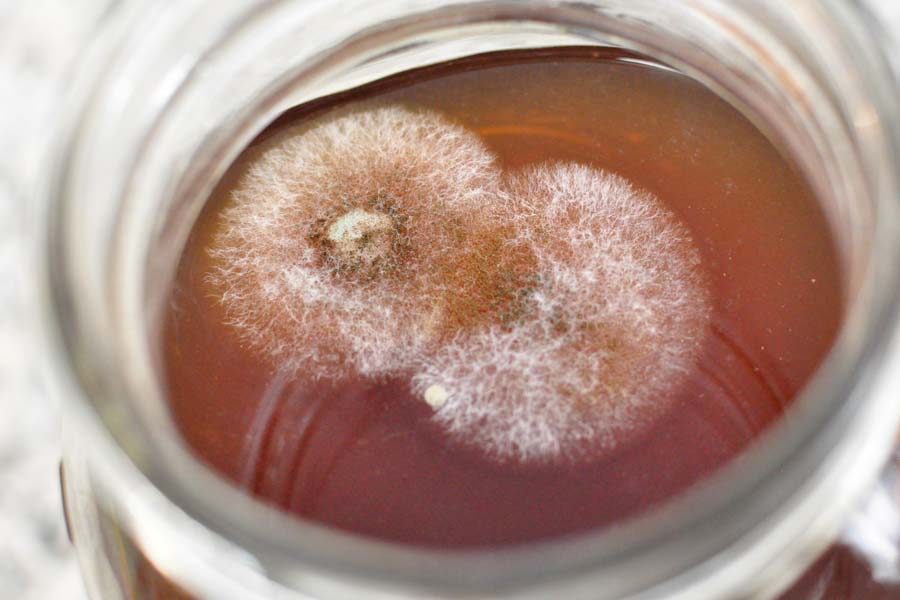
Your scoby can look translucent, white, slightly brown, and even have a marble kind of color. But you should not see any fuzzy mold. If you think that there’s any fuzziness or mold, it’s a good idea to dump the whole batch, sterilize everything, and start over.
Our GTs and Health-Ade brands worked great in forming scobies, but our Kevita brand ended up getting mold so we had to dump it and sterilize everything.
Once your scoby has grown to a thickness of about 1/4th an inch, it’s ready to be used to make your first batch of kombucha! You can either let it get thicker up to a month or go ahead and use it right away to make a batch of kombucha.
Caring for Your Kombucha Scoby

Once your kombucha scoby has matured to the point where you can make kombucha, caring for it is as simple as using it to make kombucha. The process of making kombucha feeds and cares for your scoby mother. Remember that black tea is best since the scoby loves the tannins.
If you’re not ready to make kombucha though, it’s also an easy process to store you scoby mother. Simply reserve a cup or two of your starter kombucha liquid, make a batch of cooled sweet tea, put your scoby and the reserve liquid in the jar, and you can leave it for a month or so. Don’t forget that the longer you leave it the resulting kombucha will be SUPER strong and so acidic that it should probably only be used for cleaning and cooking.
It’s also a best practice not to put your kombucha scoby in the fridge to chill. The cold will weaken the scoby and possibly make it more susceptible to mold. It creates an environment where the bacteria and yeast go into a dormant state. While the pH of the liquid might be acidic enough to discourage bad bacteria, the scoby might end up getting mold. It’s just not a good idea.
Once you get into a good rhythm of making kombucha, you might find yourself with so many scobies that you can create a scoby hotel! More on this to come.
If you’ve looked through this whole process and would rather simply buy an organic SCOBY to get started quicker, these are two we’d recommend:
- Option 1: Organic Kombucha Scoby with 1 1/2 cups of mature starter tea
- Option 2: Organic Kombucha Scoby with 1/4 cup of mature starter tea
If you’ve ever made a homemade scoby or seen one, let us know what you think about it! Leave us a comment below and don’t forget to subscribe to our YouTube channel!