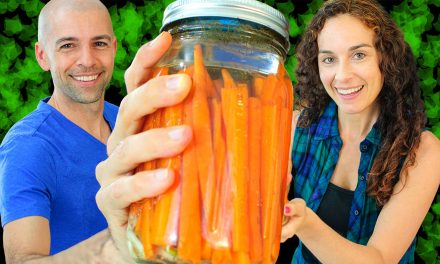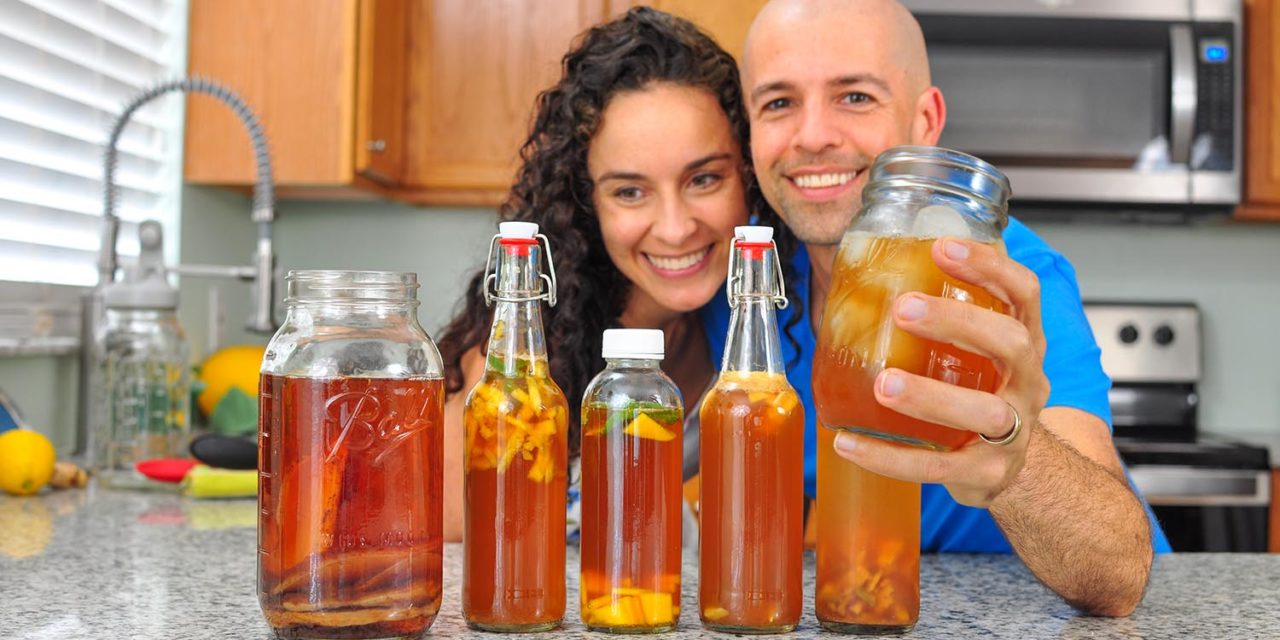
Do you love the taste of that vinegary, fermented tea called kombucha? Today we’re showing you how to make kombucha from a scoby! It’s super easy and within days you’ll have a tangy drink with a caffeine kick.
We’re also brewing kombucha secondary fermentation and bottling for carbonation!
Check out the full video and subscribe to our YouTube channel. We appreciate your support!
How to Make Kombucha from a Scoby
To make homemade kombucha, the first thing we need is our kombucha starter culture called a SCOBY or Symbiotic Culture of Bacteria and Yeast. You can buy a scoby online (check our resources) or you can easily make a scoby from scratch like in our previous video. You’ll also need a small amount of mature kombucha tea.
You technically only need mature kombucha tea to make kombucha since it has all the probiotics we need, but having the scoby gives us insurance and brews the kombucha a lot faster!
From here all you have to do is brew up a fresh batch of sweet tea, cool it to room temperature, and your start culture will do the rest. So simple!
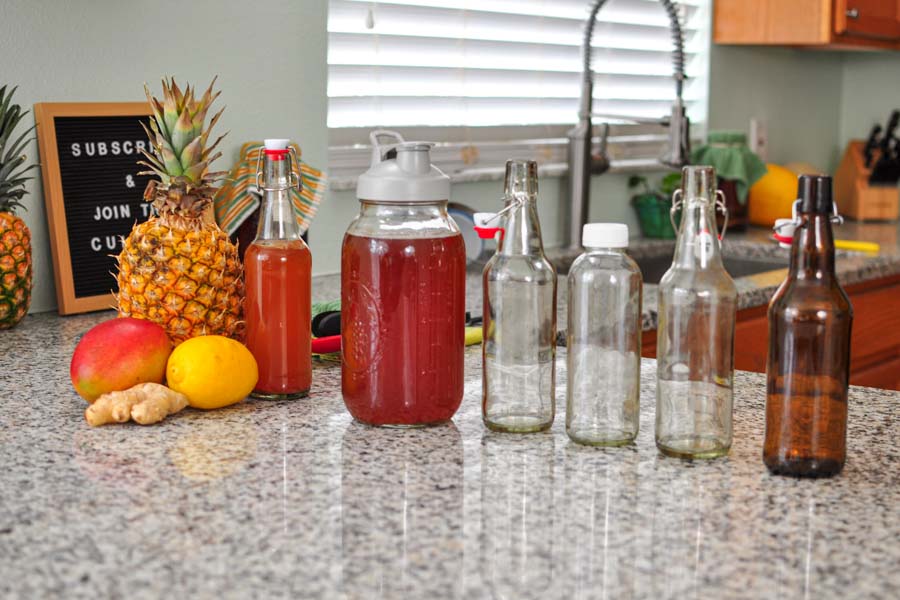
Homemade Kombucha Recipe
Makes ~ 1/2 gallon
This delicious homemade kombucha is tasty on its own or use it as the base for secondary fermentation. It’s so easy to make kombucha you’ll wonder why you haven’t tried it!
Equipment:
- 1/2 gallon jar
- Cloth to cover and a rubber band
- (3-4) 16 oz. glass flip-top beer bottles <– We love these
- (1) 16 oz. heavy duty plastic bottle (such as Perrier or a soda bottle, or skip & burp your bottles)
Ingredients:
- 7 cups non-chlorinated water
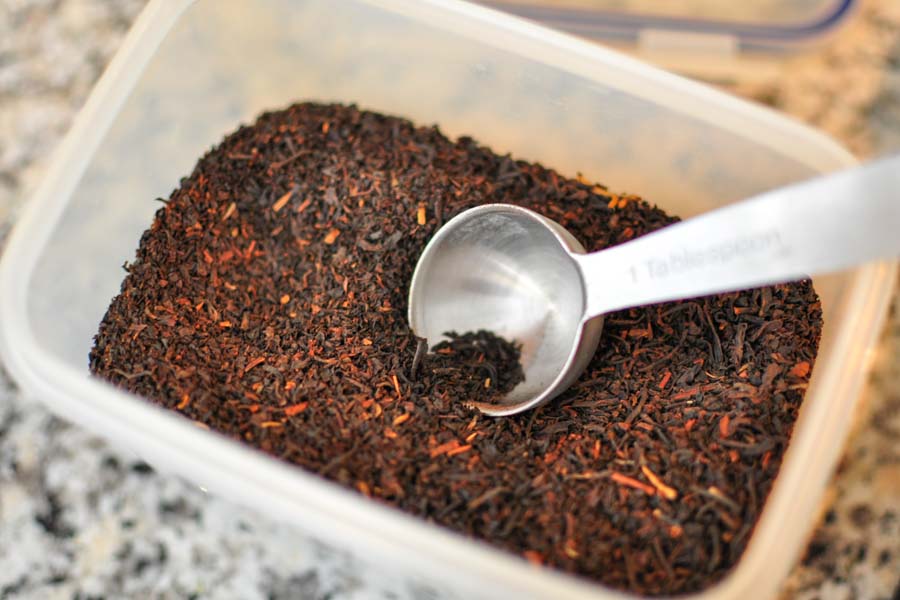
- 1 tablespoon loose black tea or 4 tea bags (black is best, but can use green)
- 1/2 cup sugar
- 1 cup finished kombucha (preferably unflavored)
Bring your water to a boil, turn off heat, and add your tea bags or loose leaf tea and let steep between 7-15 minutes. You can steep much longer for more bitterness if you prefer.
Remove your tea bags or strain off loose leaf tea and strain fresh brewed tea into the mason jar. Feel free to add a bit of cool water at the bottom of the mason jar if needed to prevent mason jar from breaking.
Add sugar and stir to dissolve.
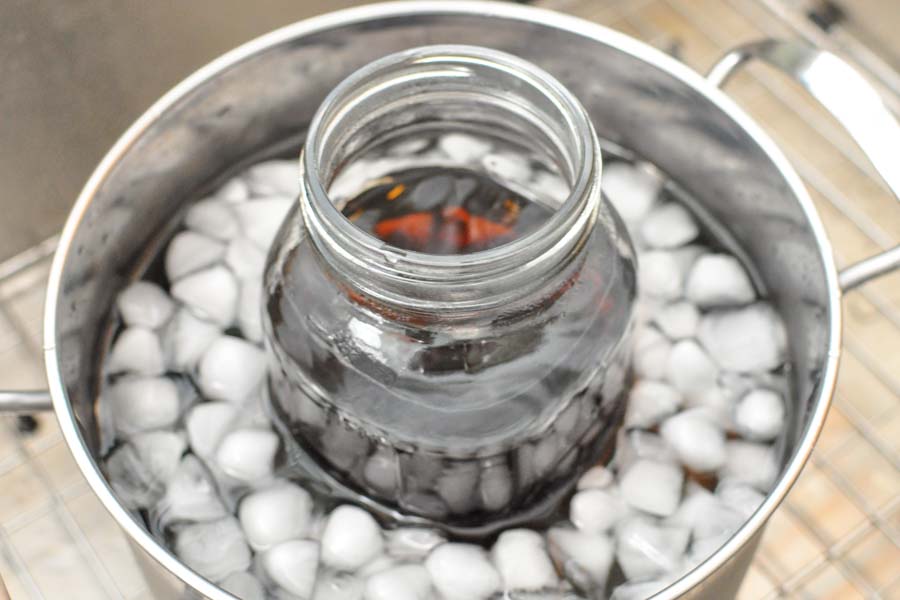
Cool your mason jar to room temperature. This is extremely important for the next step! To speed up the process, we put our mason jar in an ice bath in a large pot to cool it down in 10 minutes instead of a few hours.
Once your sweet tea is cooled, add mature kombucha to the jar and stir. Now it’s time to ferment!
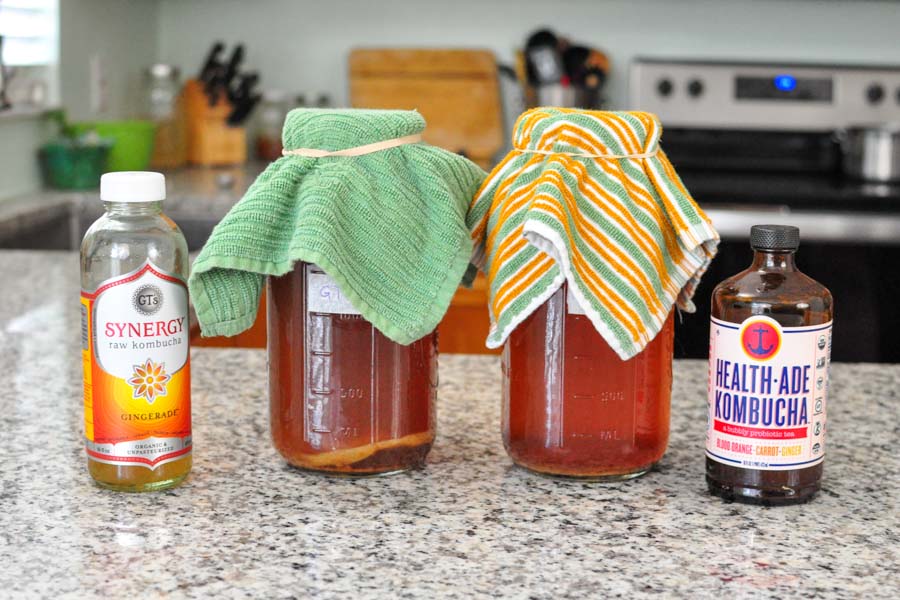
Cover with a cloth and rubber band and keep at room temperature away from direct sunlight. Kombucha likes temperatures in the mid 70 degrees fahrenheit to grow the best. Using a cloth allows oxygen in since this is an aerobic fermentation and keeps bugs and dust out.
Ferment between 6-10 days. The longer you ferment, the stronger the vinegar flavor will be so if you don’t enjoy vinegar, ferment for a shorter time. You can taste it every day so once it’s to your taste, it’s done!
Kombucha Primary Fermentation – What to Expect

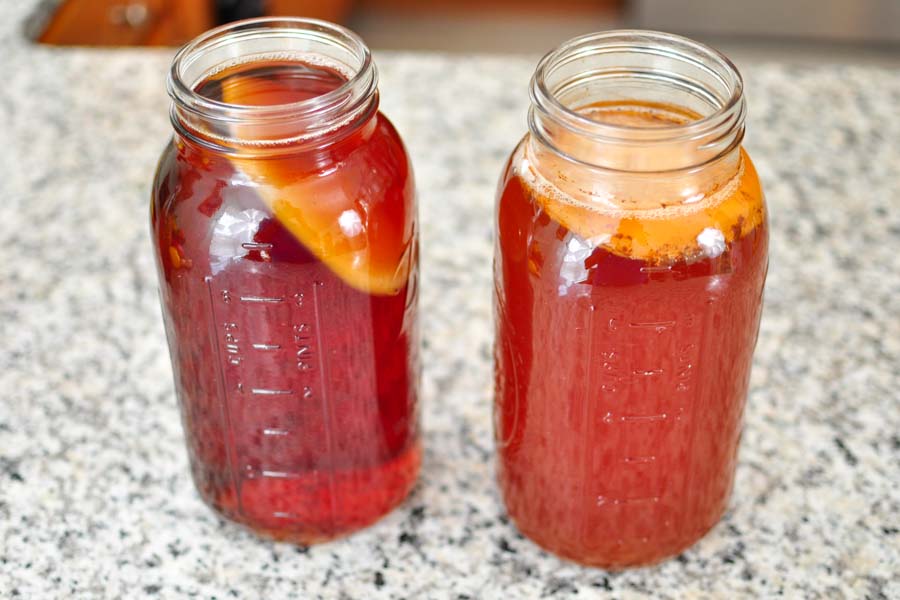
On the first day of making kombucha, our tea was dark brown and we didn’t see any action. Our scoby ended up at the bottom of the jar but it would have also been normal if it floated to the top. After only 24 hours, we starting to see a good sign – there were a few bubbles forming along the rim of the jar.
After two days, the top started to gel together which was forming another scoby! This is a sign that the Kombucha culture was taking over. On the third day, the new baby scoby was taking shape into a nice solid mass. Since we used mature starter liquid from our Scoby Hotel, there was a good amount of starter culture to make the fermentation process happen quickly.
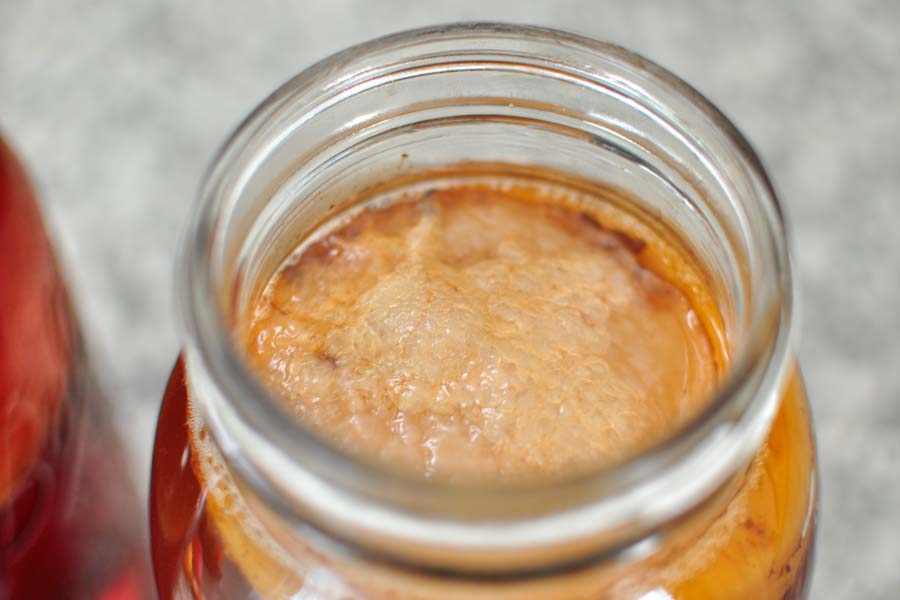
By the fifth day, our new Kombucha Scoby was getting thick, and there was even a floating Scoby tentacle underneath the top layer. It’s definitely alive!
After six days, our new scoby was getting thicker and after one full week, the gases from the fermentation process pushed our baby scoby right out of the liquid. It fell back down the next day but we could have also pushed it back down to keep it in the liquid.
We let it ferment a few days longer and after ten days it was tangy with a vinegar smell and flavor. Success! Our kombucha is ready to bottle. We just have to remember to reserve some of the mature kombucha for the next batch.
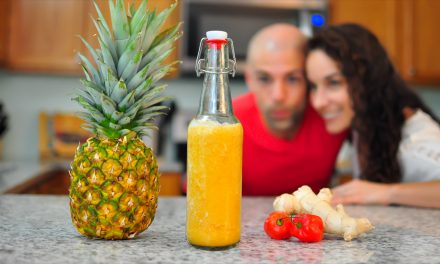
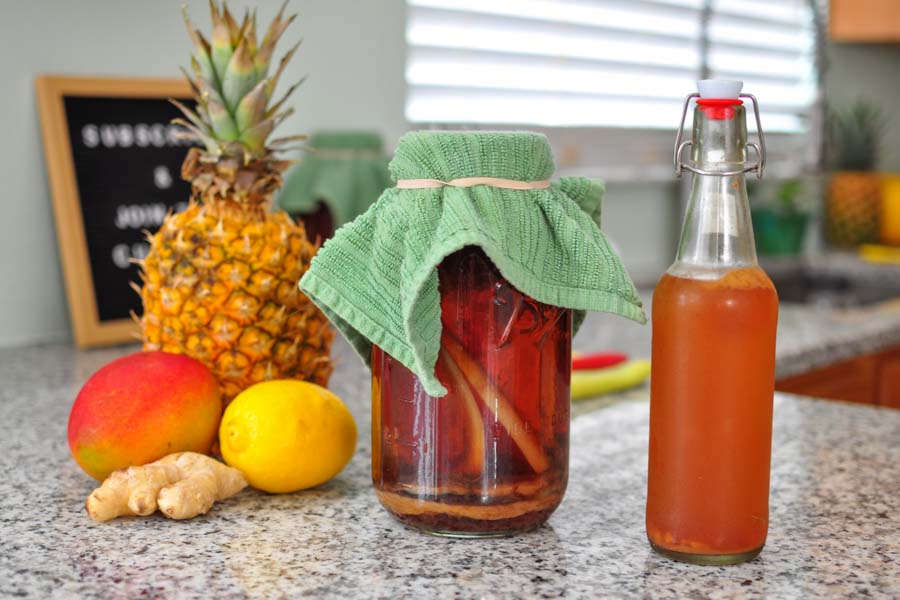
Kombucha Secondary Fermentation – Fruit Flavor & Fizz!
Now you have delicious homemade kombucha! But why stop there? Moving onto kombucha secondary fermentation can turbocharge your kombucha with vibrant fruity flavors along with the fun carbonation that we love.
In secondary fermentation you can add fresh or frozen fruit, fruit juices, herbs, citrus peels, or anything else that would make a good flavor. We can also carbonate our drink at this stage by bottling our kombucha for a short period to trap in all the carbonation.
One thing to note is the reason we don’t add fruit or fruit juice during primary fermentation is to make sure we don’t harm our kombucha scoby. Since our kombucha scoby is alive and has created an environment that’s in balance to keep it happy, we don’t want to introduce any competing bacteria or yeast that might interfere with the culture.
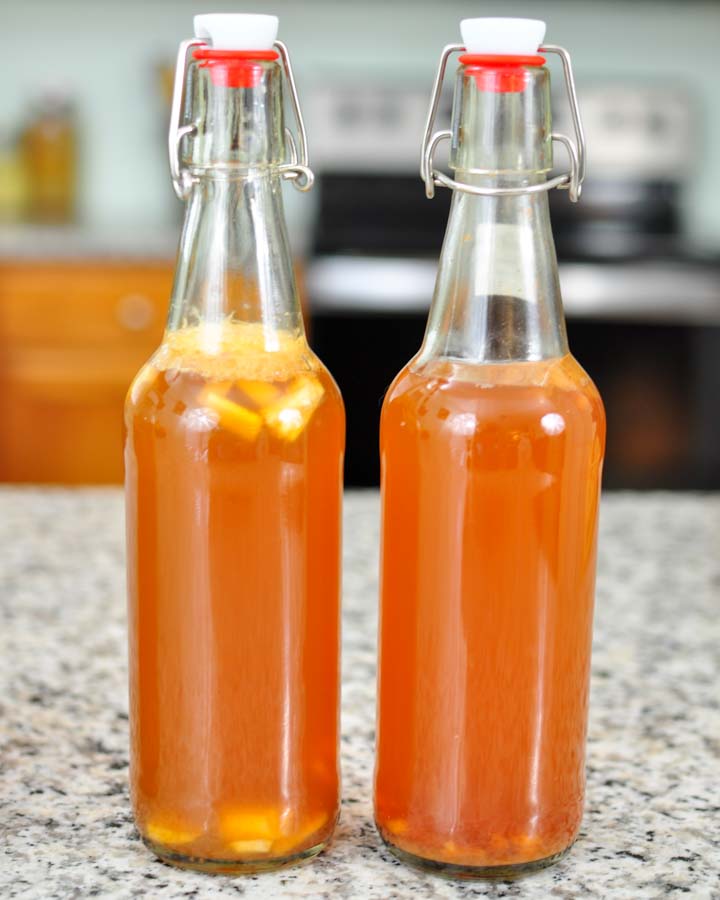
Once you separate the finished kombucha, it’s time to flavor away!
Making Flavored Kombucha – Secondary Fermentation
16 ounce bottle (screw-cap or flip-top)
Directions:
1. Choose flavor combinations in various amounts and add to bottle:
- 1/4 cup fresh or frozen fruit per 16 ounce bottle
- 1 tablespoon lemon juice (for strong flavor)
- Herbs or spices
- 1/2 tsp sugar (if not adding sweet fruit)
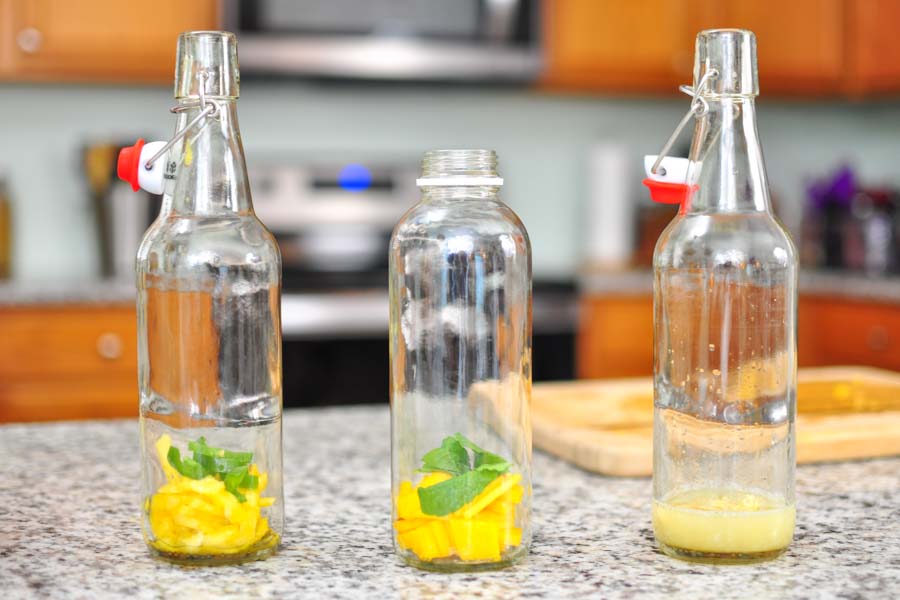
2. Fill bottle with kombucha leaving 1-2 inches of headspace.
3. Tightly cap bottle for carbonation if desired.
4. Ferment at room temperature 1-3 days.
5. Burp bottles 12-24 hours to check pressure or use plastic bottle to check pressure.
6. For carbonation, use pressure-safe glass bottle (screw or flip top).
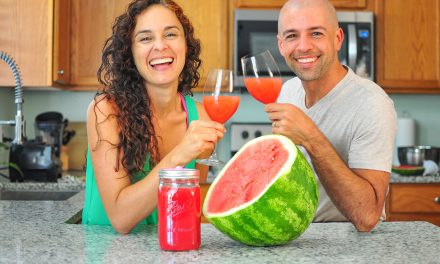
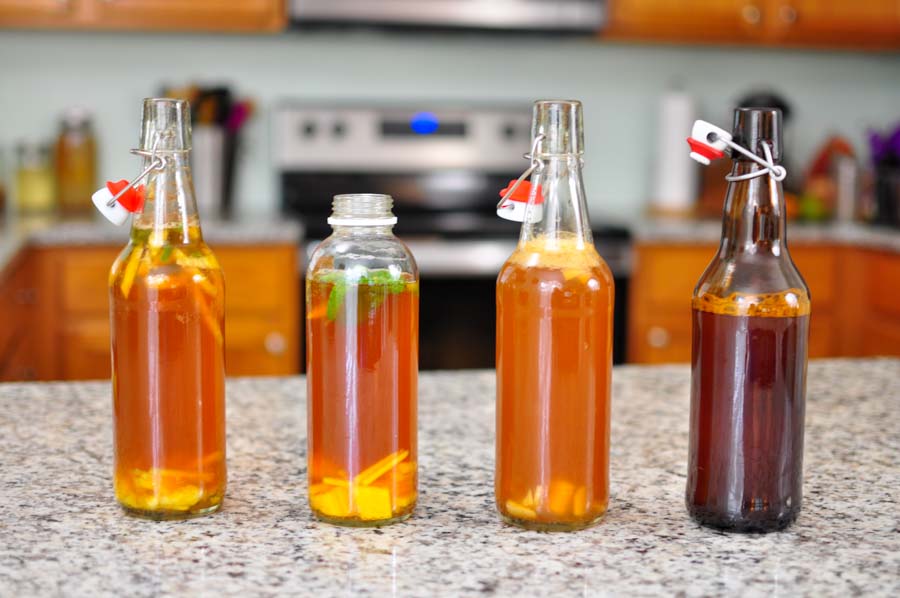
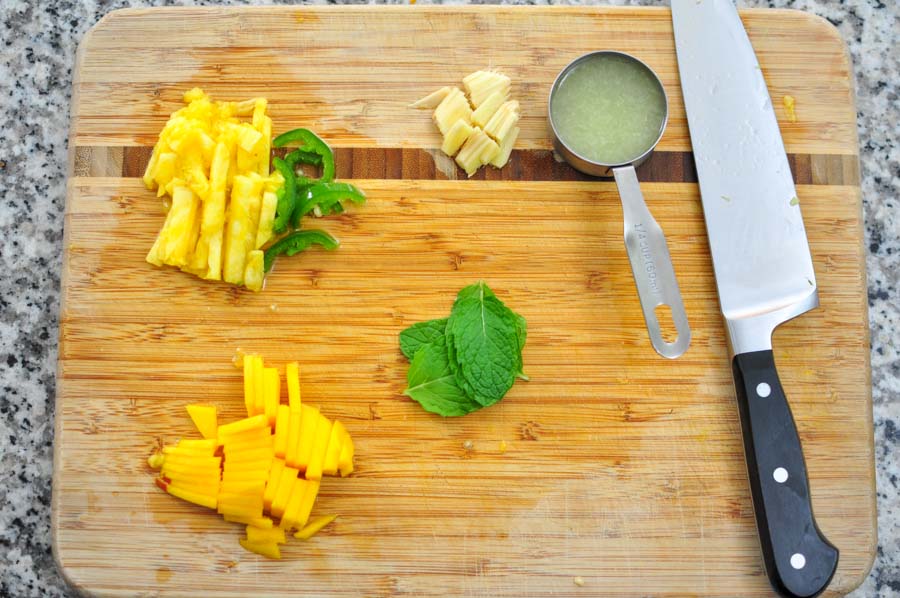
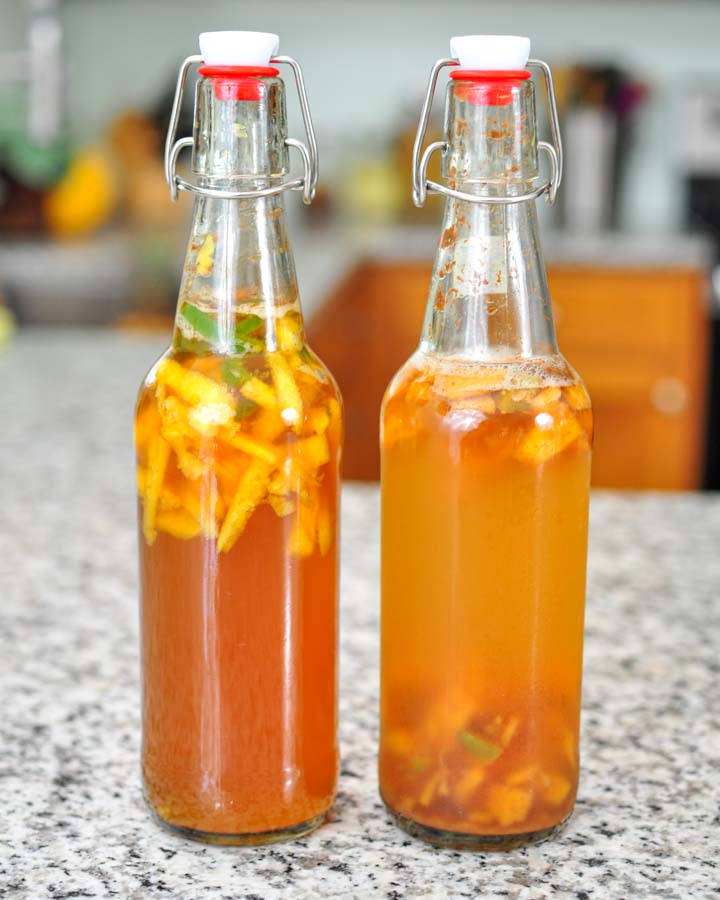
Three Kombucha Fruit Flavor Recipes
There’s an infinite possibility of flavors that you can make with kombucha. Experiment week by week with fruit and herbs you have on hand. You just might be surprised at your results! These are a few we made with what we had on hand.
Mango Mint Kombucha Recipe
- 1/4 cup mango chunks
- Kombucha
Lemon Ginger Kombucha Recipe
- 1 inch sliced ginger root
- Juice of 1/2 lemon or lime
- Kombucha
Pineapple Jalapeno Kombucha Recipe
- 1/4 cup pineapple chunks
- Handful of jalapeno rounds
- Kombucha
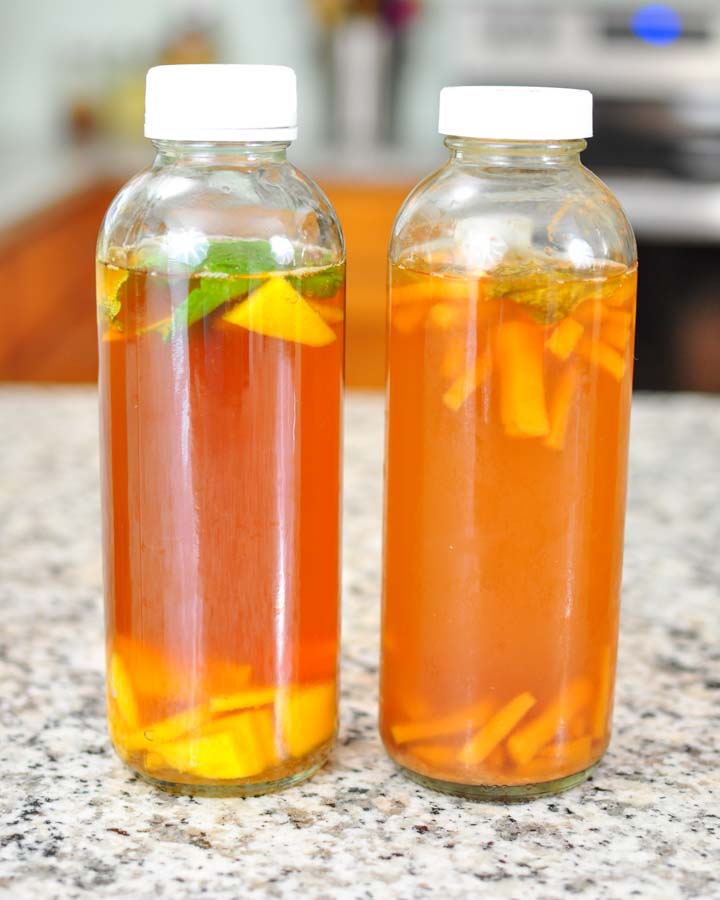
Kombucha Secondary Fermentation – What to Expect
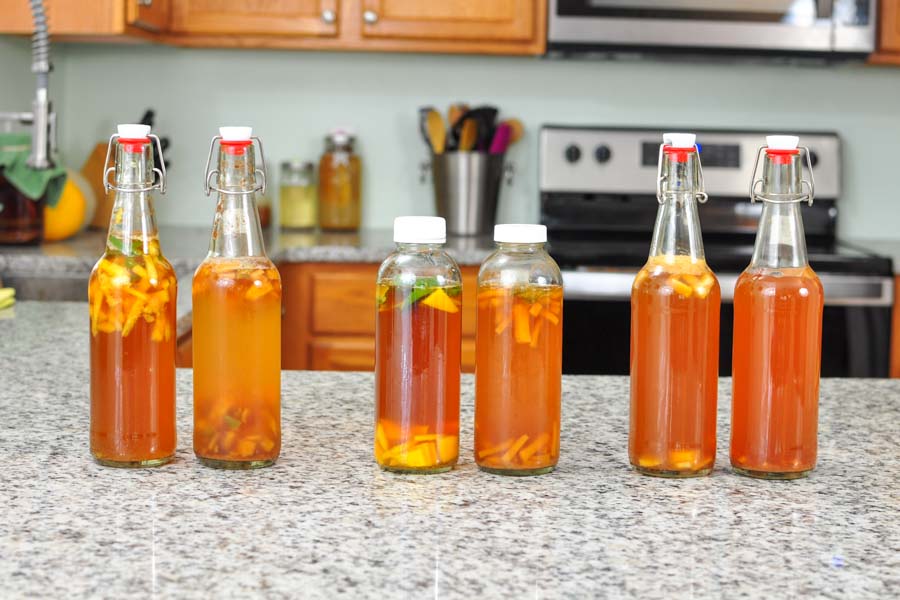
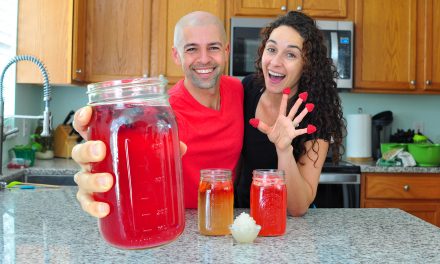
After bottling our fruit ferments for only a short time, the pressure was building up quickly! Since we didn’t use a plastic tester bottle for this batch, we released a little pressure on the bottles after twelve hours to test them. After 24 hours we could tell the pressure was getting much higher so we burped the bottles and let them ferment for one more day to capture more of the fruit flavor.
In total we fermented our kombucha secondary fermentation for two days and were happy with the results! Our house sits at about 74 degrees so you’ll have to check your bottles to make sure the pressure isn’t building too rapidly.
They tasted fruity, tangy, and very fizzy! Overall we loved all three recipes. It’ll be fun to experiment with other fruits and herbs to see what kinds of flavor profiles we can extract into our homemade kombucha.
Do you have more kombucha SCOBYs that you know what to do with? Learn how to make a SCOBY hotel!
It’s So Easy to Make Kombucha!
It’s so amazing that you can buy one small bottle of kombucha at the store and get started making your own homemade kombucha. Add in some fruit and you’ve got yourself a tasty drink! If you’d rather start with a tried and true scoby, check out the ones we recommend in our favorite fermenting gear.
If you make kombucha at home, do you have any favorite kombucha fruit recipes? Let us know about them and leave a comment below and don’t forget to subscribe to our YouTube channel!