If you know the joy of taking a big gulp out of a frosty mug of old-fashioned root beer or the heavenly taste of a root beer float, you’re going to love today’s video! We’re showing you exactly how to make root beer using fermentation.
Not only that, we’re making homemade old-fashioned root beer using traditional ingredients like sassafras and sarsaparilla! Wow!
Check out the full video and subscribe to our YouTube channel. We appreciate your support!
How to Make Root Beer
The root beer soda of today that you might find in the store is a mere shadow of itself, much in the same way that ginger ale has become. The main ingredients in today’s conventional root beer are high fructose corn syrup, an array of artificial flavors, and some CO2 for carbonation. What a shame!
Fortunately you don’t have to put up with the chemical-laden drinks that are on store shelves! You can easily make your own root beer with only a handful of ingredients and in a matter of days!
Homemade Root Beer Ingredients
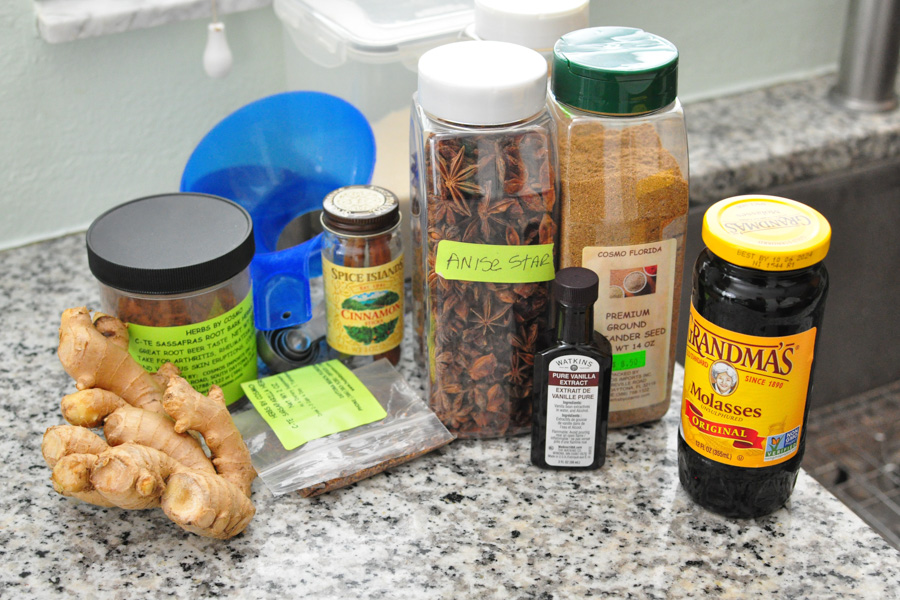
Just as the name implies “root” beer has traditionally been made by boiling the roots of plants to extract the unique flavors to make a delicious drink. It could probably even be called “roots” beer since the best root beer is made by adding many roots instead of a single root. The main flavor components of root beer that make it so tasty are wintergreen, licorice, and vanilla.
Root beer has traditionally been made from sassafras root and sarsaparilla root. Sarsaparilla root is considered the father of root beer and was popular in the wild west with a sarsaparilla drink being served in bars. Eventually sassafras root was added and became the principal ingredient in the root beer flavor. If you smell sassafras root, you’d notice its aroma closely matches what you would think of as root beer.
Many other roots can be added to root beer such as ginger root, burdock, dandelion, among others to make a good root beer.
Eventually sassafras root was removed from root beer altogether and replaced with artificial flavors due to a study that linked a chemical called safrole to cancer in rats when fed in very large quantities. You can still buy sassafras root bark and many people still make root beer the traditional way. Most likely the amount you’d need to consume is probably not relevant to real life but that’s up to you.
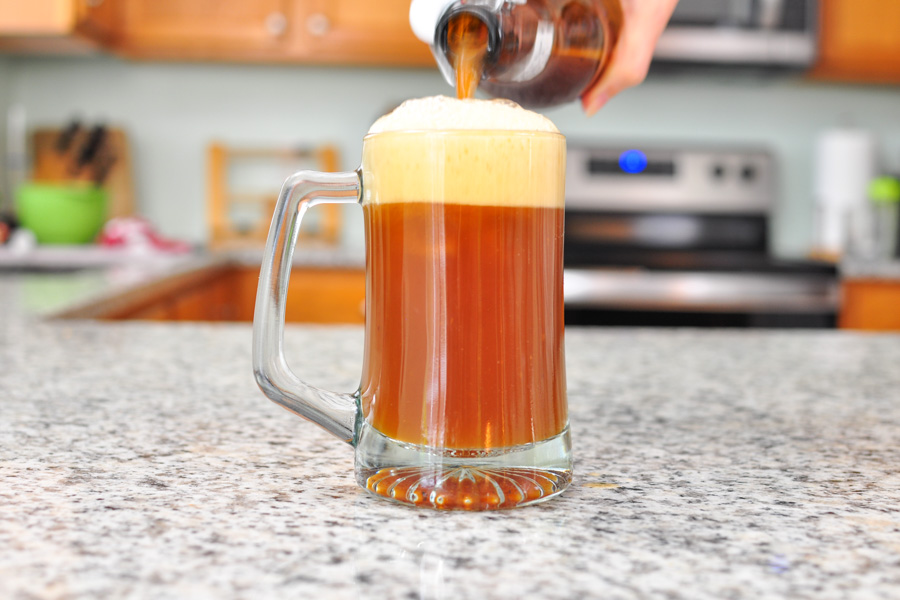
One characteristic that people have grown to love in a frosty mug of root beer is the strong foam head forms on top. This is achieved from the saponins that cause strong soapy bubbles to form in ingredients like Sarsaparilla. Many other saponin-containing ingredients could be substituted such as yucca root or soapbark.
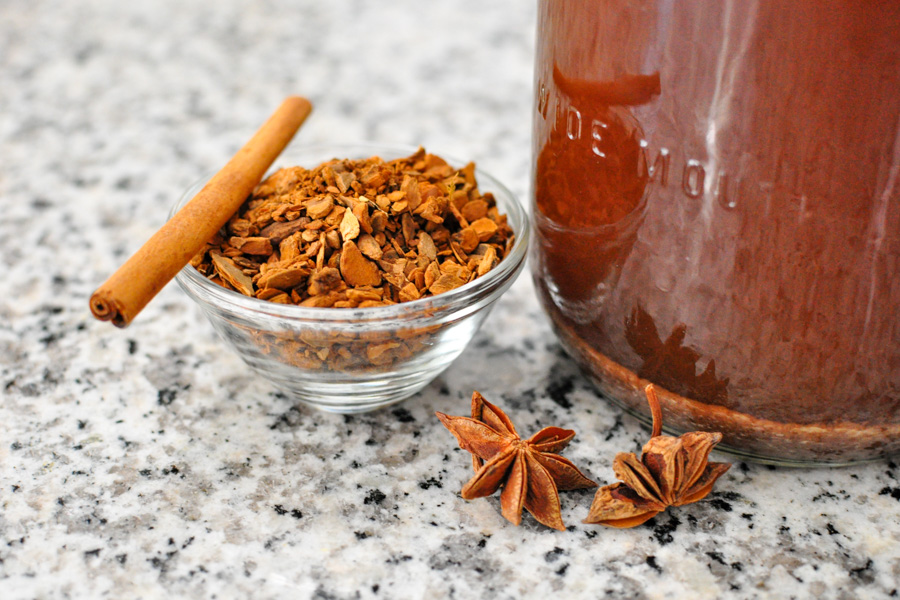
Other herbs and spices such as cinnamon, wintergreen leaf, star anise, anise seed, fennel, vanilla and so many other can be added to make a great flavor. Once you have a flavor you like, you simply add sugar, ferment for a few days, and carbonate!
Homemade Root Beer Recipe with Sassafras & Sarsaparilla
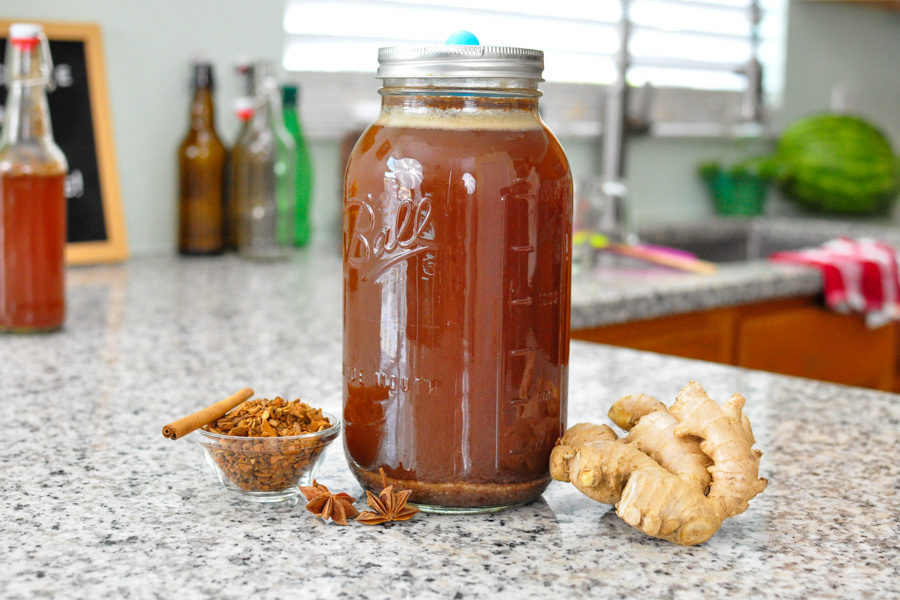
Makes 1/2 gallon mason jar
Making root beer from scratch is as much fun as it is tasty! This base recipe will give you one of the most delicious creations to enjoy as a frosty mug or pour over vanilla ice cream for the best root beer float!
Equipment:
- 1/2 gallon Mason Jar
- Cloth to cover or Fermentation lid <– These silicone lids work well for us
Simmer Ingredients:
- 1/2 gallon non-chlorinated water (add 3/4 in pot)
- 1/4 cup sassafras bark
- 1/4 cup sarsaparilla root (smilax ornata)
- 1/2 cinnamon stick OR 1/4 tsp ground cinnamon
- 2 pods star anise OR 1 tsp anise seeds OR 2 T licorice root
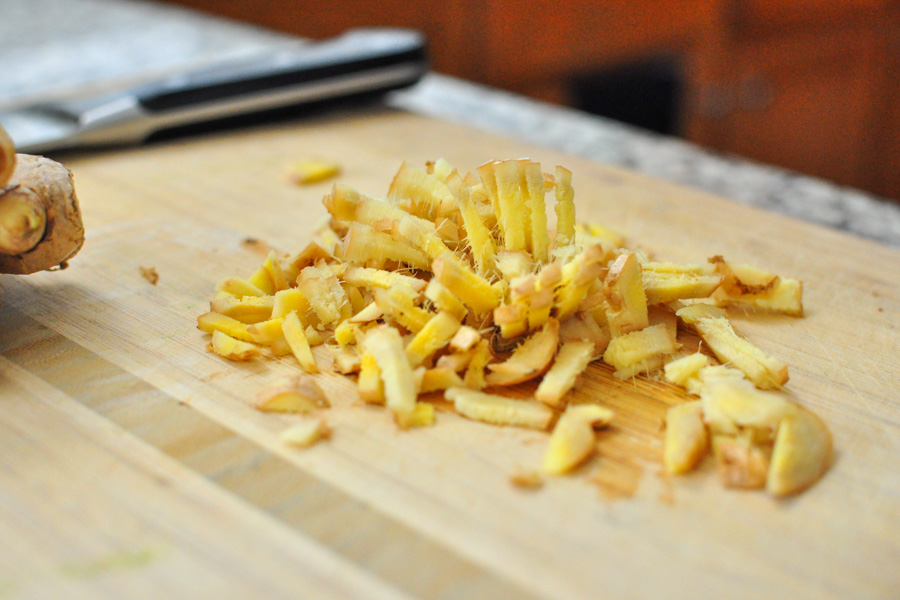
- 2-4 tablespoon fresh ginger root, chopped
Remaining Ingredients:
- 3/4 cup sugar
- 1/4 cup molasses
- 1/2 cup Ginger Bug starter <– full post & video on how to make one
Optional:
- 1-2 tsp vanilla extract (we like 2)
- 1/4 tsp ground coriander or 1/2 tsp whole coriander
- 1/4 cup birch bark
- 1/2 teaspoon wintergreen leaf
- Lemon or lime juice
Add three quarters of your water and all simmer ingredients to your pot and bring to a boil. Lower heat to medium low, cover to prevent too much water from evaporating, and simmer for 20 minutes. We like to let it sit another 10 minutes to cool a bit before transferring to our mason jar.
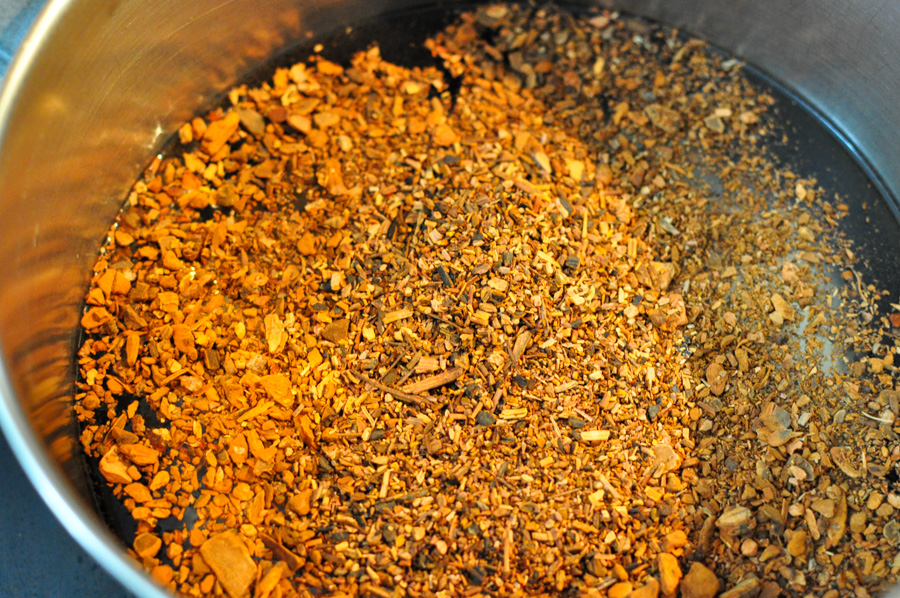
Strain root beer “tea” into a half gallon mason jar and stir in sugar, molasses, vanilla and coriander which is now a root beer wort.
Cool root beer wort completely for the next step. You can let it sit on the counter for a few hours to cool completely, put it in the refrigerator, or speed up the process by putting the mason jar in an ice bath. Stir the wort to transfer heat faster and be careful not to let any chlorinated water contaminate the jar.
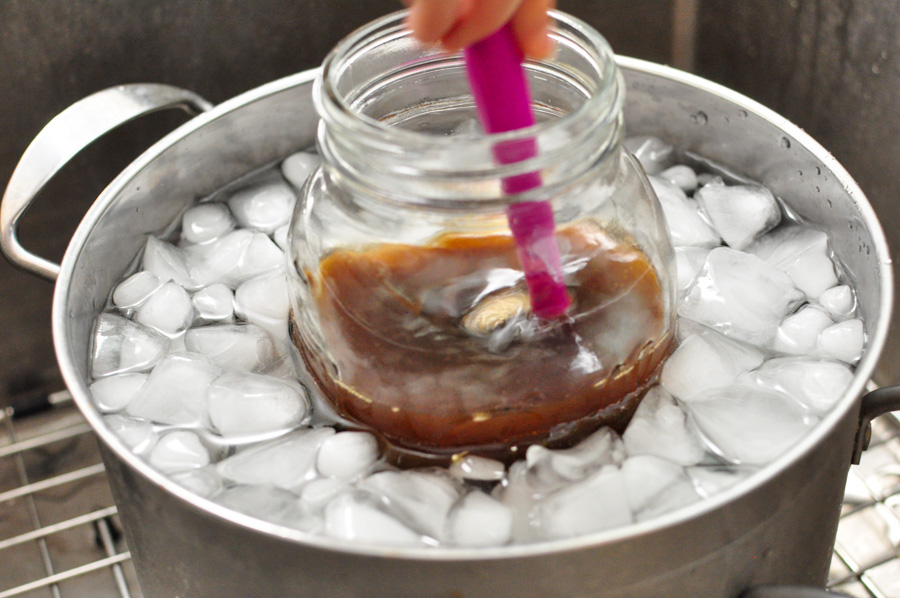
Once cool, add your ginger bug starter culture. This adds the bacteria and yeast that will eat the sugar and bring your root beer to life. Stir to combine and top up with non-chlorinated water leaving an inch or so from the top to give room for foam to build during the fermentation process.
Cover your jar with a fermentation lid or cloth and ferment at room temperature for two to four days for primary fermentation. We’ve found that two days of primary fermentation is enough for us and gives us a lot of bubble action.
If you’d like carbonation, bottle your root beer in flip-top glass bottles made for pressure and let ferment closed for another day or so. We also use a plastic tester bottle so we can squeeze the bottle every so often to test the pressure to know what’s going on inside the bottles. If the pressure is too great, you can “burp” the jars to release the pressure. Be careful when carbonating! These bottles can explode if left too long so take care.
Once you’ve achieved the carbonation you like, you can either enjoy your root beer or move them to the refrigerator to slow down the fermentation process. Be sure to burp your bottles every once in a while since they’ll keep fermenting slowly in the fridge!
What to Expect During Fermentation – Homemade Root Beer
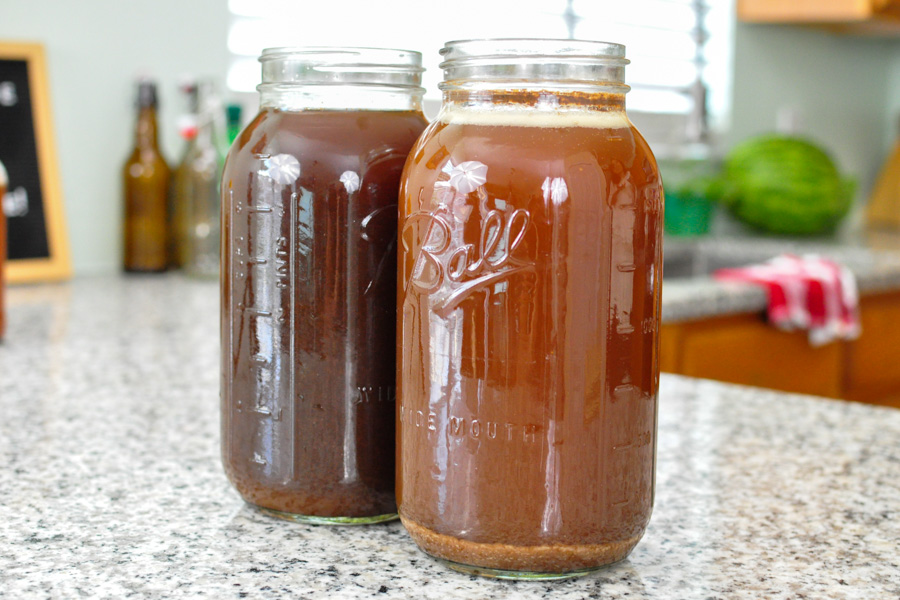
After 24 hours of primary fermentation, we didn’t see much activity going on, but only 12 hours after that we started seeing some bubbles forming on the top of our jar! From 36 hours on, the activity only increased with a heavier root beer style foam.
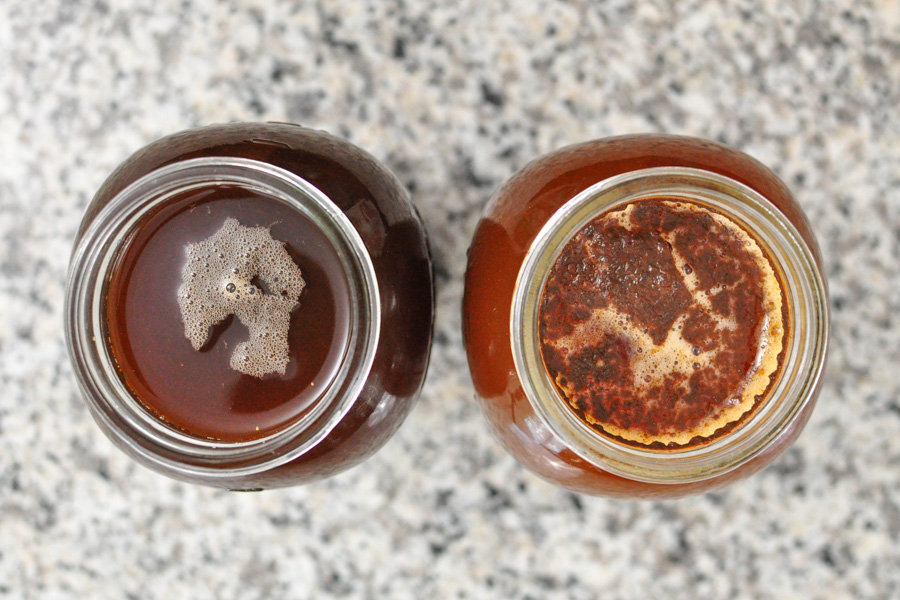
After 48 hours our mason jar definitely had a lot of foam on top and when comparing it to a fresh unfermented batch, the color had turned from a black to a brown. It appears that the fermentation process and the settling of the spices lightened the color. When we opened the jar we noticed white foam along with some of the brown spices on top of the jar. The aroma smelled deliciously like root beer.
Once we bottled our root beer, we noticed the tester bottle carbonated very quickly in only 12 hours so we released the pressure and went the full 24 hours. You definitely want to check on the pressure in your bottles!
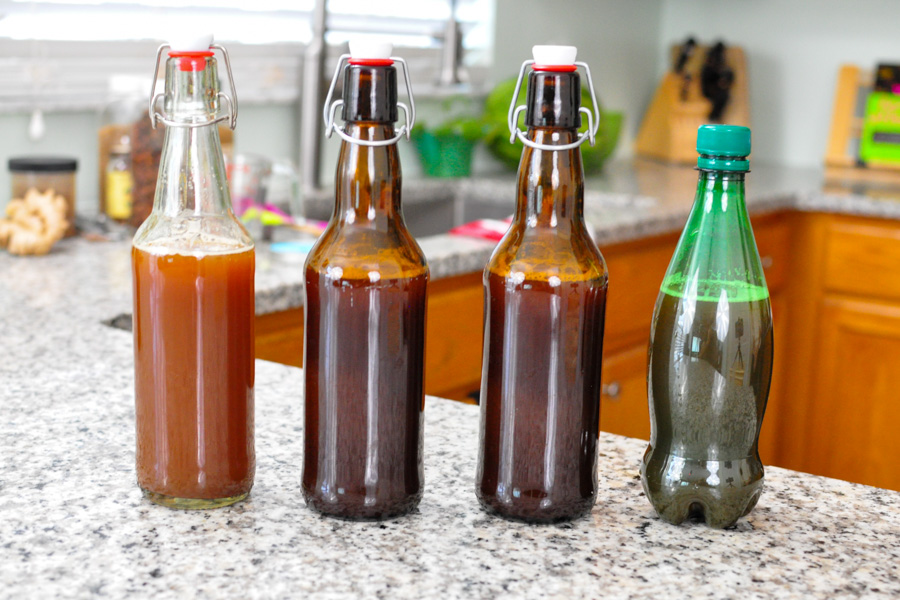
At 24 hours we opened the bottles and when pouring a mug, we got the heavy root beer foam we were expecting. It was lightly sweet and had hints of wintergreen, licorice, vanilla and the slight bitterness you’d expect from a root beer. So delicious!
Make Your Own Root Beer!
If you’ve never tasted what real homemade root beer tastes like, try this recipe! We know you’re going to love it. Especially over vanilla ice cream as a root beer float. If you have any unique ideas for flavor combinations or tried this recipe, let us know how it’s going! Leave a comment below and don’t forget to subscribe to our YouTube channel. Happy fermenting!

