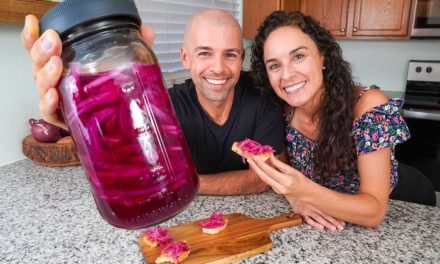
Did you know that zucchini pickles are actually a thing? It’s the perfect way to make use of all of that squash available over the summer. Also known as squash pickles, these crunchy zucchini pickles are actually very easy to make and we’re taking you through our simple recipe today!
While technically not “pickled” we’re actually making fermented squash the old-fashioned way instead of using a vinegar brine.
Check out the full video and subscribe to our YouTube channel. We appreciate your support!
Making Pickled Zucchini & Yellow Squash
If you’ve ever grown zucchini and squash, you know just how heavy these plants can produce. By the time the growing season has ended, if you’ve planted a lot, you’re probably coming out of your ears with squash!
So what do you do with it all?
Make fermented squash of course! Normally when we think of making pickles, we might first think of crunchy cucumber dill pickles, but zucchini and other types of squash can make very good pickles also!
Now normally when you hear zucchini pickles you might first think of vinegar, but the other more traditional way is to make lacto-fermented zucchini. This is where we’re using a salt brine instead of actually adding vinegar. As the fermentation process breaks down the sugars in the squash, it creates acetic acid which tastes like vinegar.
Fermented Zucchini & Yellow Squash Pickles Recipe
Makes 1 quart mason jar
These lacto-fermented zucchini and squash pickles are the perfect way to use up all the squash you might be seeing in your area. They go well as a side dish or even used as a topping in the same way you would a traditional dill pickle.
Equipment:
- 1 quart Mason Jar
- Wide-mouth leak-proof mason jar lids – for shaking up the jar without leaking
- Fermentation weight <– We love these!
- Fermentation lid <– These silicone lids work well for us
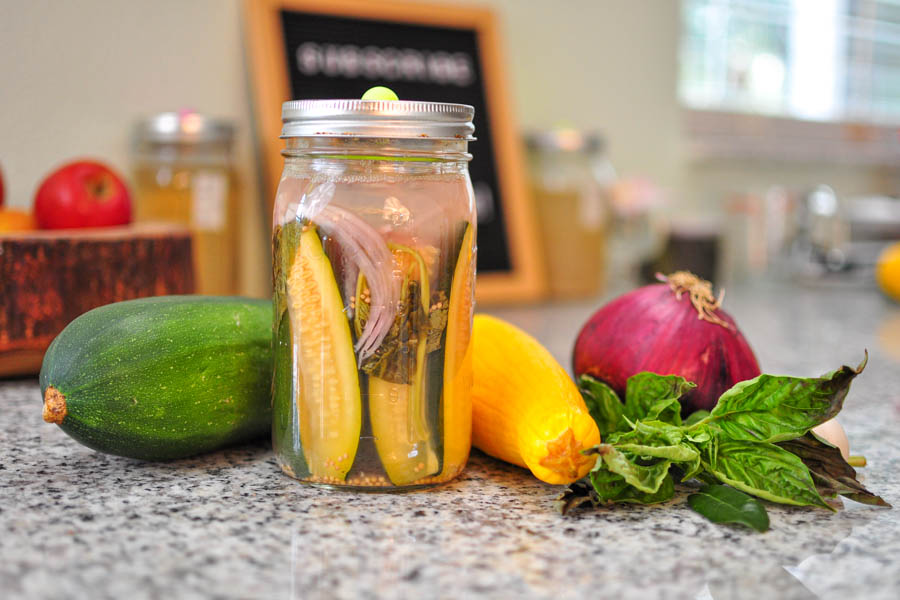
Ingredients for zucchini & squash pickles:
- 2 small zucchini / yellow squash
- 1/4 red onion
- 4 garlic cloves
- 8 basil leaves or 1 basil stalks
- 1 tsp mustard seeds
- 2 oak leaves (for tannins)
- Salt brine: Non-chlorinated water + sea salt to taste (we use 2 tsp. to 1 cup water ratio)
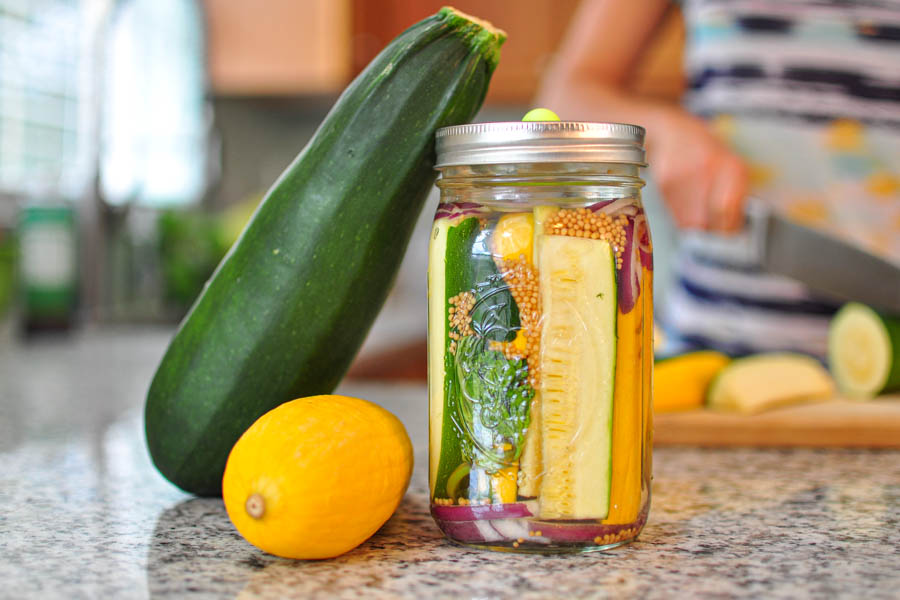
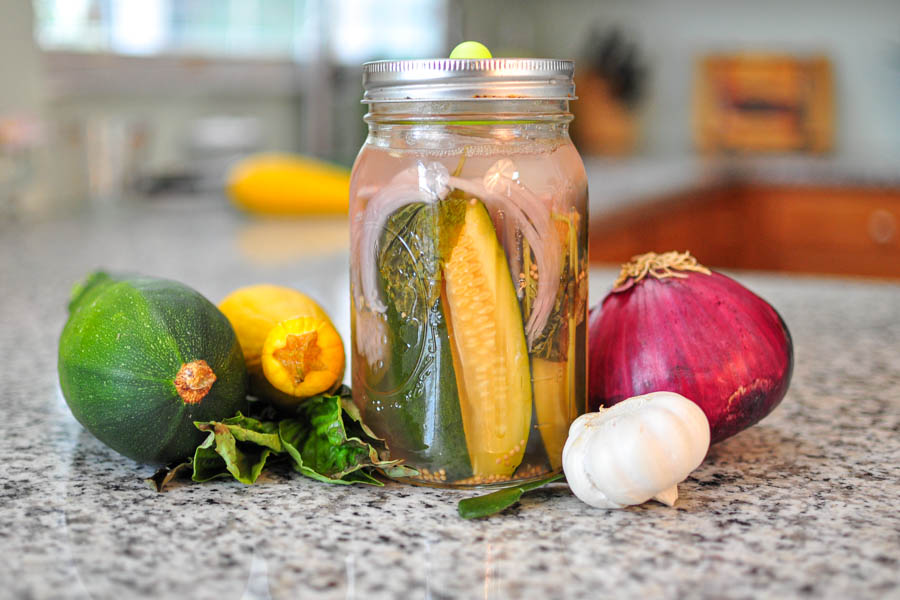
Wash zucchini and yellow squash. Make sure to dry if using chlorinated tap water. There are many sizes of squash so you’ll want just enough to fit in the jar.
Cut your onions and garlic and begin adding some to the jar. We like to add some to the bottom and save the rest to layer throughout the jar.
Cut your zucchini and squash into spears to a height that leaves room at the top of the jar to add a fermentation weight, probably about an inch or more. You can also feel free to cut them into chunks but we like spears because they resemble traditional pickles.
Fill the jar with your zucchini and squash trying to take up as much space as you can. It makes it easier to tilt the jar to the side and lay them in to prevent them from falling all over the place.
Add your remaining onions and garlic to the jar. We like to slip them down into the empty crevices to use as much of the empty space as possible.
Add your spices like mustard seeds and any leaves you might be adding for tannins. The tannins in grape, oak, and bay leaves helps to make crisp and crunchy zucchini pickles. We’ve tested it and it really does help!
Add your basil leaves or stalks by removing one or two spears and then adding it back together with the basil. Once you try adding basil leaves to fermented squash pickles, you’ll be shocked by the flavor enhancement!
Mix your salt brine up to a ratio that you like and pour the salt brine over the top to fill the jar enough where it won’t overflow when you add a fermentation weight. We’ve noticed when you pack a one quart jar, we only need about 1 cup of brine.
Add your fermentation weight, fermentation lid or cover and ferment for about three days. Feel free to test the flavor and let it go for more or less days.
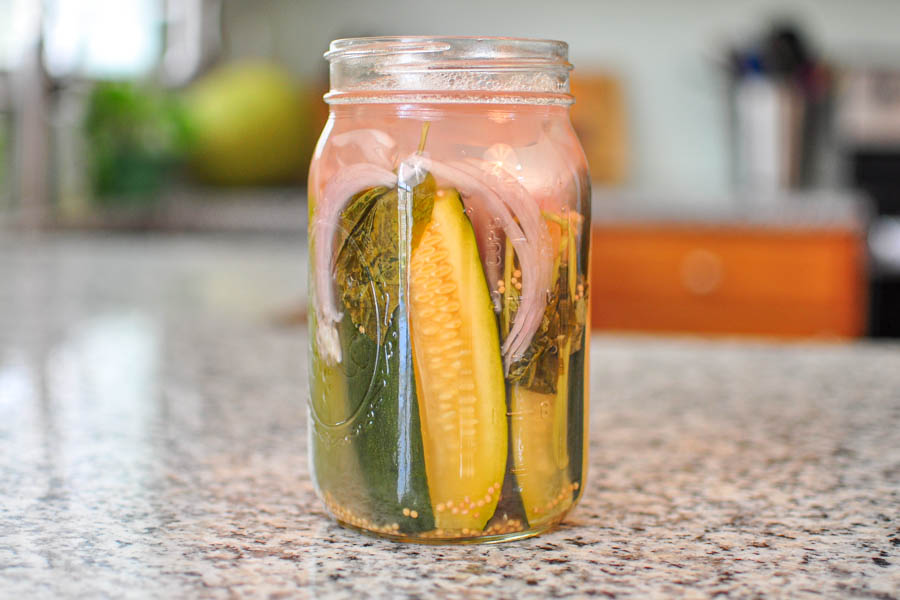
Lacto-Fermented Zucchini & Squash Pickles – What to Expect During Fermentation
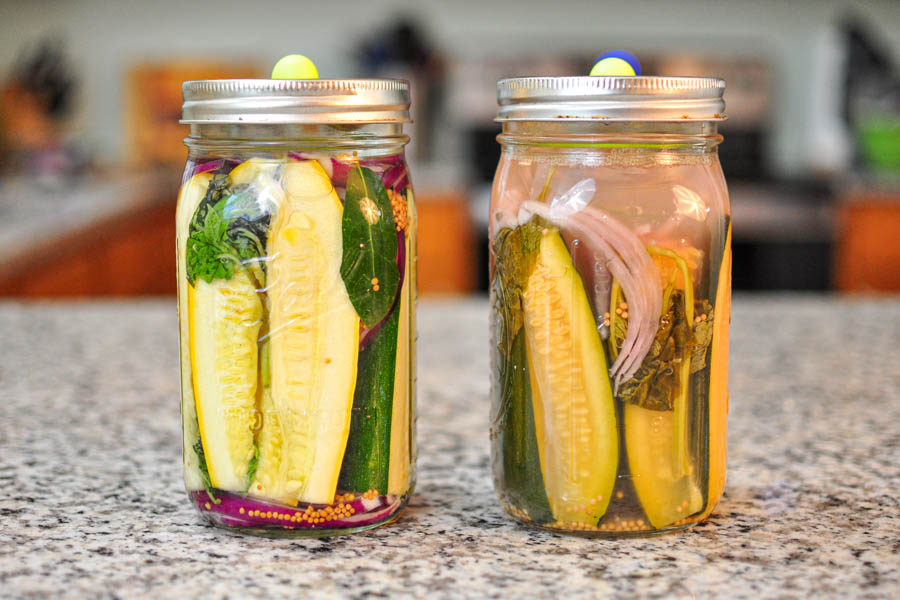
On the first day, you’ll notice that your squash is super bright in color the same way that dill pickles look and that the brine is very clear. By day two, you should start noticing some bubbles appearing within the crevices in between your ingredients and if you shake the jar they’ll bubble up to the top.
By day three you should really be seeing more bubbles now and the brine will be getting cloudy. Also if you happened to open the jar or release some of the gas out of your fermentation lid, you might be delighted by how much the basil adds an amazing aroma to this recipe.
We fermented for four days and by this time we noticed that our squash was getting a tiny bit on the softer side so for us three days would have been perfect. We fermented at room temperature and our house runs anywhere from 72-74 degrees.
Making Crunchy Zucchini & Squash Pickles
Like we mentioned above, if you’re finding that you want a bit more crisp zucchini pickles, make sure to add either a couple oak leaves, bay leaves, or grape leaves to the jar to add some tannins. You can even add black tea if you don’t mind the caffeine! The tannins help make crunchy squash pickles.
Another thing to consider is to start with smaller zucchini and squash that doesn’t have as many big seeds inside and more of the thicker flesh. The center is the first thing that starts to turn to mush and get soft.
And finally, you can always try to ferment for a shorter time so that the squash doesn’t break down as much.
Zucchini & Squash Pickles!
What a fun way to bring a ton of flavor to boring old squash! And a great flavor at that with the addition of basil, garlic and onions. Who would have thought you could make squash pickles and actually have them taste good at the same time.
Let us know how it goes! Leave us a comment below and don’t forget to subscribe to our YouTube channel!