POP. Fizzzzzzz! As a kid you might have loved the refreshing sound of popping open a can of bubbly ginger ale, but did you know that you can make homemade ginger ale yourself? It’s actually very easy, much healthier, and we’re going to show you how.
Homemade ginger beer (ale) begins with a soda starter culture called a ginger bug. Once you take a few easy steps to make a ginger bug, you’re halfway to enjoying ginger ale soda!
Making ginger ale will give you confidence to move on and make other homemade sodas like root beer and many types of fruit sodas. They’re just as easy and quite tasty! They also don’t have all the chemicals and corn syrup that the commercial brands have.
If you’ve never enjoyed real ginger ale, you’re in for a real treat. The commercial stuff in the store that says “ginger ale” on the label is most likely just artificial flavors and a bunch of other junk that’s not helpful to you. Even more, the taste doesn’t even compare to real ginger beer. Real ginger ale has a spicy flavor that fills the mouth, is slightly sweet, and leaves you with a refreshing WOW factor. It’s so amazing!
Check out the full video and subscribe to our YouTube channel. We appreciate your support!
How to Make Homemade Ginger Beer
The first thing you need to get started making ginger beer is making a ginger bug starter. It’s simple and easy. Check out our previous post on how to make a ginger bug. Let’s get into the recipe.
Homemade Ginger Ale Recipe
Makes 1 gallon
Equipment:
- Large cooking pot
- 1/2 gallon jars or jugs for Primary Fermentation
- Funnel
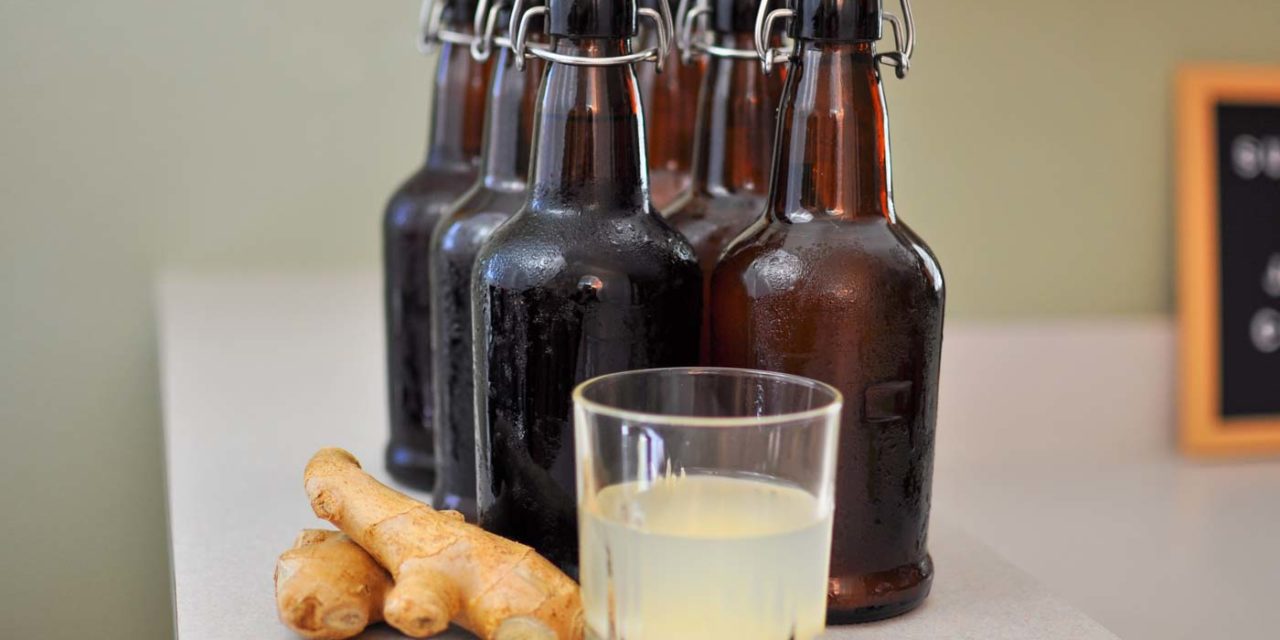
- (7) 16 oz. glass flip-top beer bottles <– We love these
- (1) 16 oz. heavy duty plastic bottle (such as Perrier or a soda bottle)
Ingredients:
- 1 cup fresh ginger, chopped or grated
- 2 cups sugar
- 1 cup Ginger Bug starter <– full post & video on how to make one
- 2 T lemon juice
- 1 gallon non-chlorinated water
You really only need a few things to get started making homemade ginger ale. First, you make a flavoring base for your ginger ale that in the beer world is called a wort. You can also think of it as a simple soda syrup that’s made with fresh ginger, water, and sugar. That’s it. Beyond that, you can add other flavorings with fruits and herbs but today we’re focusing solely on lovely, basic ginger ale.
Fill a pot with half of your non-chlorinated water and bring to a boil. Don’t forget, boiling water doesn’t remove chlorine!
Chop or grate your fresh ginger. Add to pot and boil for 15 minutes.
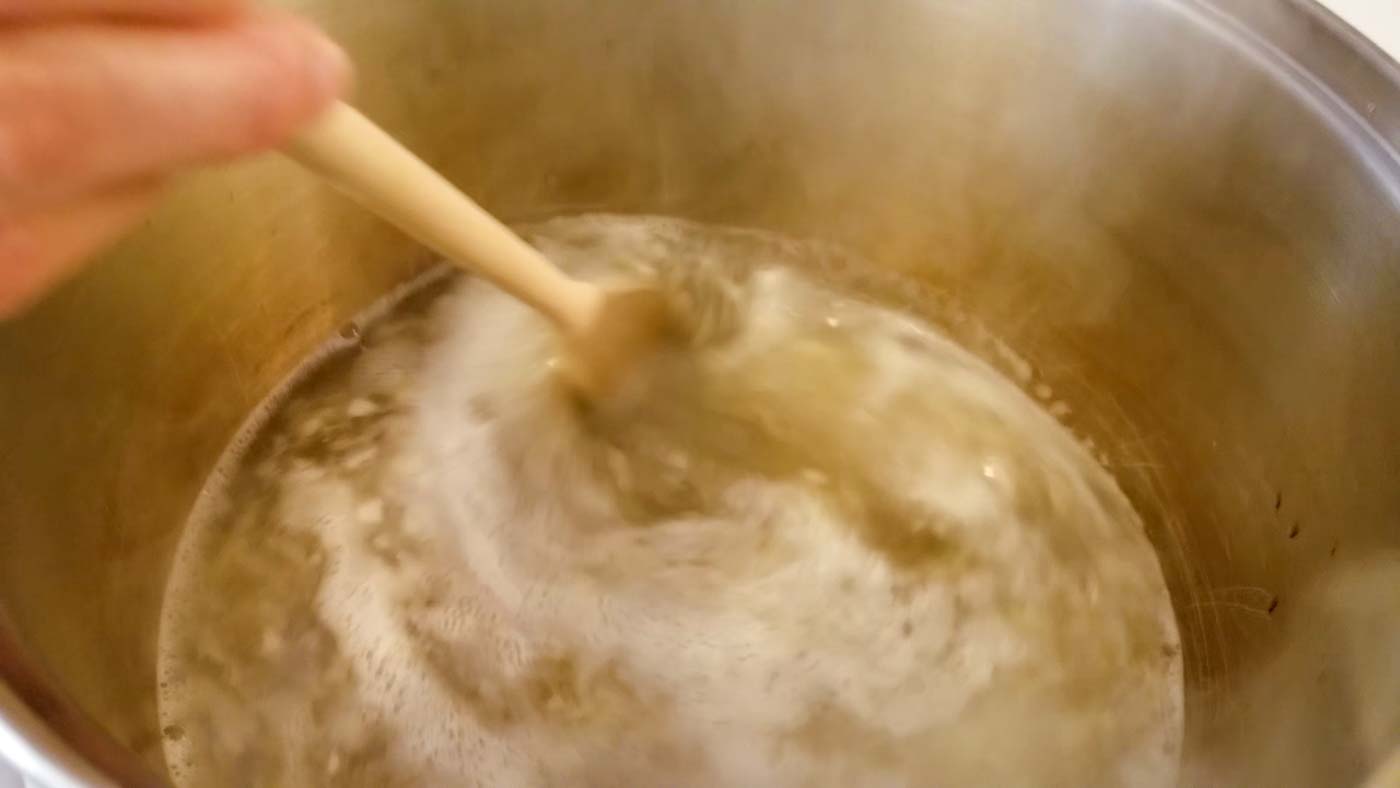
Add sugar and stir to dissolve. Taste. It should taste very sweet and spicy with ginger flavor. Keep in mind that we’re going to be adding the other half gallon of water so this will dilute the end result in half. If you want it even stronger or sweeter add more ginger or sugar.
Fill the sink with cool water and even ice cubes and put your hot pot of ginger beer wort in the sink to cool it down faster. We like to stir the pot to transfer the heat from the pot into the cool sink water and even changed the sink water out two times to speed the process up.
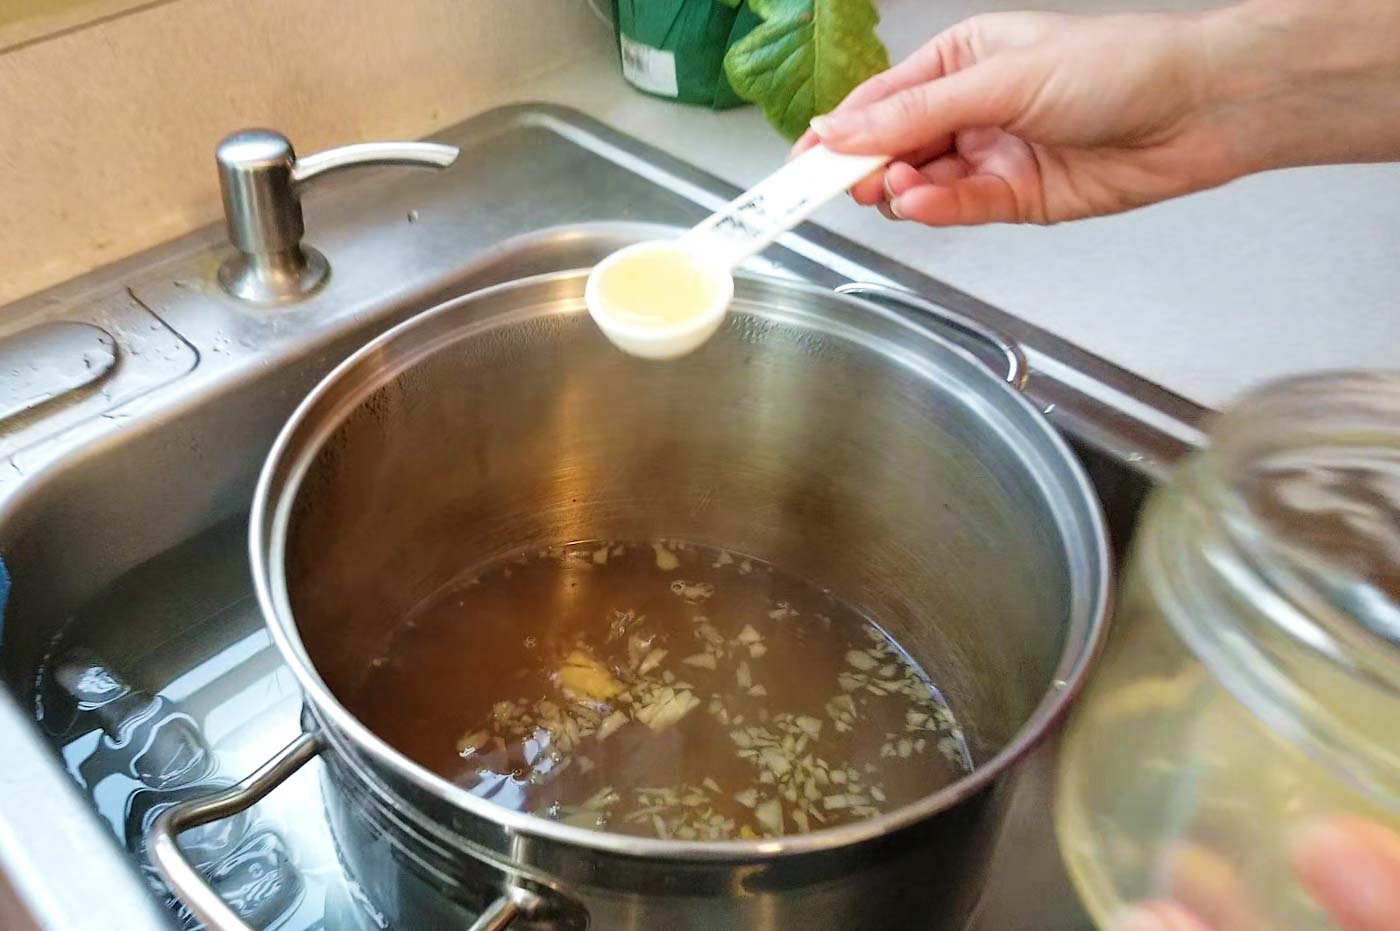
Add the other half of your non-chlorinated water along with the lemon juice to the pot and let sit until the entire batch cools to room temperature or is not warm to the touch. This is important as the next step we’re adding our live ginger bug starter and you don’t want to kill it!
Primary Fermentation for Ginger Ale
Next we’re doing a primary fermentation in large jars or jugs to get the bacteria and yeast excited!
Stir to distribute and strain off ginger pieces into a large measuring cup. We like using a strainer on top of a measuring cup to make the next step easier and not to make a huge mess.
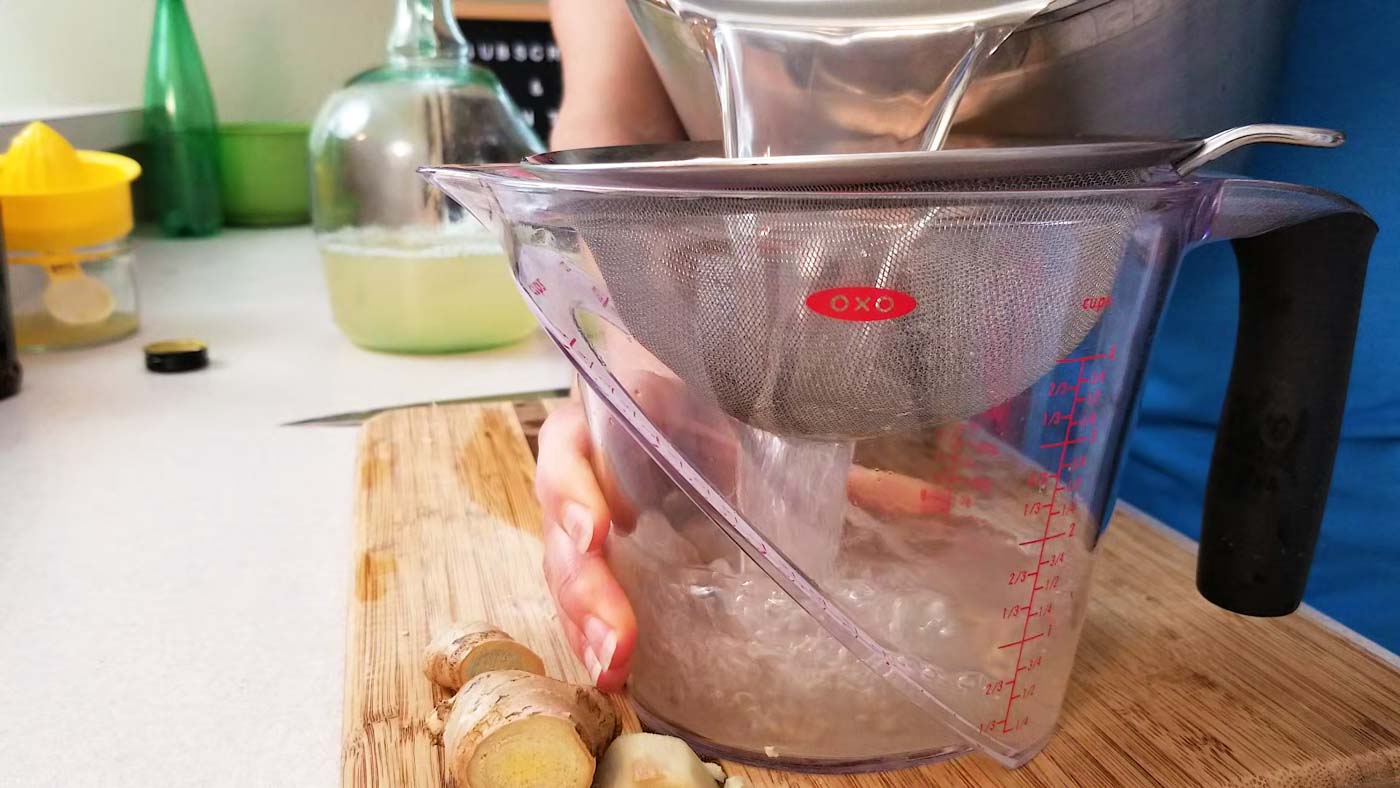
Transfer your ginger beer wort to your fermentation vessel (or vessels). I like splitting the entire gallon between two 3 liter wine jugs filled about two thirds of the way. It makes it easier to manage later when pouring into bottles so it’s not so heavy. Make sure while you’re dividing it up to keep stirring the mixture to distribute evenly. The stronger ginger flavor likes to settle to the bottom.
Add your ginger bug starter. Since we’re using two bottles, first stir up the ginger bug and then measure out 1/2 cup into one bottle and 1/2 cup into the other bottle.
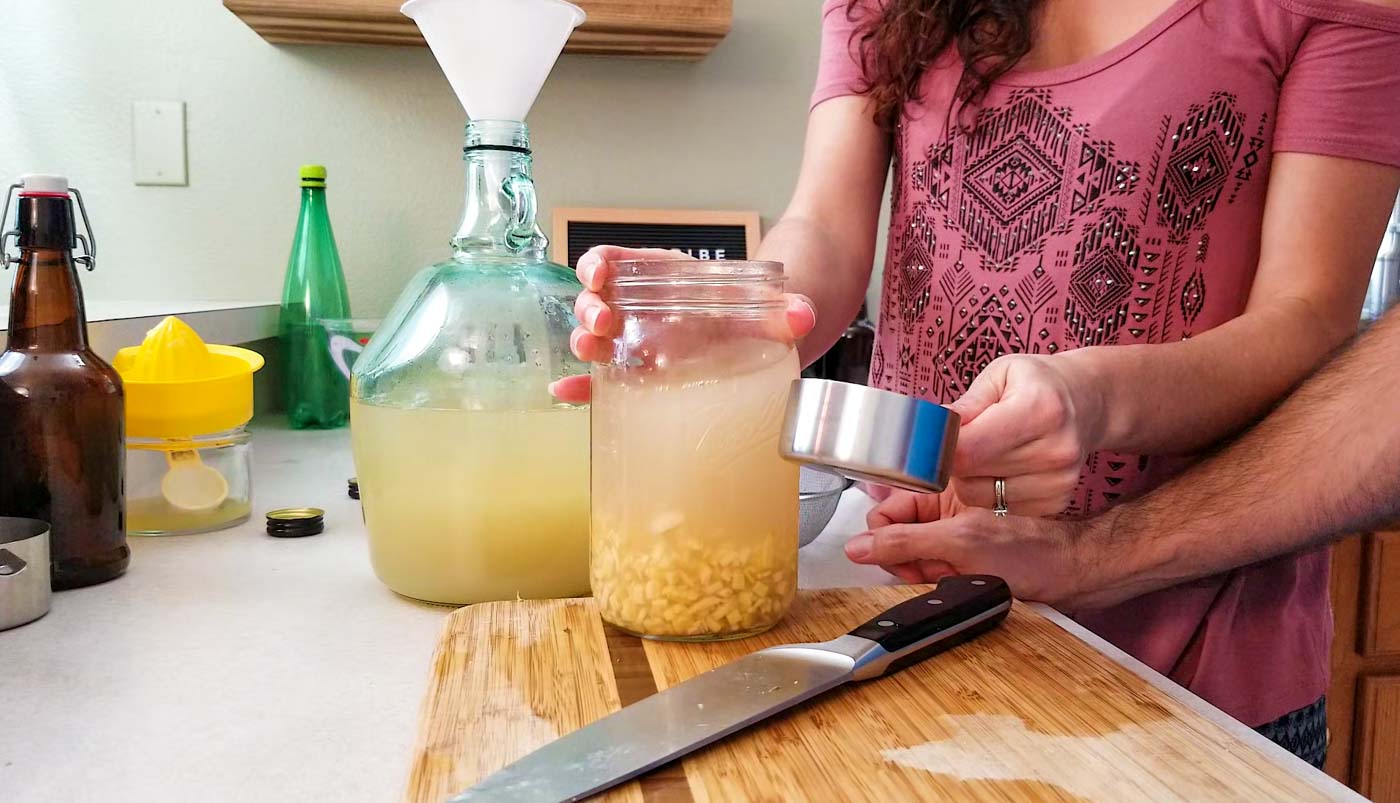
Cover loosely with a cap or towel and let sit between 3 days to 1 week. This will vary depending on how cool your house is and how active of a ginger bug starter you have. Check on it every day to see how it’s progressing.
What to Expect During Fermentation – Ginger Ale
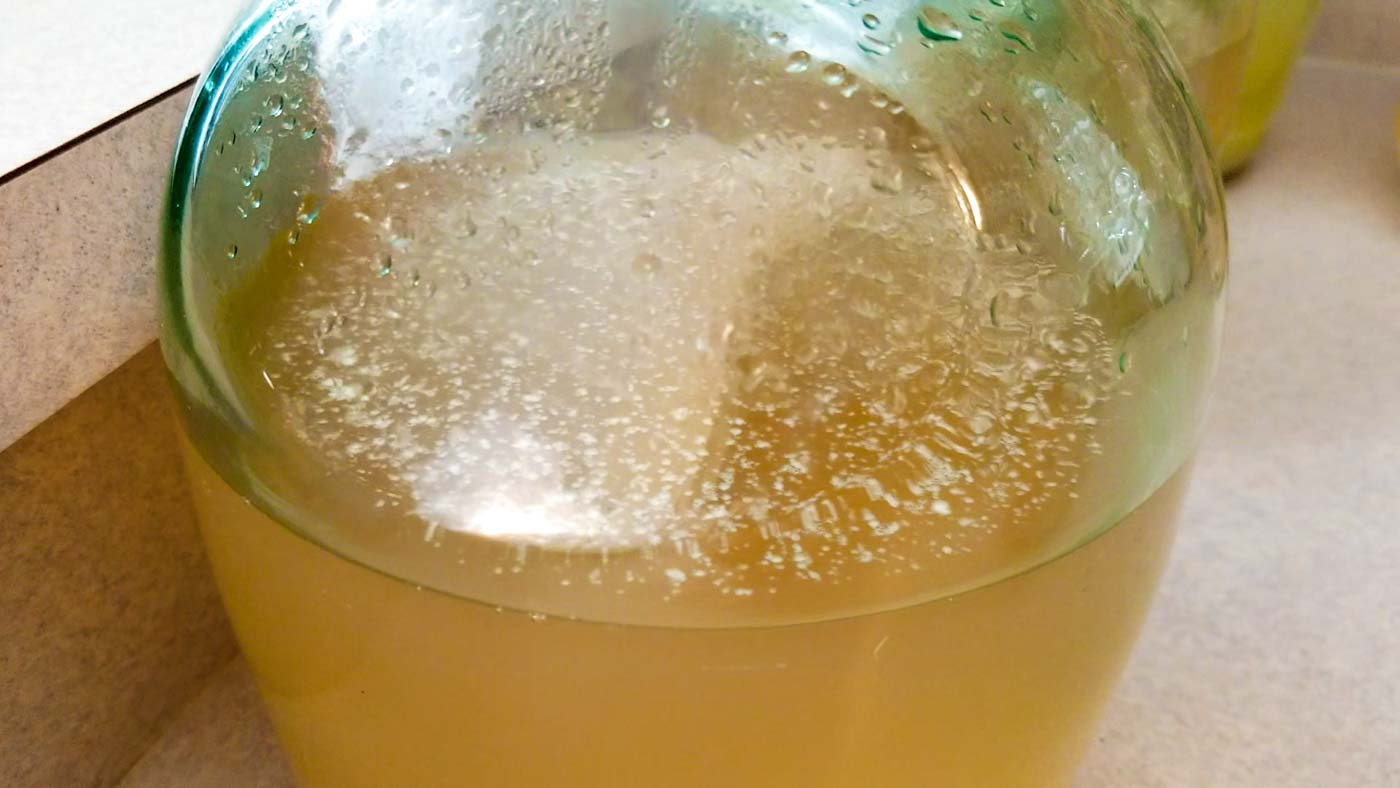
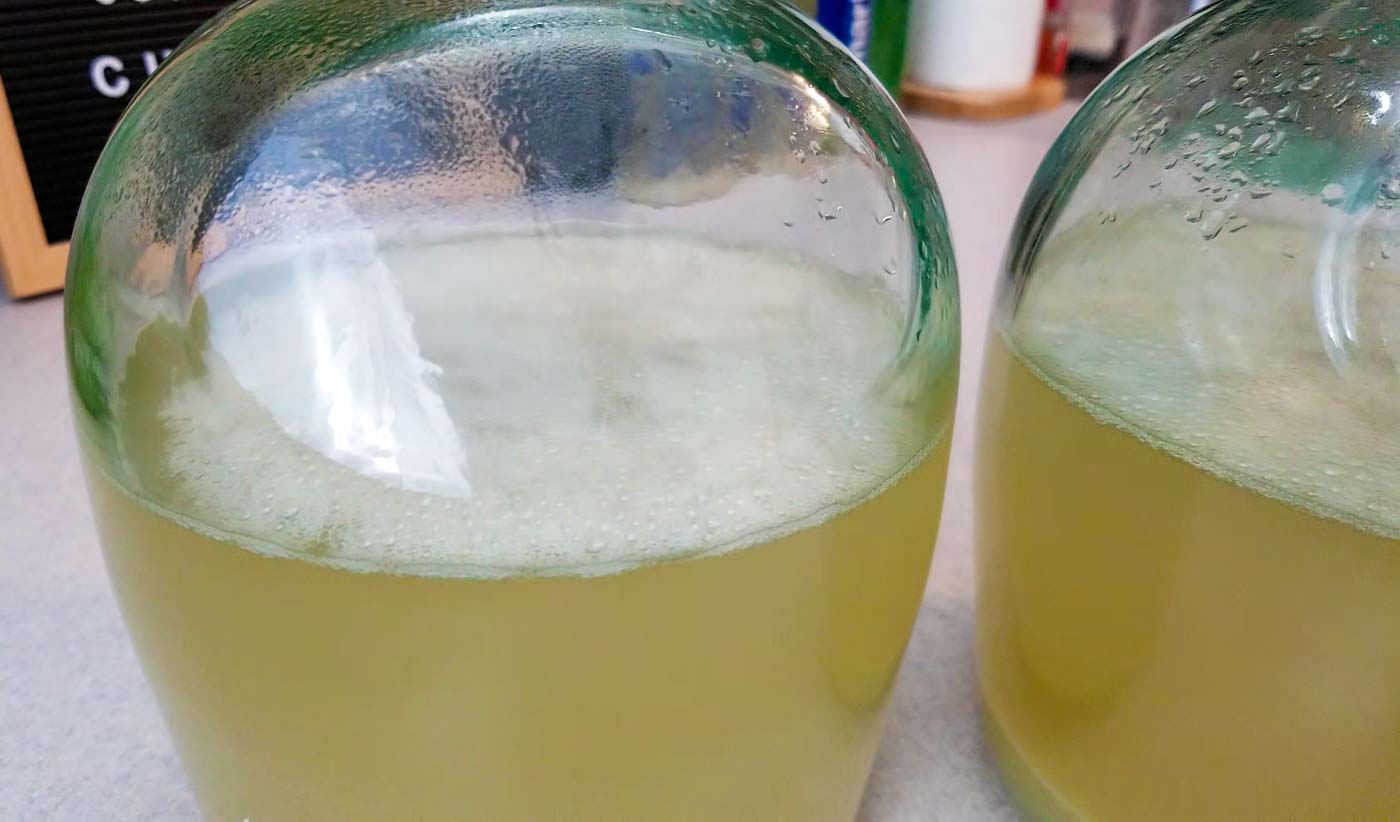
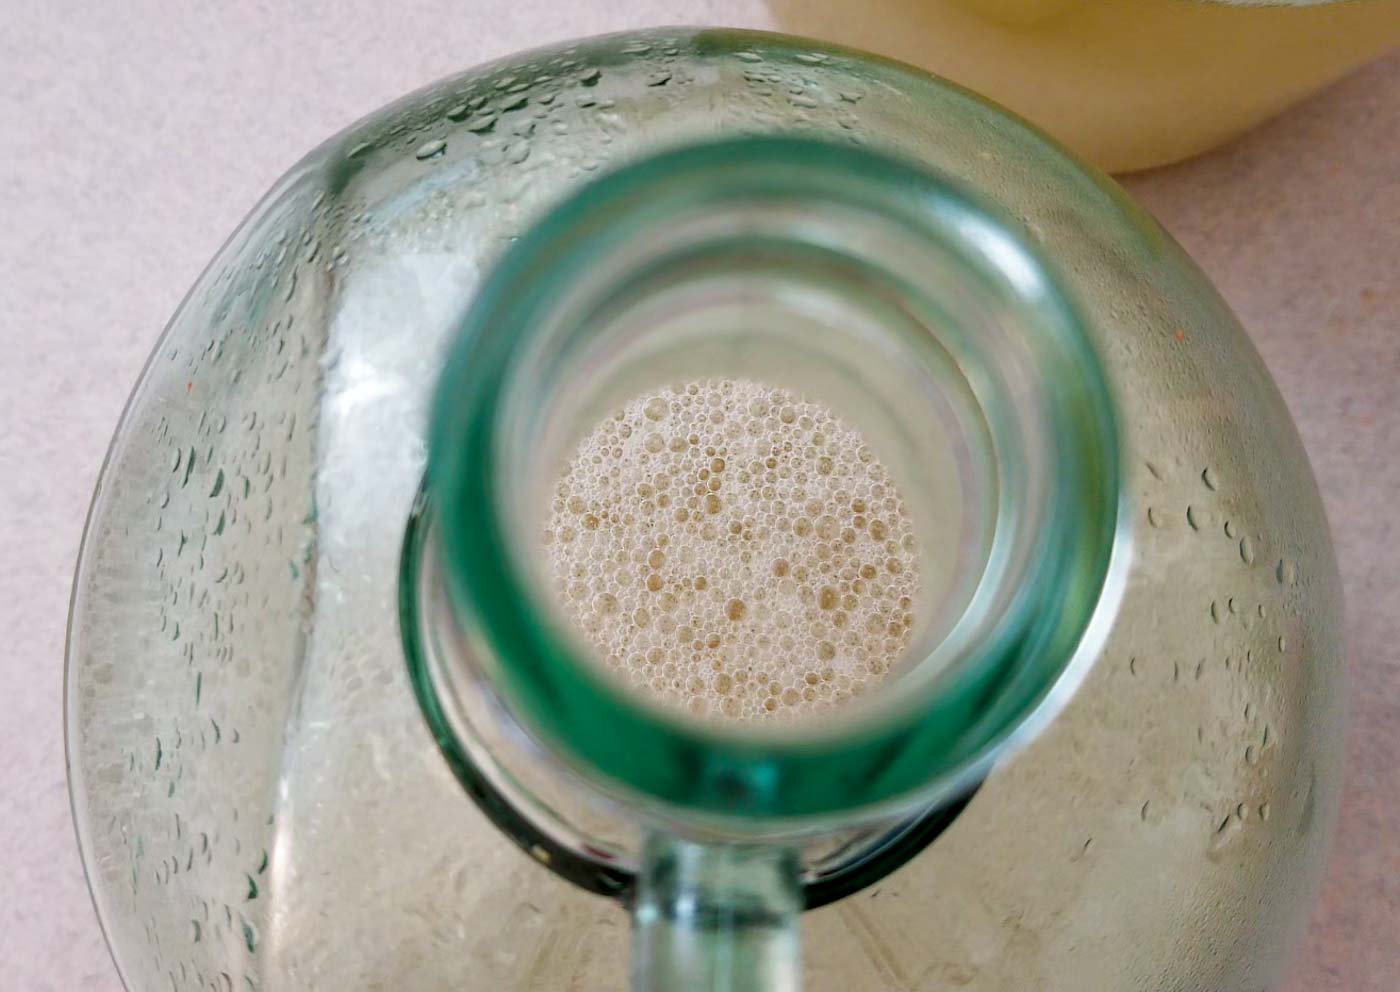
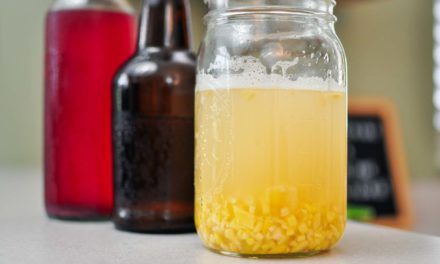
Usually between one to two days, we’ll start noticing white bubbles appearing on the surface of the ginger ale. At first glance you might be taken aback because it looks a little like mold on the surface.
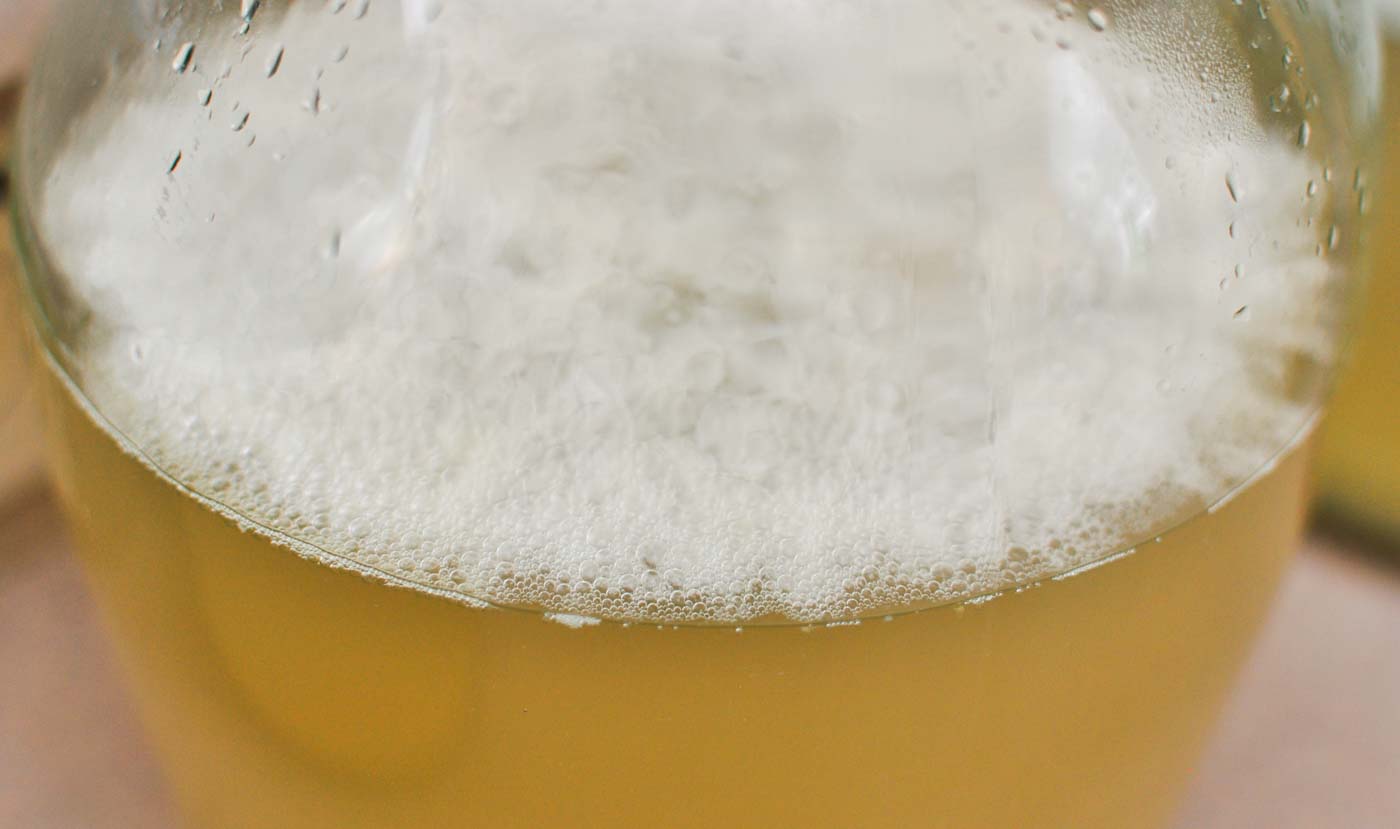
After three days things start getting crazy with the bubbles multiplying into a solid foam on the surface. At this point you could probably bottle, but we like to wait another day or two to let things settle down a little bit.
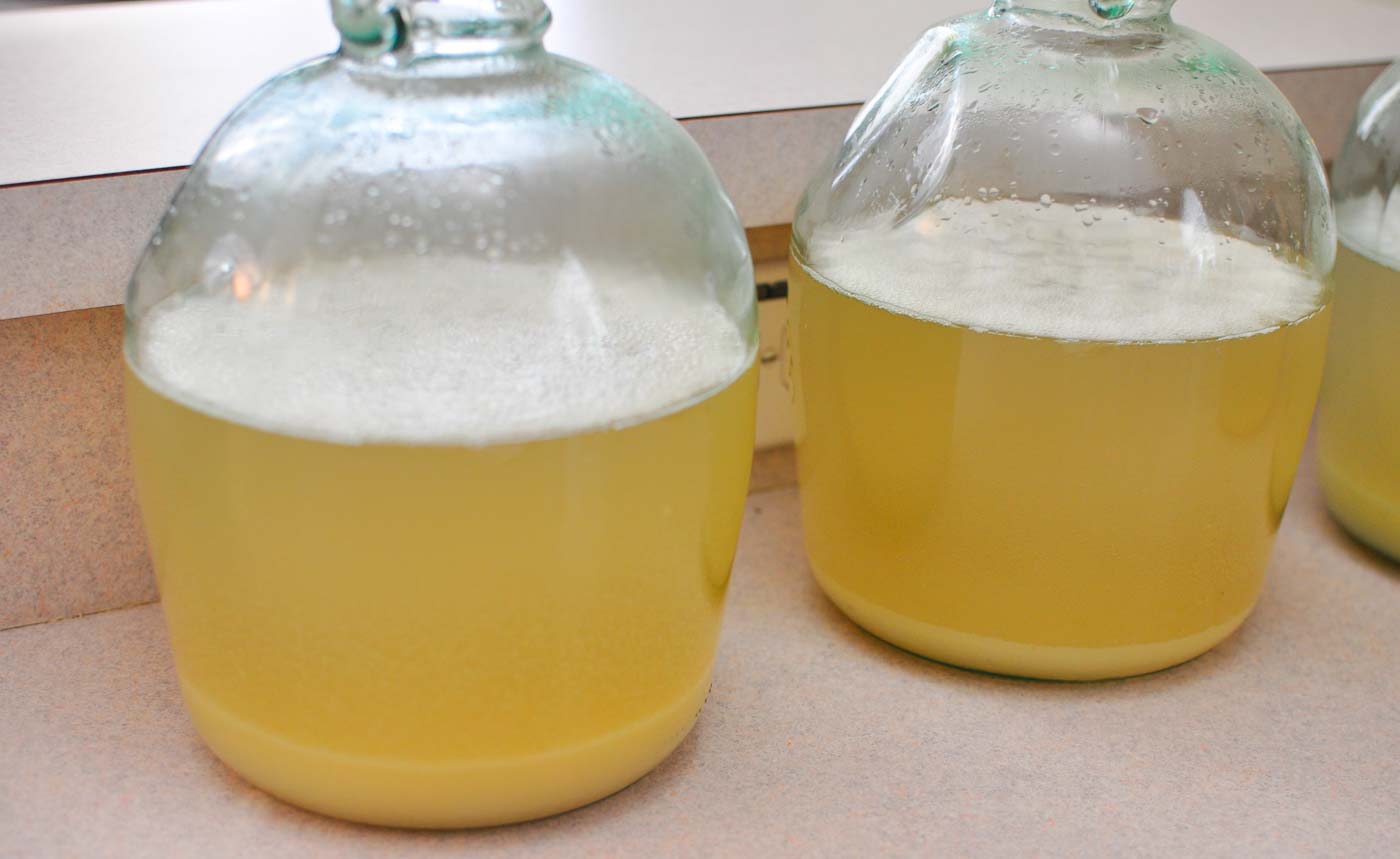
After five days, you might notice that fermentation has slowed and there might be less bubbles appearing on the surface. Once you’ve passed this point, it’s time to bottle!
Secondary Fermentation & Bottling Ginger Ale
Any time we mention bottling an active ferment, we want to caution you that this can be dangerous! When you have pressure building up inside a glass bottle, you basically have a little glass bomb so be careful!
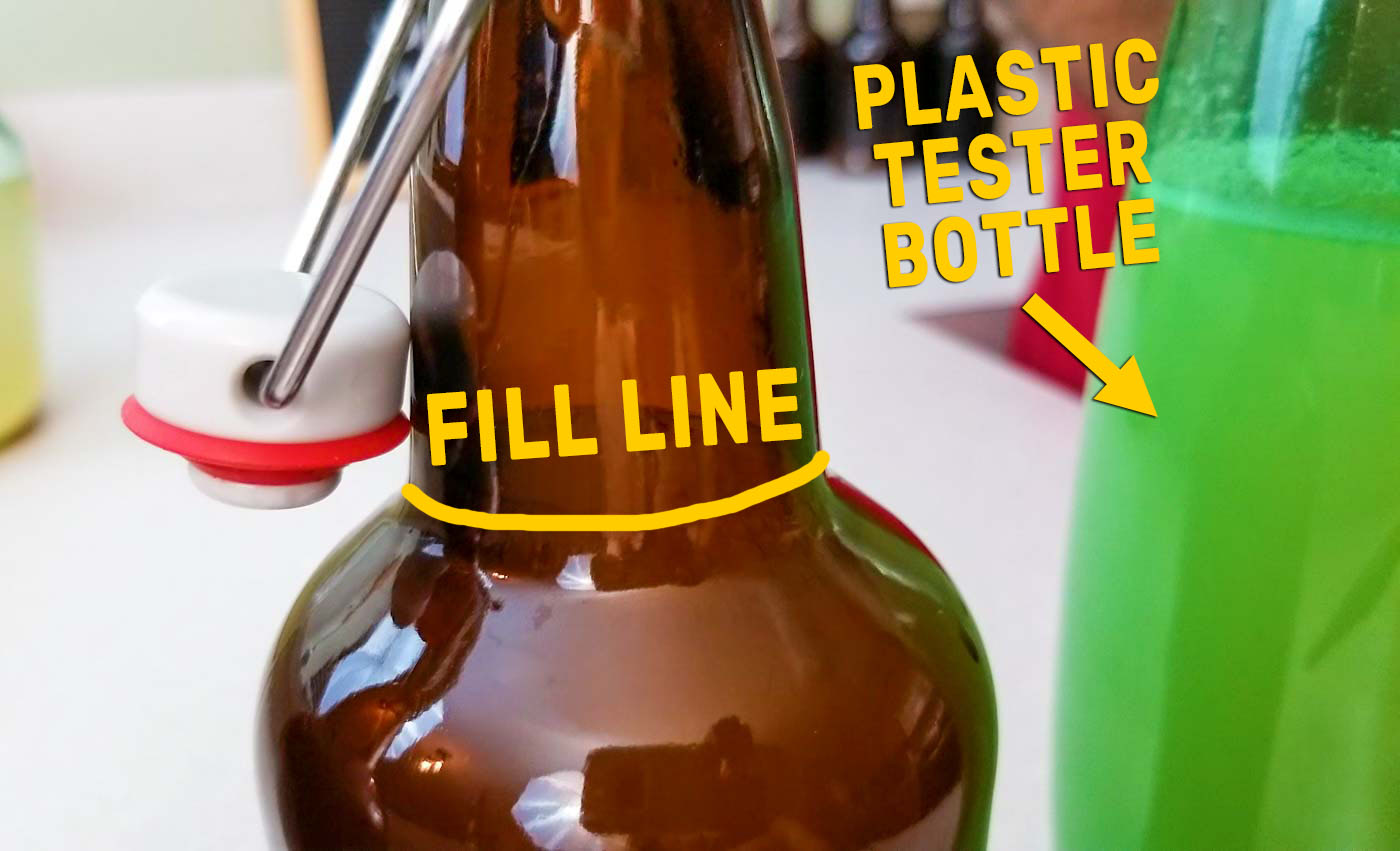
For one gallon of ginger ale, we need (8) 16 oz. bottles. A trick we like to add a margin of safety is to use one heavy duty plastic bottle as a tester. You can squeeze it to get an idea of how much pressure might be building up inside the glass bottles.
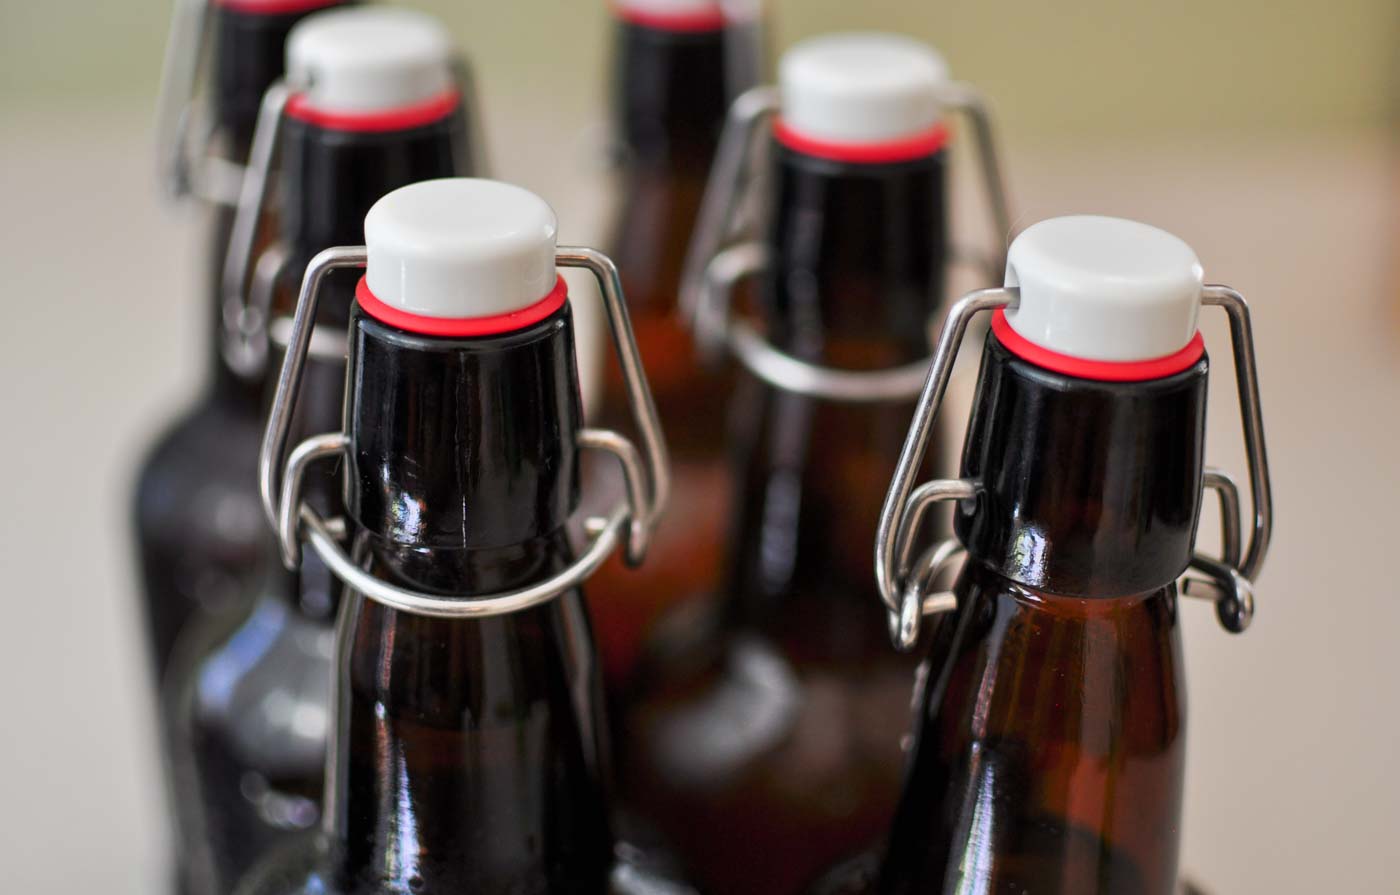
Speaking of beer bottles, we love using these flip-top beer bottles for homebrew to make all of our bubbly sodas. You’ll want to use something that can hold pressure. A mason jar is not good for this as it will easily crack or explode.
Time to bottle!
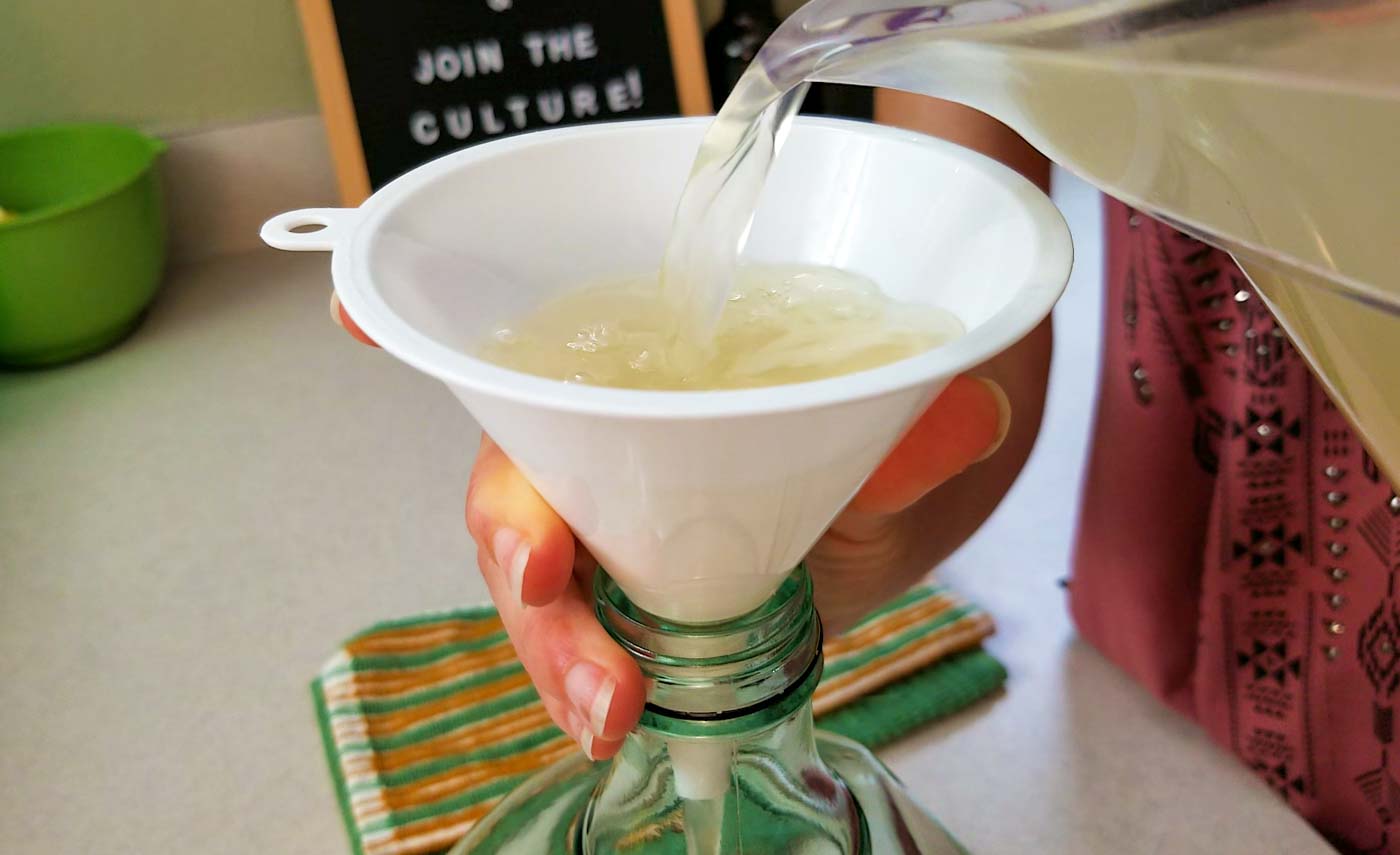
Grab a funnel and begin transferring your ginger ale into the bottles while you keep stirring to make sure everything is evenly distributed. You’ll want to fill the bottles to the neck line to leave enough headroom for the building pressure. Don’t forget to reserve one bottle as the plastic tester. Flip or screw the tops to put the pressure on.
In this secondary fermentation stage, over the next couple of days we’re going to squeeze the tester bottle to gauge the pressure. Since no air can escape, CO2 is forced into the liquid causing your ginger ale to carbonate. If you don’t like carbonation, feel free to skip this step completely and enjoy your ginger ale without the bubbles.
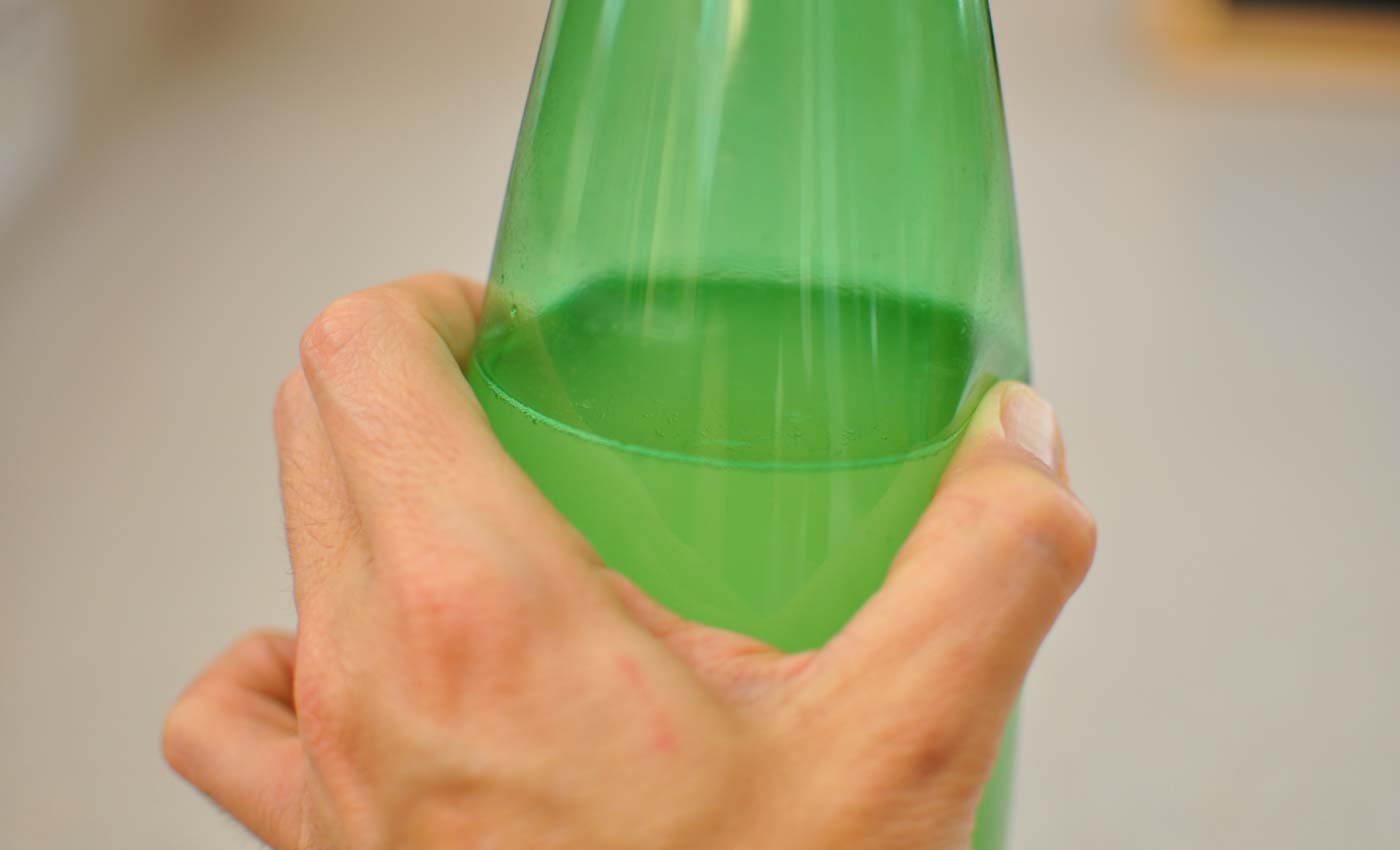
For us, we normally bottle about 2-3 days making sure to squeeze the plastic tester bottle a couple times a day. Whenever it gets firm without any give, it should be ready!
Once you’re happy with the pressure, move all of your bottles to the refrigerator to slow down the fermentation process.
Beware! Your ginger ale bottles will keep fermenting and building up pressure over time even in the refrigerator. Make sure to enjoy them often! You can always make more.
Tips & Recommendations
Are you in a rush?
Like in our recipe above, try boiling half the amount of water you need and using the other half to help cool it down faster. Even better if you fill the sink with cool water and ice.
Do some batches ferment faster or slower than others?
When adding your ginger bug starter, make sure to stir it completely before you take some, because yeast tends to sink to the bottom. Also when transferring your wort or bottling, make sure to stir the batch while you’re pouring and dividing to make sure all of the ingredients are uniform.
Ginger Ale for Upset Stomach
If your stomach is ever feeling a little queasy or if you’re nauseous from motion sickness, you now have real ginger ale as a remedy. Many times, old wives tales are rooted in truth, and this one happens to be from the power of the ginger plant. When you ferment and bottle it, it’s even better. Consider keeping some in the fridge for such an occasion.
Tell Us How It Goes!
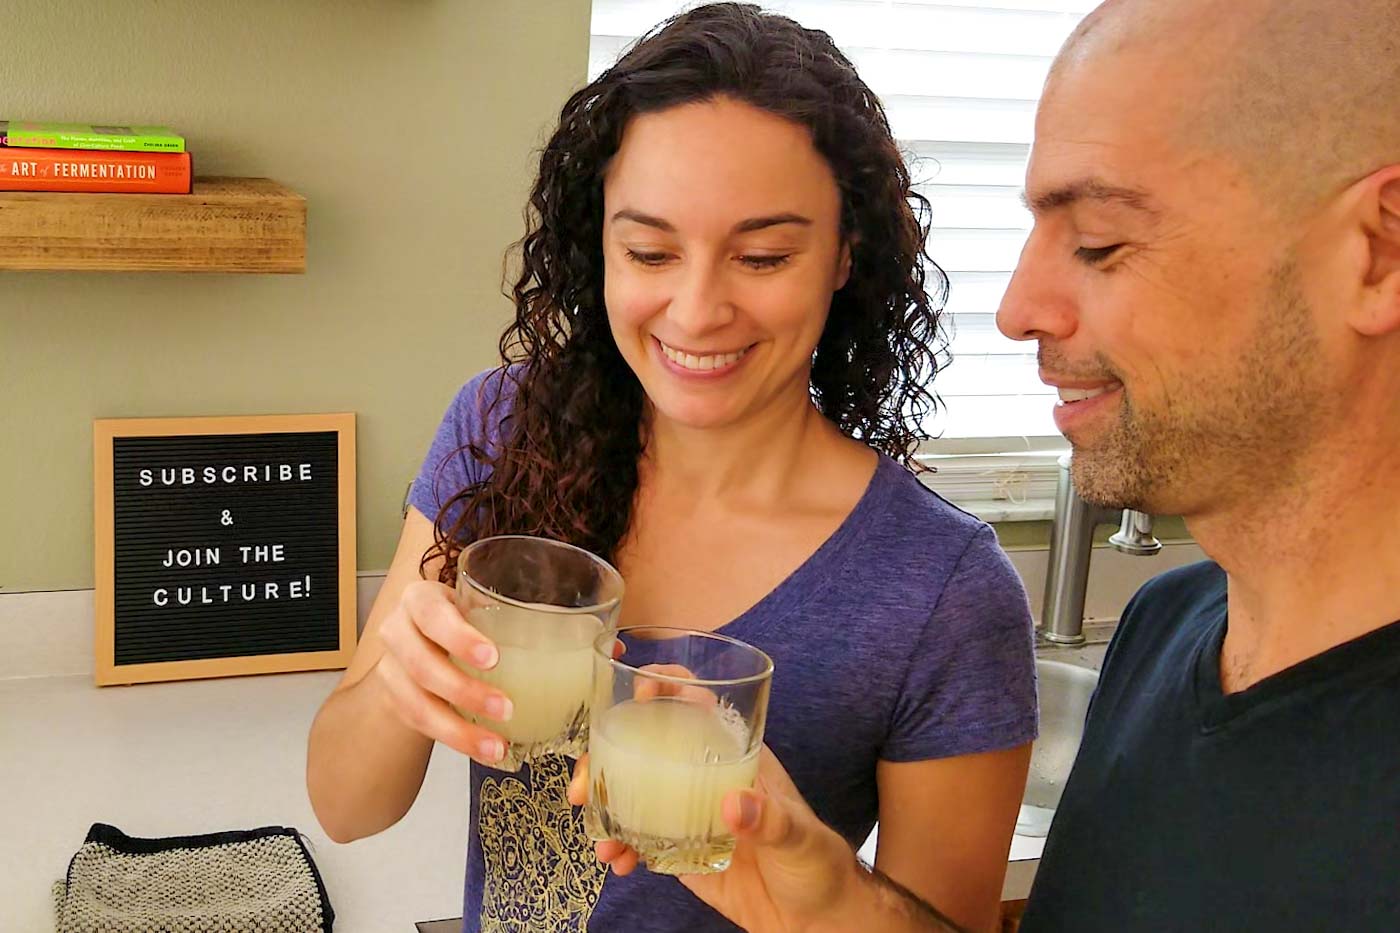
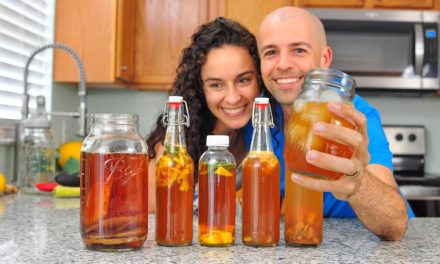
We’re excited to share our favorite recipe for making ginger ale. Whenever we have friends over, we love popping a bottle and having them try our homemade brew. After their first sip, we can’t help but feel happy when we see a smile on their face.
We hope you’ve enjoyed this recipe and that you tell us how yours is going! Leave us a comment below and don’t forget to subscribe to our YouTube channel!



After using a cup of your bug, when you replenish the water to maintain it and then add more sugar and ginger – I’m confused (as a first timer) what happens to the vast amount of ginger that must accumulate in the bug over time?
That’s awesome that you’re making a ginger bug! You’re right about all of the ginger pieces that start piling up when you keep on feeding your ginger bug. Every once in a while what we like to do is strain off all of the old ginger pieces leaving only the liquid and then adding fresh ginger, water, and sugar to the jar. The old ginger has already done its job and is just taking up space so feel free at any time to strain it off when it start accumulating.
We also made an FAQ video in case you’re interested or have any other questions. Good luck on your sodas! They’re so good. 🍺😊
What can i use the leftover ginger bits for?
After making a ginger bug and straining off all the old ginger, we normally just compost it. Since it’s been releasing it’s flavor, there’s probably not much flavor left. You can definitely try to use it for something else but we like to compost. Thanks for the question!
I saw someone mentioned once that they dehydrated their leftover ginger bits. They said they were like sweet crystalized ginger. I’m sure they’d be delicious to add to cereal, oatmeal, etc. Also since the dehydrator is such low heat, most of the good bacteria still remains so it’s very nutritious. I haven’t tried it myself, but it sounds good!
Oh wow! That sounds like an interesting idea! I bet if you set the dehydrator on the lowest setting it would probably work and be able to be rehydrated. It might not be as vigorous at first as a fresh ginger bug but I bet it would work and probably taste good too. Thanks for the idea Rosie! 🙂
I just made my first batch of ginger ale from your recipe. This is day four and it’s gotten very gelatinous. It got very foamy and even that is ropey. What happened?
Oh no! It sounds like you might have gotten a bad bacteria that got in your batch. We’ve had that happen before and had to sterilize everything to make sure we destroyed it. We would start over and also try a different source of ginger just to make sure. Good luck and let us know how it goes!
This is a great recipe guys. I’m waiting for my water to cool so I can add the bug. Fingers crossed.
I used store-bought distilled water, but the chemist in me wanted to let you know that the free chlorine will absolutely be gone after 15 minutes of boiling. I used distilled water so I could control for any minerals that would be introduced by tap water. The tap water minerals might help or might hurt the final product, but since this is my first time trying this, it’s best to remove as many unknowns as possible.
Peace! Scott
Thanks so much for the idea Scott! If you have regular chlorine in the water it could possibly be boiled off. The only problem is in municipalities that use a longer lasting chloramine that also has ammonia which can’t be boiled off or evaporated. Good idea on the distilled water though. Good luck!
I just tasted the ginger that was left after straining. It is smoking hot spicy! Have you ever done anything with these leftovers? I’m thinking that they might be good for marinating a piece of fish or chicken.
Peace!
Yeah they definitely still have a lot of flavor in them! I’m sure you could use them for cooking or even just make a nice ginger tea. 🙂
I recently traveled on a 2 week trip and couldn’t imagine not having Ginger Ale to enjoy. I packed a very active ginger bug into an empty water bottle and double-bagged it in gallon ziploc bags. It traveled very well in my checked luggage on the airplane (not a carry on bag). When I arrived at my destination, I bought fresh ginger and a bag of sugar. In 3 days, I had fresh ginger ale to drink! When I switched locations, I brought ginger ale in my luggage in a new plastic water bottle, along with the bottle of ginger bug.
Wow Melissa! What a cool idea! We’ve been wondering about traveling with a ginger bug on the road but not on a plane. Thank you so much for sharing! 😊❤️🍺