Have you ever tried fermented carrots? They’re a snack like no other! While we’re usually busy making dill pickles and other interesting creations, this time we’re sharing our lacto-fermented carrot sticks recipe with you!
Not only are both fermented and pickled carrots delicious, they’re also a great way to get beneficial probiotics.
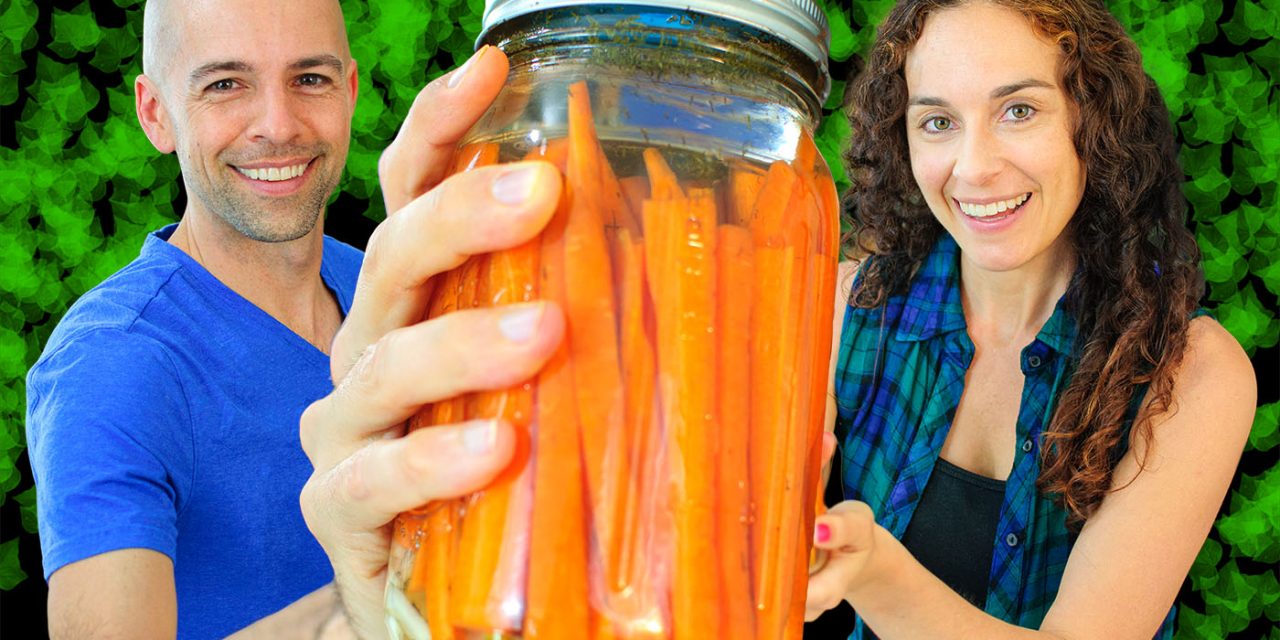
Picture the satisfyingly fresh crunch of a carrot combined with herbs, spices, and the unique tangy flavor of lacto-fermentation. Age this recipe for a handful of days and you’ve got a delicious snack of fermented carrots!
Check out the full video and be sure to subscribe to our YouTube channel. We appreciate your support!
Easy Lacto-Fermented Carrots Recipe
Makes 1 quart mason jar
These spicy (or not) fermented carrot sticks make a great snack and are an interesting appetizer to add to a table before a meal. While you can eat carrots raw, cook them, juice them, or shred them, fermented carrots are a favorite in our house for the bold flavor they offer from the garlic and onion.
Equipment:
1 quart mason jar, wide-mouth, cleaned
Fermentation weight – We love these!
Fermentation lid or 1 half pint mason jar, cleaned (jelly jar for weight)
Ingredients:
Carrots, sliced into sticks, enough to fill mason jar
4 garlic cloves, smashed
A few small slices of onion
1 tsp crushed red pepper or a few slices of hot peppers
1 tsp. dill, dried OR 2 tsp. dill, fresh (optional)
Non-chlorinated water, enough to fill jar when packed
Sea salt, to taste (I use 1 T. for a 1 quart mason jar)
Wash carrots and cut off the tops and bottoms. You don’t need to peel the carrots.
Slice into carrot sticks that will make for great snacks. Make sure to slice them to a length that’s slightly shorter than the neck of the mason jar to leave some head room.
Peel and crush your garlic, slice your onions into strips, and add them to the bottom of the mason jar along with spices and peppers.
Lay the jar on its side or hold it at an angle and start filling it with the carrots. This helps to keep all the carrots upright and fill the space more evenly. Be careful not to pack the jar too tight to avoid breaking the jar.
Mix together the salt brine solution and fill the jar almost up to the neck of the jar. Leave 1 to 1/2 inch at the top for a gap.
Add in your fermentation weight at the top to keep all of the ingredients weighed down below the brine. You might get some overflow or if you don’t have enough brine, might need to add more. The most important thing is to make sure your ingredients are submerged.
Add your fermentation lid, cap it off, and give it a little shake to incorporate all of the ingredients.
Ferment at room temperature on the counter anywhere from a few days to a couple weeks. We like 5-7 days which is when fermentation activity has slowed. Make sure to taste it to get the flavor you like.
Kahm Yeast – What to Expect
So after a few days of fermenting, you think everything’s going great and then BAM! You see a floating white layer on top of your beautiful ferment. Oh no! What you’re most likely seeing is kahm yeast, which is very common with ferments like these.
Since kahm yeast is an aerobic yeast that loves oxygen and thrives on sugar, it’s very possible to develop of layer of kahm yeast on top your ferment. Vegetables and fruits with a higher sugar content such as carrots, beets, sweet potatoes, or sweet peppers have more sugar which makes them more likely to get kahm yeast.
On day 5 in the video we opened the lid and did a taste test to see how the flavor was progressing. Our fermentation lid kept the oxygen out but then when we did our taste test, fresh oxygen came flooding in, creating a good environment for the kahm yeast. Check out the video and you’ll see a robust layer of kahm yeast floating on top. We smelled it and it smells like yeasty bread dough.
If you have kahm yeast on top of your ferment and everything is still submerged, we simply scrape the kahm yeast off leaving everything below the brine perfectly fine. If it’s darker or fuzzy, you might possibly have mold, which when we get mold, we throw it out and start over. Some people scrape that off and keep what’s below the brine but we like to just start over. Better safe than sorry.
Lacto-Fermented Carrot Sticks – Yum!
Once it’s ready, don’t forget to label it with a date and move it to the refrigerator where it should keep for a long time!
We hope you try this recipe and let us know if you make any changes! These fermented carrots have always been a favorite snack for us as a side dish or a tasty snack on their own. Whether you choose to make it spicy or leave it as is, we hope you enjoy this one.
We hope you enjoy this recipe and don’t forget to subscribe to our YouTube channel so you don’t miss anything!