Oh how we love the sweet and spicy taste of homemade ginger ale! From the moment you pop the top and hear the bubbly fizz to the spicy aftertaste, ginger ale soda brings out the kids in us.
This week we’re continuing our exploration of how to make your own ginger beer from a ginger bug, but with a twist. We’re using a fresh ingredient from our garden.
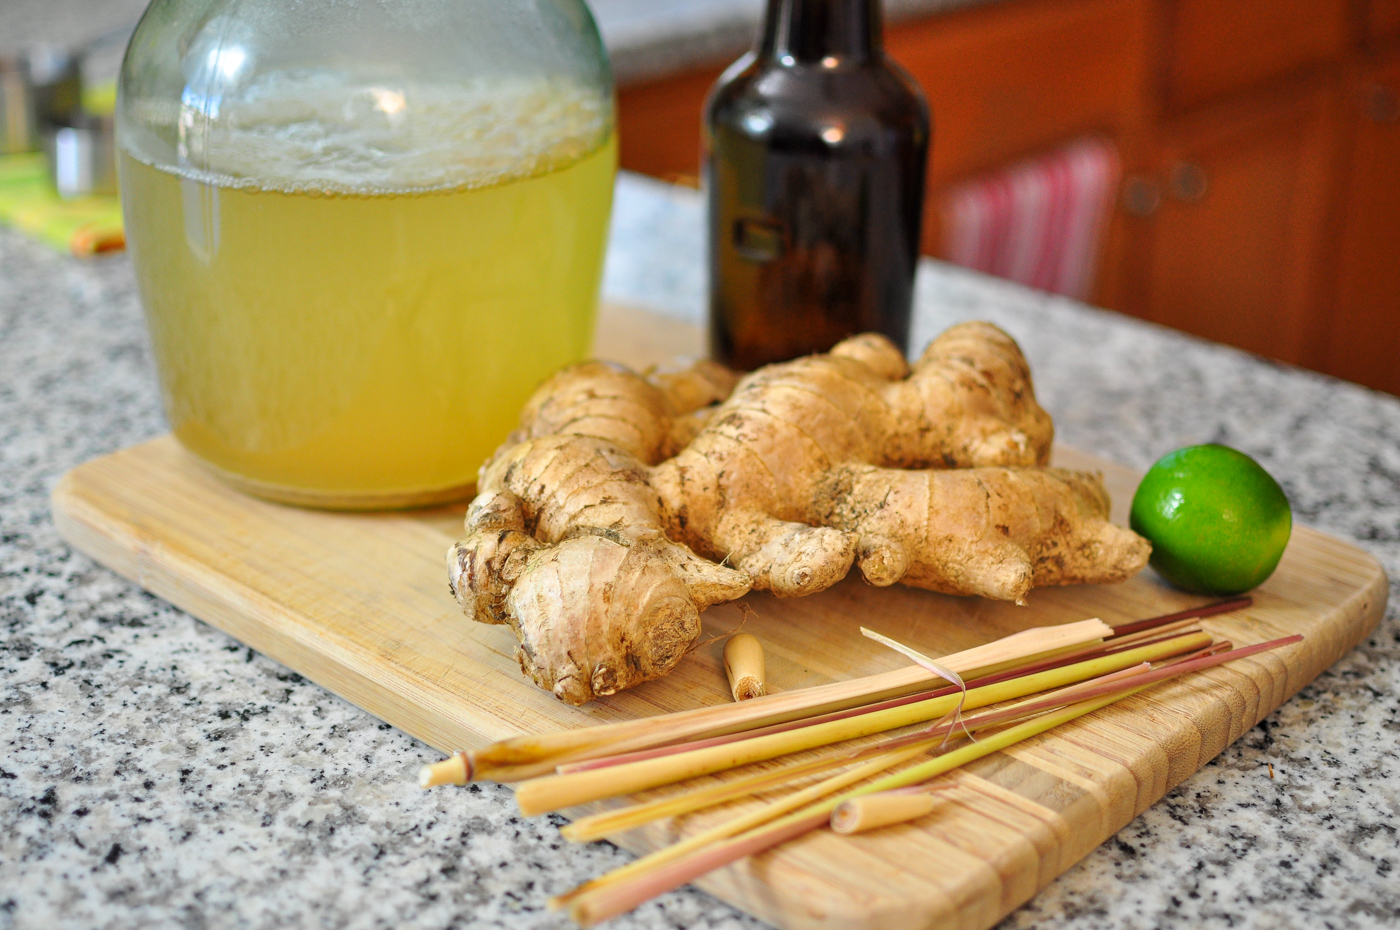
Fresh lemongrass!
We’re making lemongrass soda, otherwise known as lemongrass ginger ale.
Sure you can make lemongrass soda for the plain lemon flavor, but combining lemongrass and ginger together really kicks up the flavor to the next level. It’s super easy and we’re going to show you how.
Check out the full video and subscribe to our YouTube channel. We appreciate your support!
How to Make Homemade Lemongrass Ginger Beer
If you’re making ginger ale, the first thing you need is to make a ginger bug starter from fresh ginger. It’s simple and easy. Check out our previous post on how to make a ginger bug. Let’s get into the recipe.
Homemade Lemongrass Ginger Ale Recipe
Makes 1/2 gallon (to make 1 gallon, just double the recipe)
Equipment:
- Large cooking pot
- 1/2 gallon jars or jugs for Primary Fermentation
- Funnel
- (3) 16 oz. glass flip-top beer bottles <– We love these
- (1) 16 oz. heavy duty plastic bottle (such as Perrier or a soda bottle)
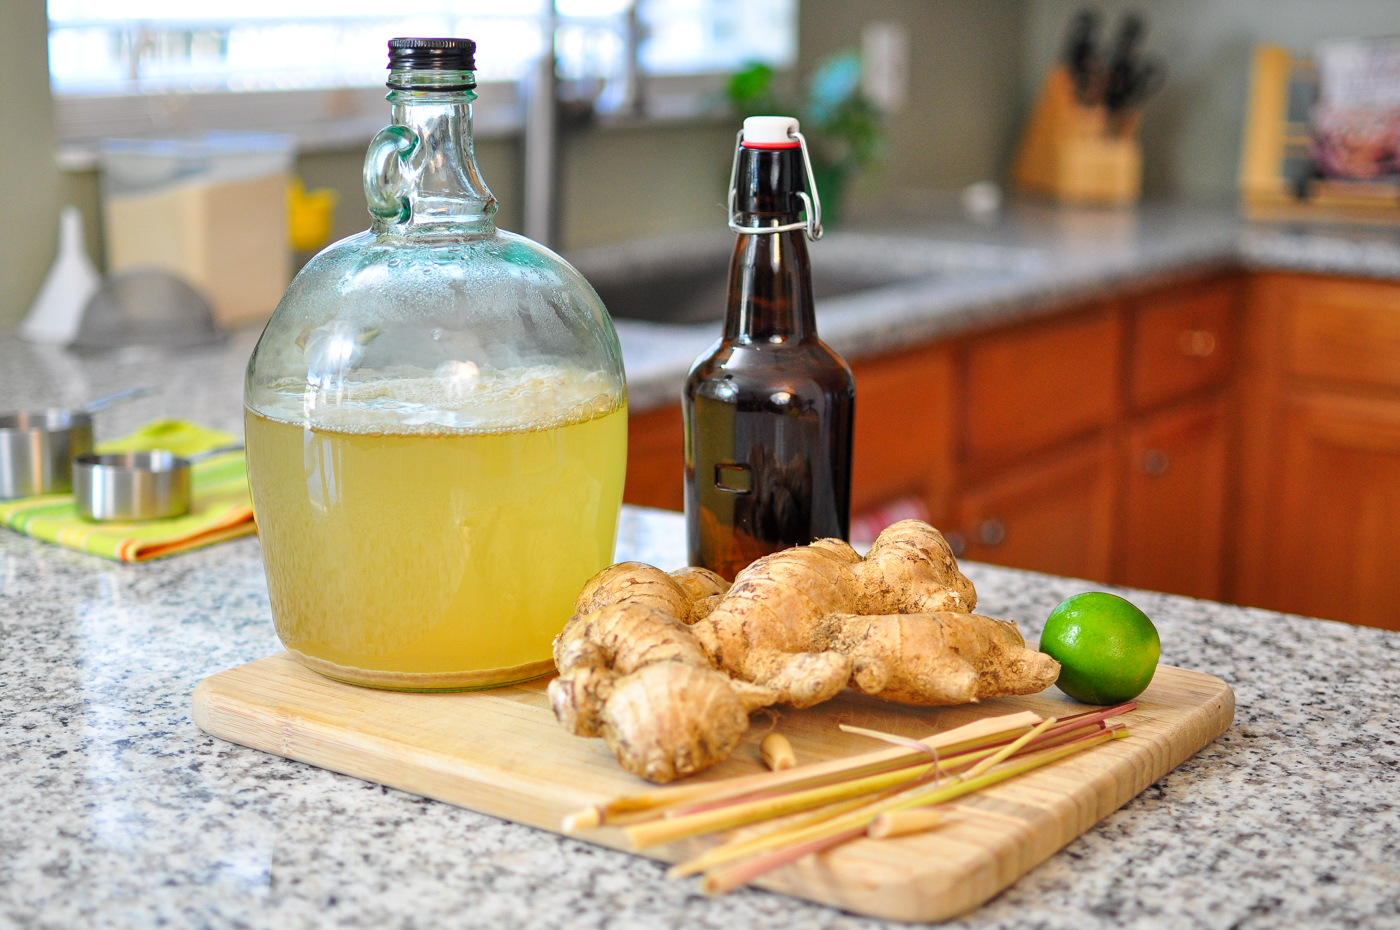
Ingredients:
- 1/2 cup fresh ginger, chopped or grated
- 1 cups sugar
- 6 stalks fresh lemongrass
- 1/2 cup Ginger Bug starter <– full post & video on how to make one
- 1 T lemon juice
- 1/2 gallon non-chlorinated water
How to Make Homemade Lemongrass Ginger Beer
The first thing you need to get started making your lemongrass ginger beer is making a ginger bug starter. It’s simple and very easy! Check out our previous post on how to make a ginger bug. Let’s get into the recipe.
First, you have to make the flavoring base for your lemongrass ginger beer that in the beer world is called a “wort.” You can also think of a wort as being a simple that’s made with fresh ginger, water, and sugar. See how simple that ingredient list is compared to a store bought ginger ale? Beyond that, you can add other flavorings with fruits and herbs but today we’re only adding one more ingredient to the list – fresh lemongrass.
Fill a pot with your non-chlorinated water and bring to a boil. Keep in mind boiling water doesn’t remove chlorine! We now like to use all of the water in a recipe so we can get a better idea of exactly what the lemongrass soda will taste like.
Chop or grate your fresh ginger. Add to pot.
Smash and pulverize your fresh lemongrass with a meat tenderizer or even better which is what we like to use – a dough rolling pin.
Add sugar and stir to dissolve. Taste. It should taste very sweet and spicy with ginger flavor. Don’t be alarmed at the sweetness of the simple syrup. A good amount of the sugar will be metabolized by the ginger bug starter in the fermentation process later on. Adjust the flavoring ingredients to your liking. If you want it spicier, more lemony, or sweeter add more ginger, lemongrass, or sugar.
Fill the sink with cool water and ice cubes and put your hot pot of ginger beer wort in the sink to cool it down faster. We stir the pot to transfer the heat from the pot into the cool sink water and add more ice if needed to speed the process up. If making a smaller batch, you can fill a larger pot with the ice water. Or even easier, don’t do anything and let it cool to room temperature a couple hours.
Allow to cool to room temperature or when it’s not warm to the touch. This is super important since the next step we’re adding our live ginger bug starter and you don’t want to kill it!
Primary Fermentation for Lemongrass Ginger Ale
Next we’re doing a primary fermentation in large jars or jugs to get the bacteria and yeast excited!
Stir to distribute mixture evenly and strain into container. We like to use a large glass measuring cup with a strainer on top to strain off any large pieces of ginger or lemongrass. It makes the next step easier to not make a mess.
Transfer your ginger beer wort to your fermentation vessel (or vessels). If you’re making a half gallon, it should be easy to fit it all in the same container but split it up if you need. We like either half gallon mason jars or 3 liter wine jugs filled two thirds of the way. If you’re splitting the batch, make sure to keep stirring to distribute the ginger ale wort evenly. The stronger ginger flavor likes to settle to the bottom.
Add your ginger bug starter. Make sure to stir up the ginger bug before adding.
Cover loosely with a cap or towel and let sit between 3 days to 1 week. This will vary depending on how cool your house is and how active of a ginger bug starter you have. Check on it every day to see how it’s progressing.
What to Expect During Fermentation – Lemongrass Ginger Ale
The first day you most likely won’t notice any activity by by the end of day two, you’ll start noticing white bubbles appearing on the surface of the ginger ale. Don’t be alarm! It might look a little like mold on the surface but if you look closer, you should see that it’s actually bubbles that are going to multiply.
After three days your lemongrass ginger ale should be rocking and very active with a lot of bubbles on the top. Depending on how cool your house is this might be sooner or later but you should see a pretty good layer of bubbles on the surface.
When you reach the point with a solid layer of bubbles, you could bottle it but to be on the safe side, we like to wait another day to let the activity calm down a bit. It also uses up more of the sugar.
After five days, you might notice that fermentation has slowed and there might be less bubbles on the surface. Once you’re at this point, it’s either ready to drink or if you’d like to carbonate it, move onto the next step!
Secondary Fermentation & Bottling Lemongrass Ginger Ale
Any time we mention bottling an active ferment, we can’t caution you enough that this can be dangerous! When you have pressure building up inside a glass bottle, you basically have a little glass bomb so be careful!
For a half gallon of ginger ale, we need (4) 16 oz. bottles. A trick we like to add a margin of safety is to use one heavy duty plastic bottle as a tester. When it’s fermenting, you can squeeze the plastic bottle to get an idea of how much pressure might be building up inside the glass bottles. Make sure to use a #1 PET bottle since it’s made food grade for acidic substances like soda. We only like to use it once and then recycle it.
Speaking of beer bottles, we love using these flip-top beer bottles for homebrew to make all of our bubbly sodas. You’ll want to use something that can hold pressure. A mason jar is not good for this as it will easily crack or explode!
Time to bottle!
Funnnel your lemongrass ginger ale into the bottles while you stirring to make sure everything is evenly distributed. We like to only fill the bottles to the neck line to leave an inch or two of headroom for the building pressure. Don’t forget to reserve one bottle as the plastic tester.
Flip or screw the tops. Beware, the pressure is on!
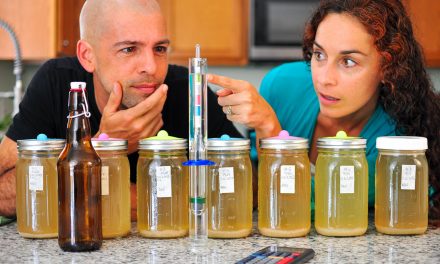
In this secondary fermentation stage, over the next couple of days we’re going to squeeze the tester bottle to gauge the pressure. Since no air can escape, CO2 is forced into the liquid causing your homemade ginger ale to carbonate. If you don’t want carbonation, skip the bottling step and enjoy your ginger ale right now without the bubbles.
For us, we bottle for 2-3 days, making sure to squeeze the plastic tester bottle a couple times a day. Whenever it gets firm without any give, it should be ready!
Once you’re happy with the pressure, move all of your bottles to the refrigerator to slow down the fermentation process.
Beware! Your ginger ale bottles will keep fermenting and building up pressure over time even in the refrigerator. Make sure to enjoy them often or “burp” them! You can always make more.
Enjoy your homemade ginger beer & tell us how it goes!
As always, we’re excited to share our favorite recipes for making homemade ginger ale. We’ll be experimenting with all kinds of flavors that might complement are make our spicy ginger beers more interesting. If you have any flavors you love, let us know! We’d love to try them out.
We hope you’ve enjoyed this recipe and that you tell us how yours is going! Leave us a comment below and don’t forget to subscribe to our YouTube channel!


Is ginger that has dried out any good for anything?
Thanks for the question Harris! When we have ginger that’s dried out, we just compost it. I think after the moisture is gone, it starts going downhill quick.