Do you love hearing the fizz that follows a pop when opening a soda? Pure heaven to a kid. What if you could make homemade soda yourself that bubbles and even tastes better than store bought versions? Well, my friend, you can. It all begins with learning how to make a ginger bug.
A ginger bug.
What in the world is that? The name might sound a little strange but what you’re creating is a starter to homemade soda. It’s what you need to make the fun fizzy action. You can think of it in terms of a sourdough mother, a kombucha SCOBY, or an apple cider vinegar mother. It’s a starter culture.
Check out the full video and subscribe to our YouTube channel. We appreciate your support!
A ginger bug is a stable fermentation culture that’s made up of yeasts and bacteria. Once you’ve created a stable culture that’s in balance, it’s going to try to stay that way. Nature tries to keep itself in balance so when bad bacteria move in, this symbiotic culture is going to try its best to keep itself in balance with the current bacteria and yeasts that are present.
All you’re doing is simply setting up the right conditions for that to happen to give it an advantage. To get started, you make a ginger bug using three ingredients: water, fresh ginger, and sugar.
Making a Ginger Bug Is Super Easy!
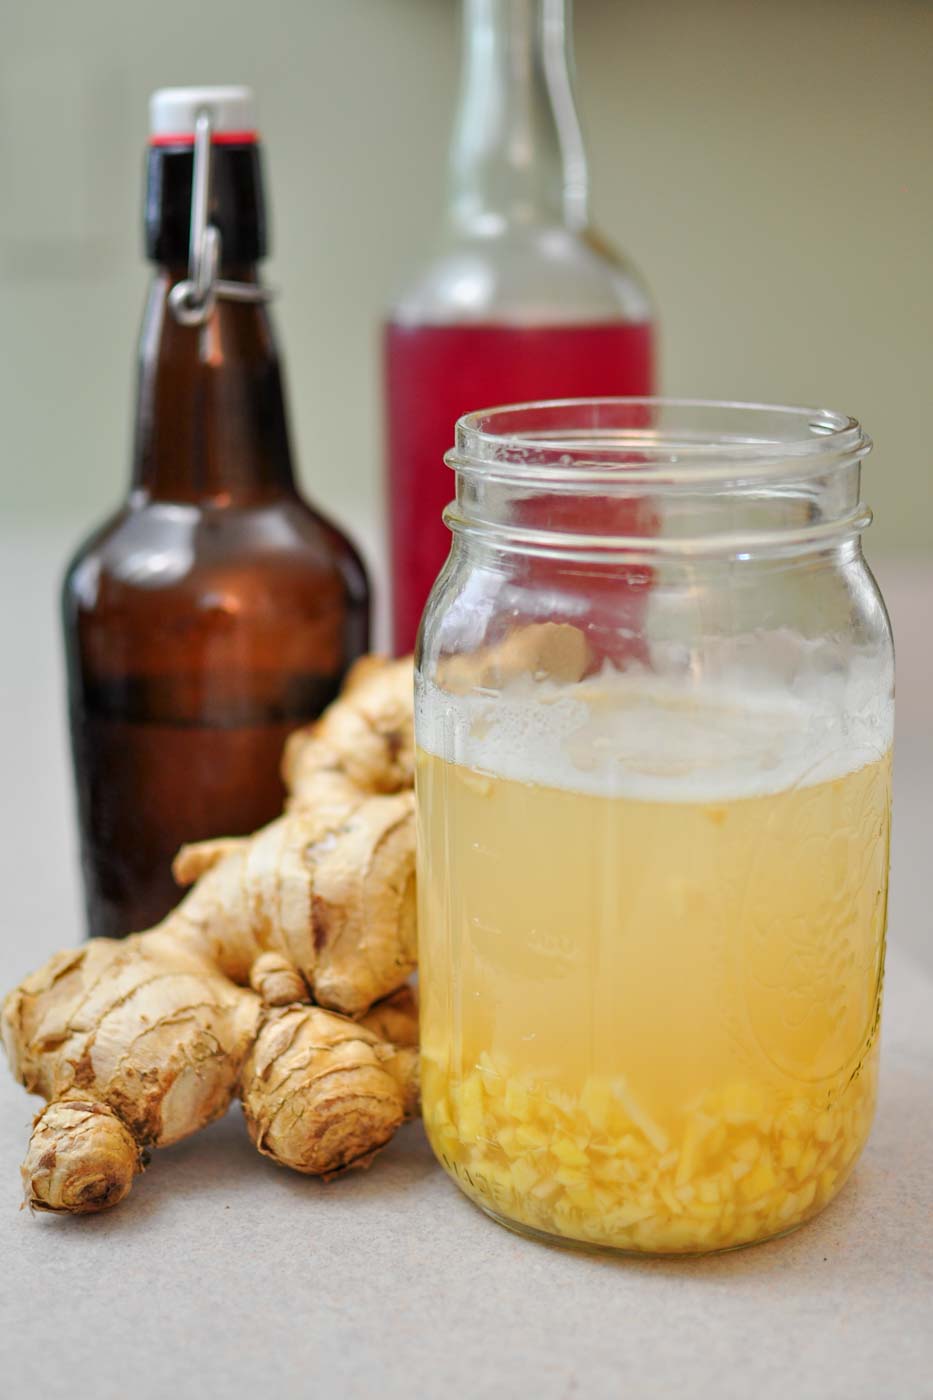
Once you have a stable ginger bug starter, you can use it to create all kinds of wonderful creations such as ginger beer or commonly known as ginger ale. How many times have you heard that ginger ale is good for an upset stomach? Well it’s true, but not the commercial “ginger ale” you normally find in the store. That’s just flavored soda water and not worth your time.
Real ginger ale is alive with probiotics and a flavor that has a real bite to it. But don’t stop at ginger ale! Ginger bug uses are many and from a single starter, you can also make fizzy fruit sodas, homemade root beer, fermented teas, ginger bug lemonade, and many other unique creations that you won’t find at the store.
Let’s make the bug!
How to Make a Ginger Bug (Recipe)
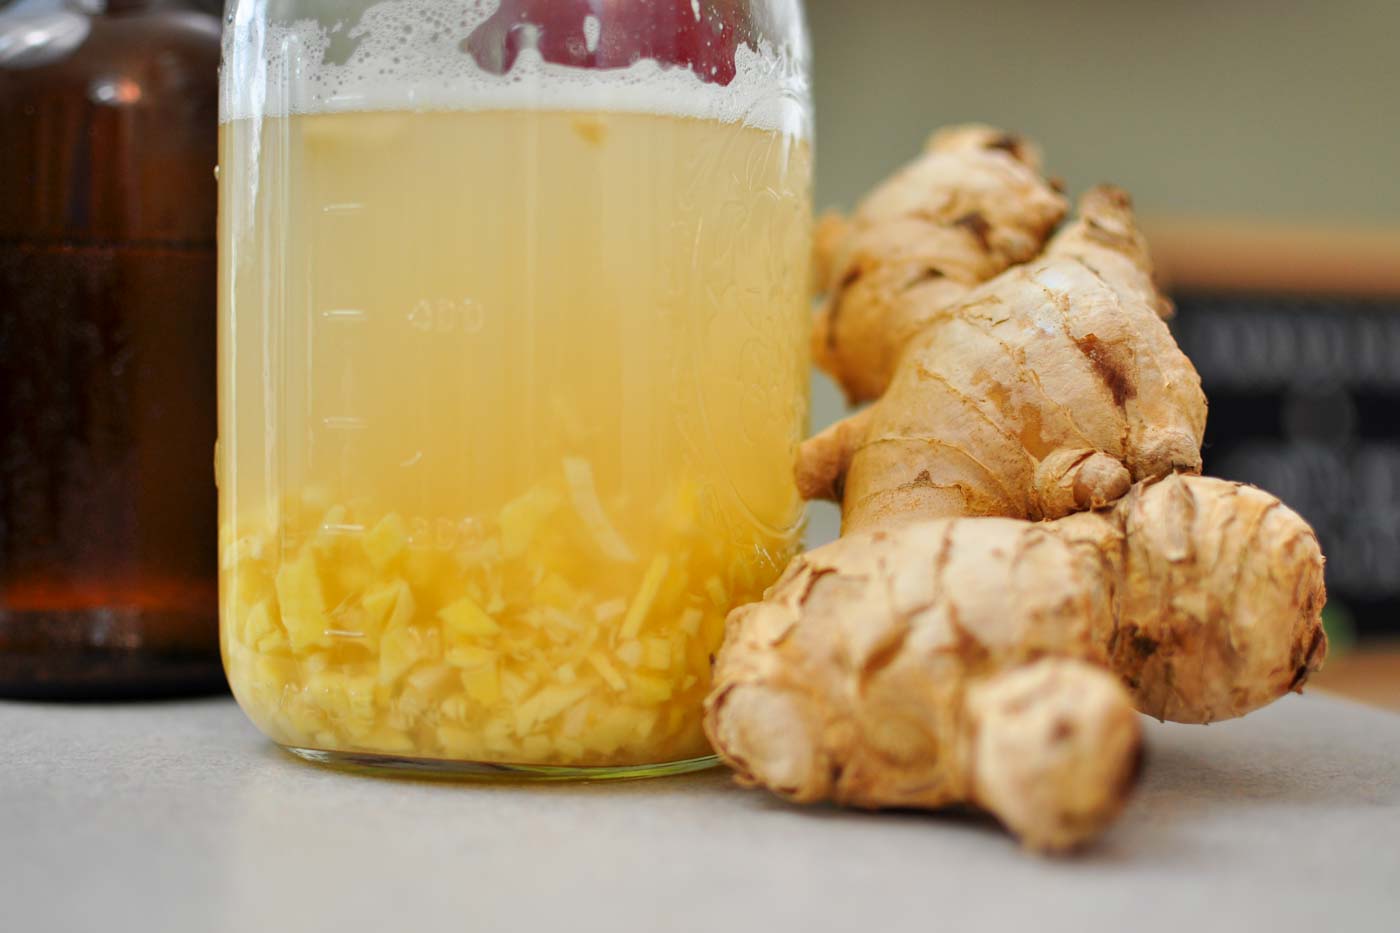
Makes 1 Quart
We love keeping a batch of ginger bug starter in the fridge in case we want to make ginger beer or any other unique homemade soda that we feel the urge to try. From this single quart of starter, you can make four gallons of soda in one shot! Make soda by using 1/4 cup ginger bug starter to 1 quart sweetened liquid.
Equipment:
- 1 Quart Mason Jar
- Spoon (see below about metal or not)
Ingredients:
- Fresh ginger root, organic if possible
- Sugar, white or raw
Chop or grate your ginger enough for 2-3 tablespoons worth on the first day and put it into the jar. Scoop the same amount of sugar and add that to the jar. Always a 1:1 ratio.
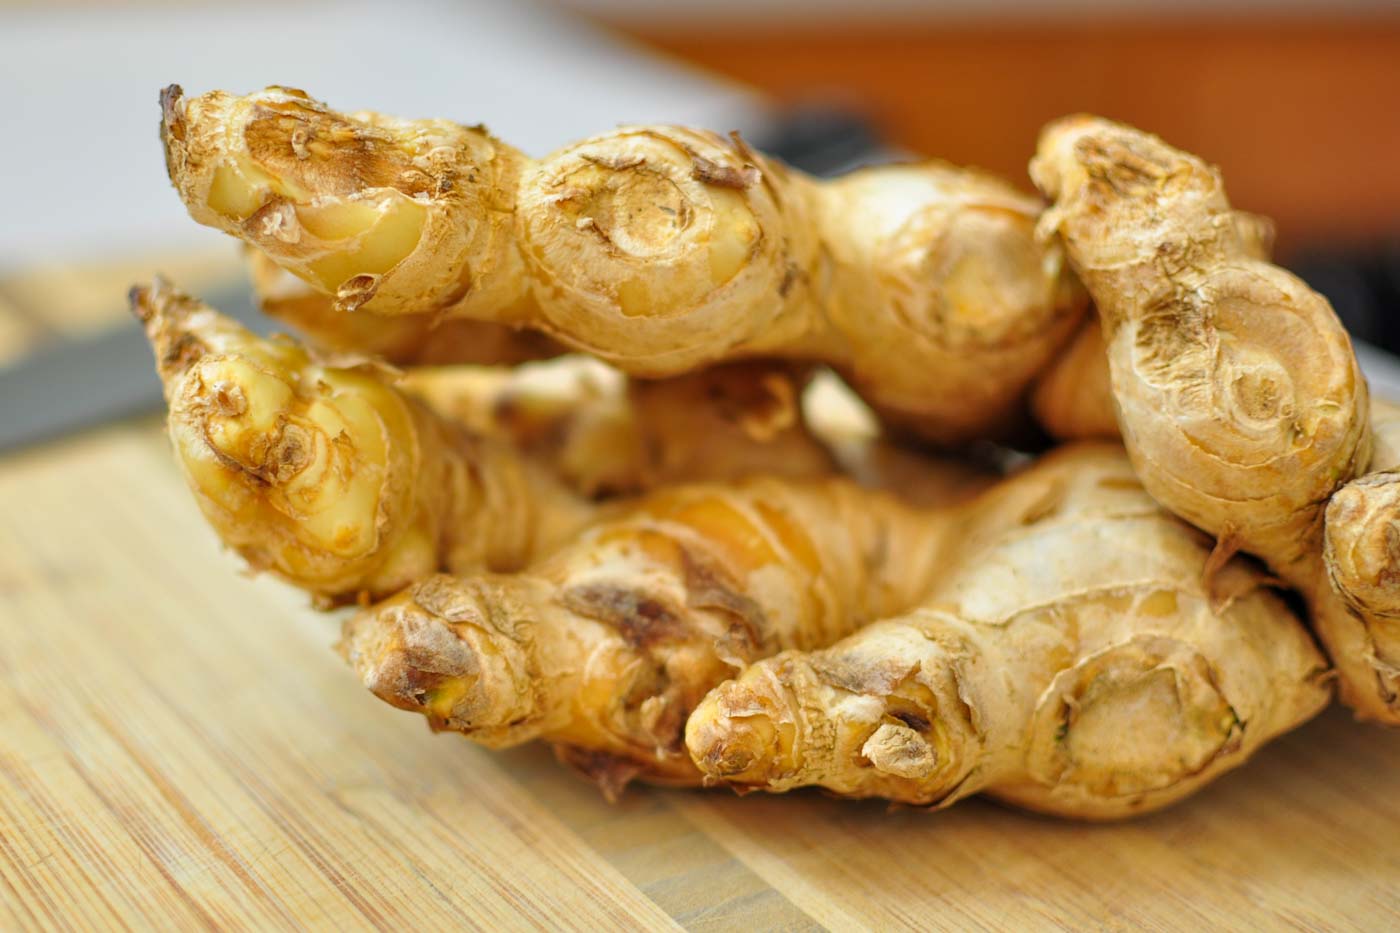
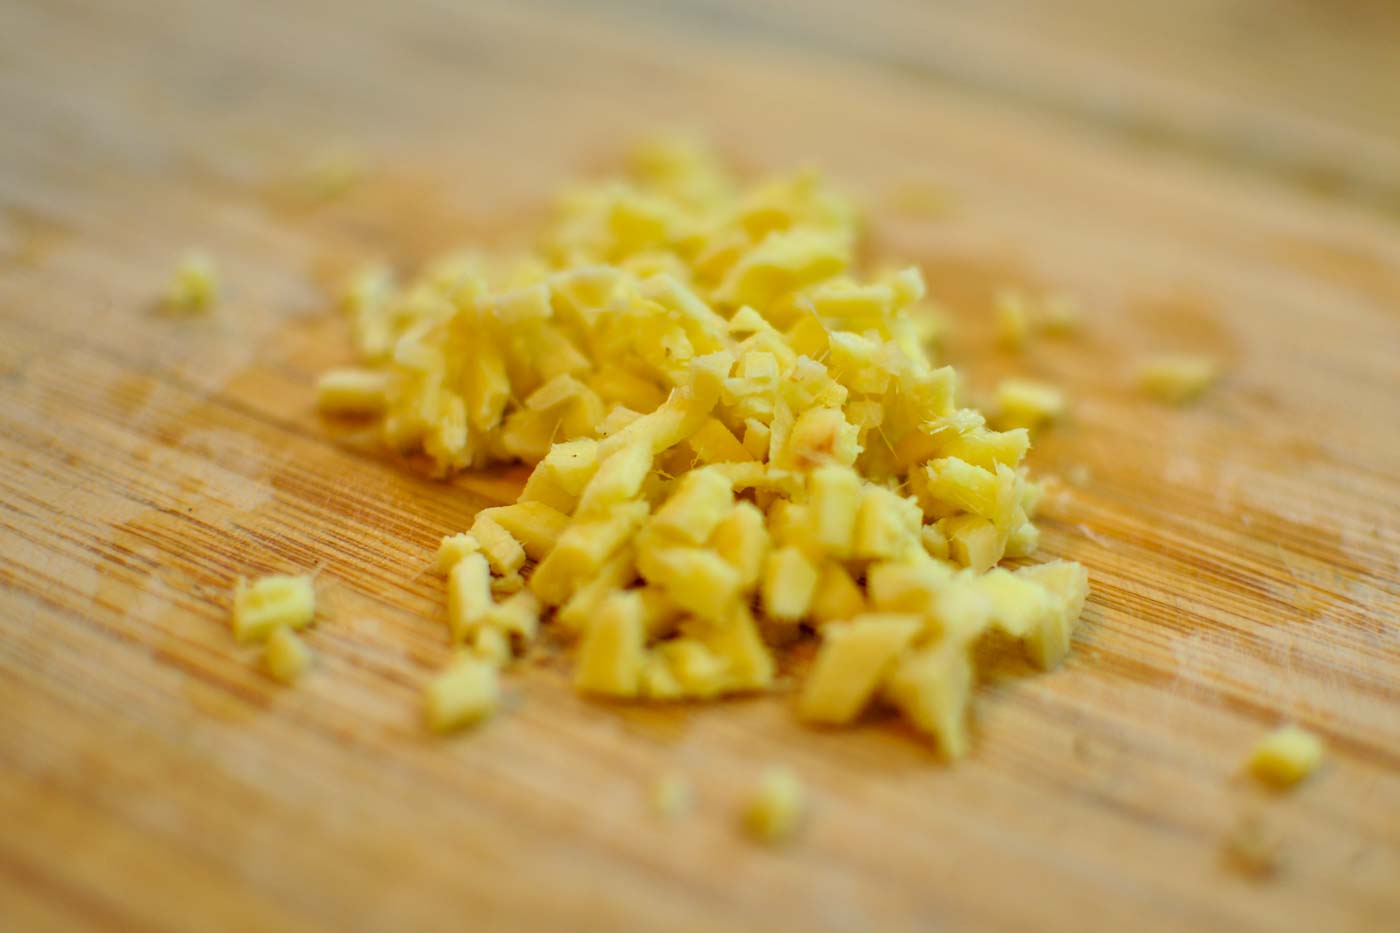
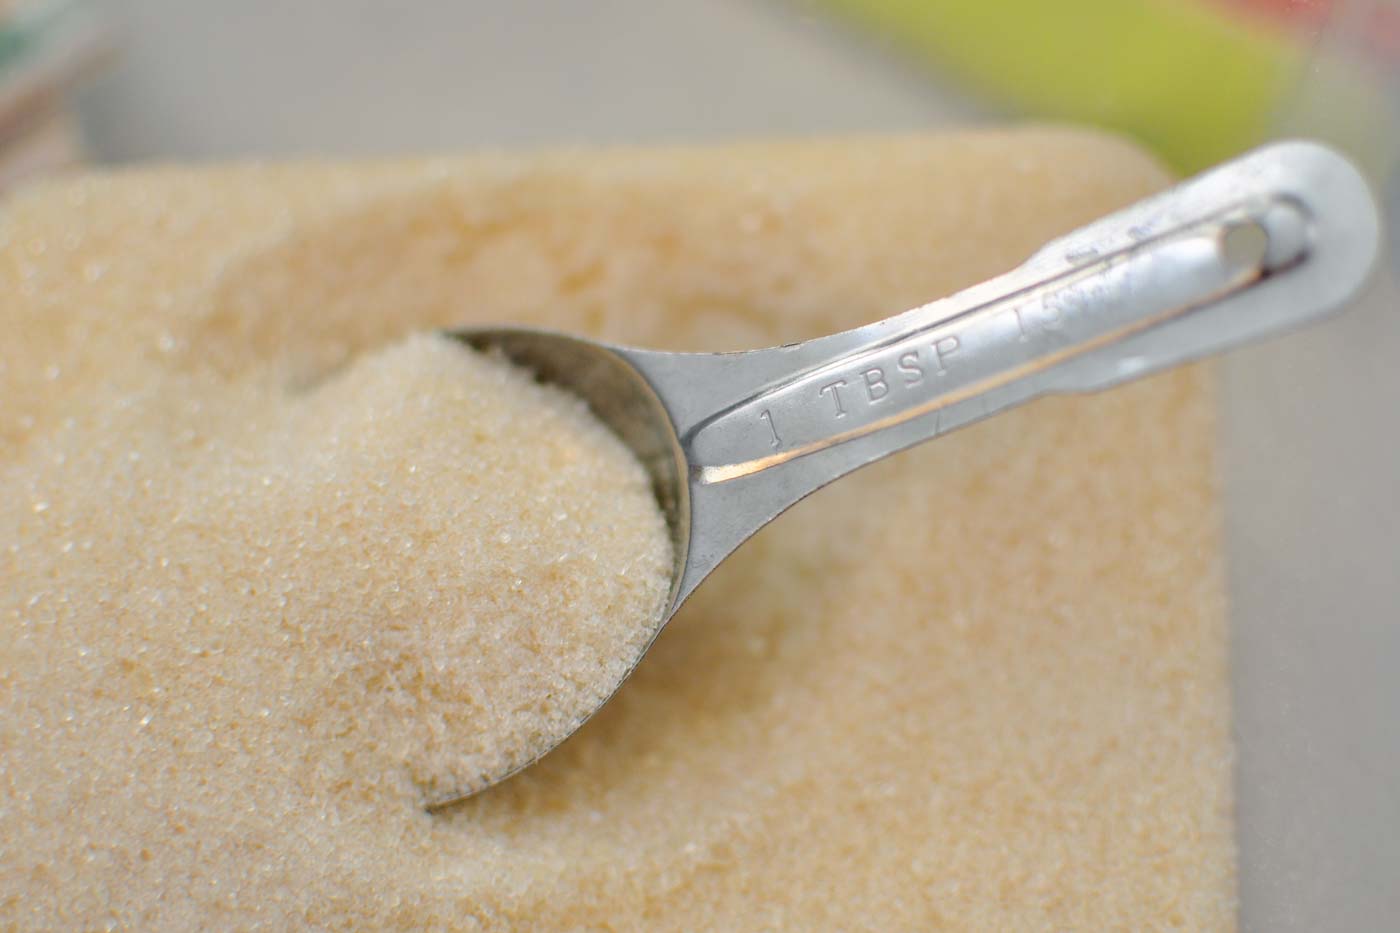
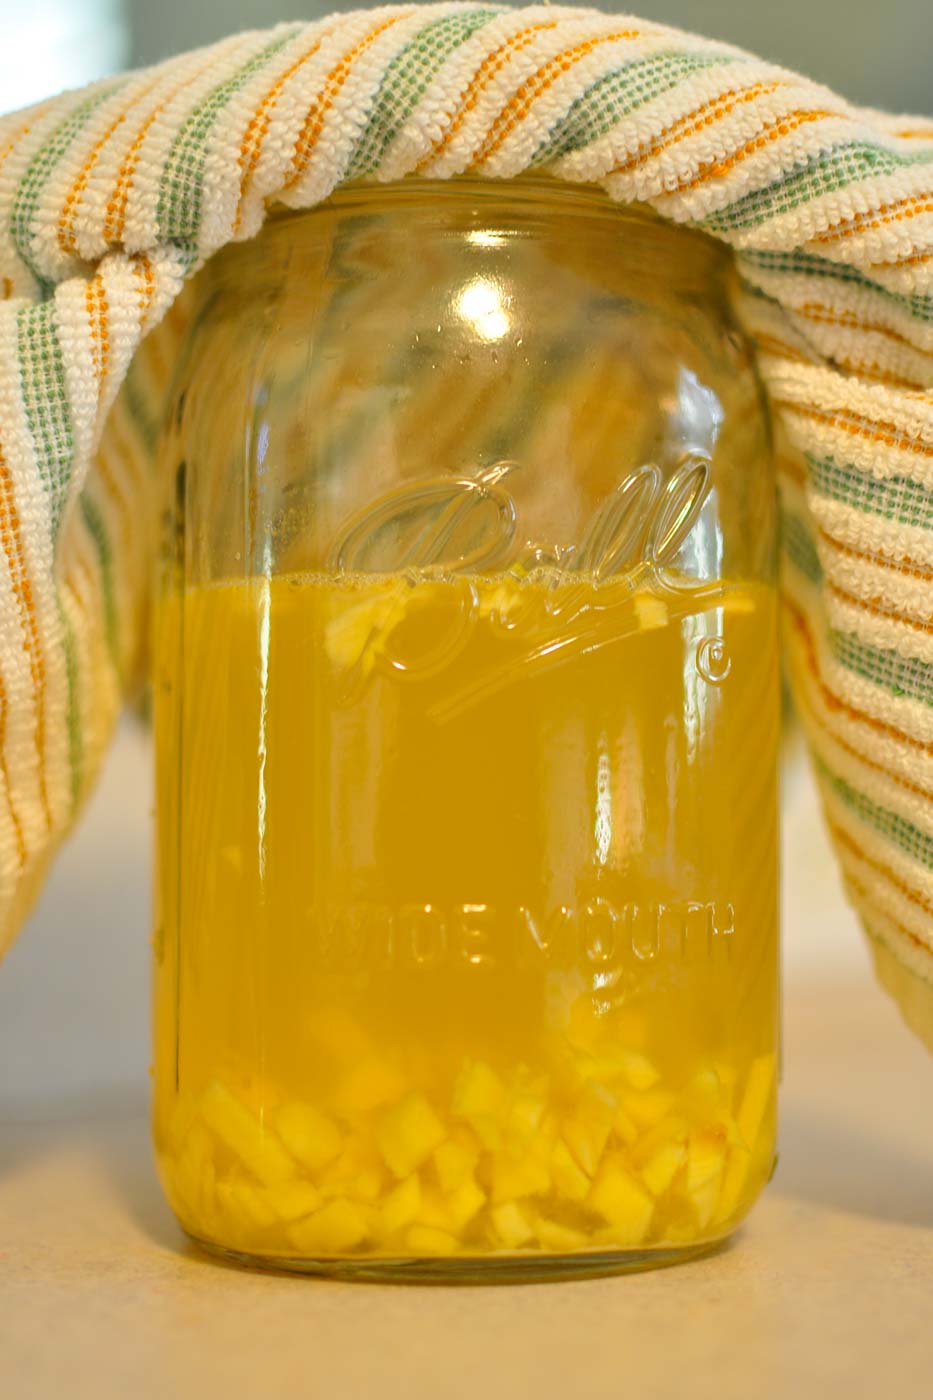
Add 2 cups of non-chlorinated water and stir to dissolve the sugar. Cover with a cloth and rubber band or a loose lid and let sit for a day.
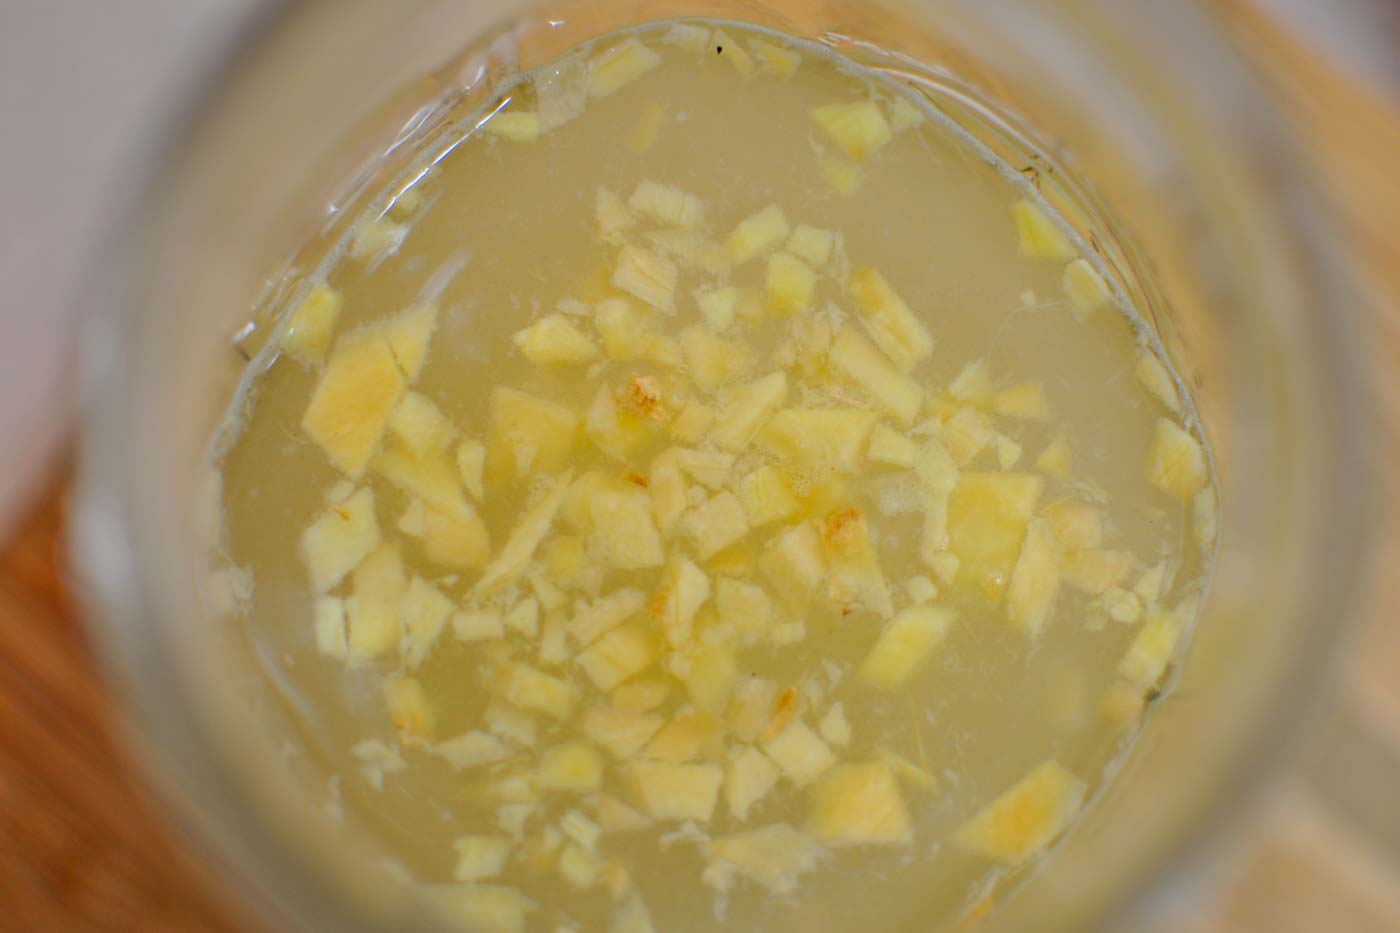
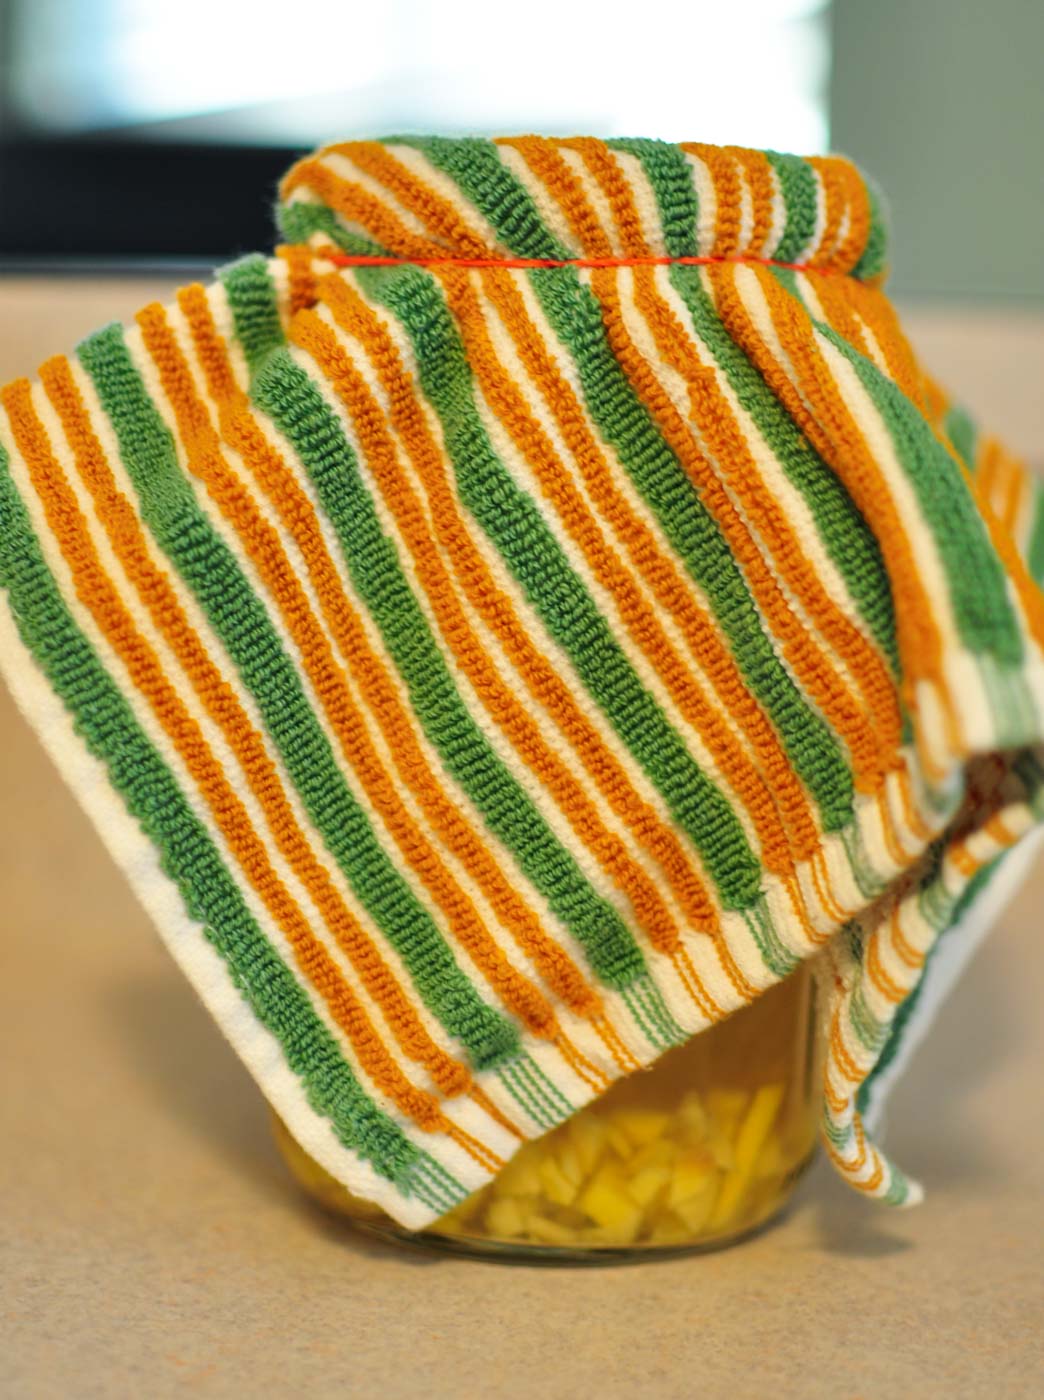
Next day add 1 tablespoon of ginger and 1 tablespoon of sugar and stir to dissolve.
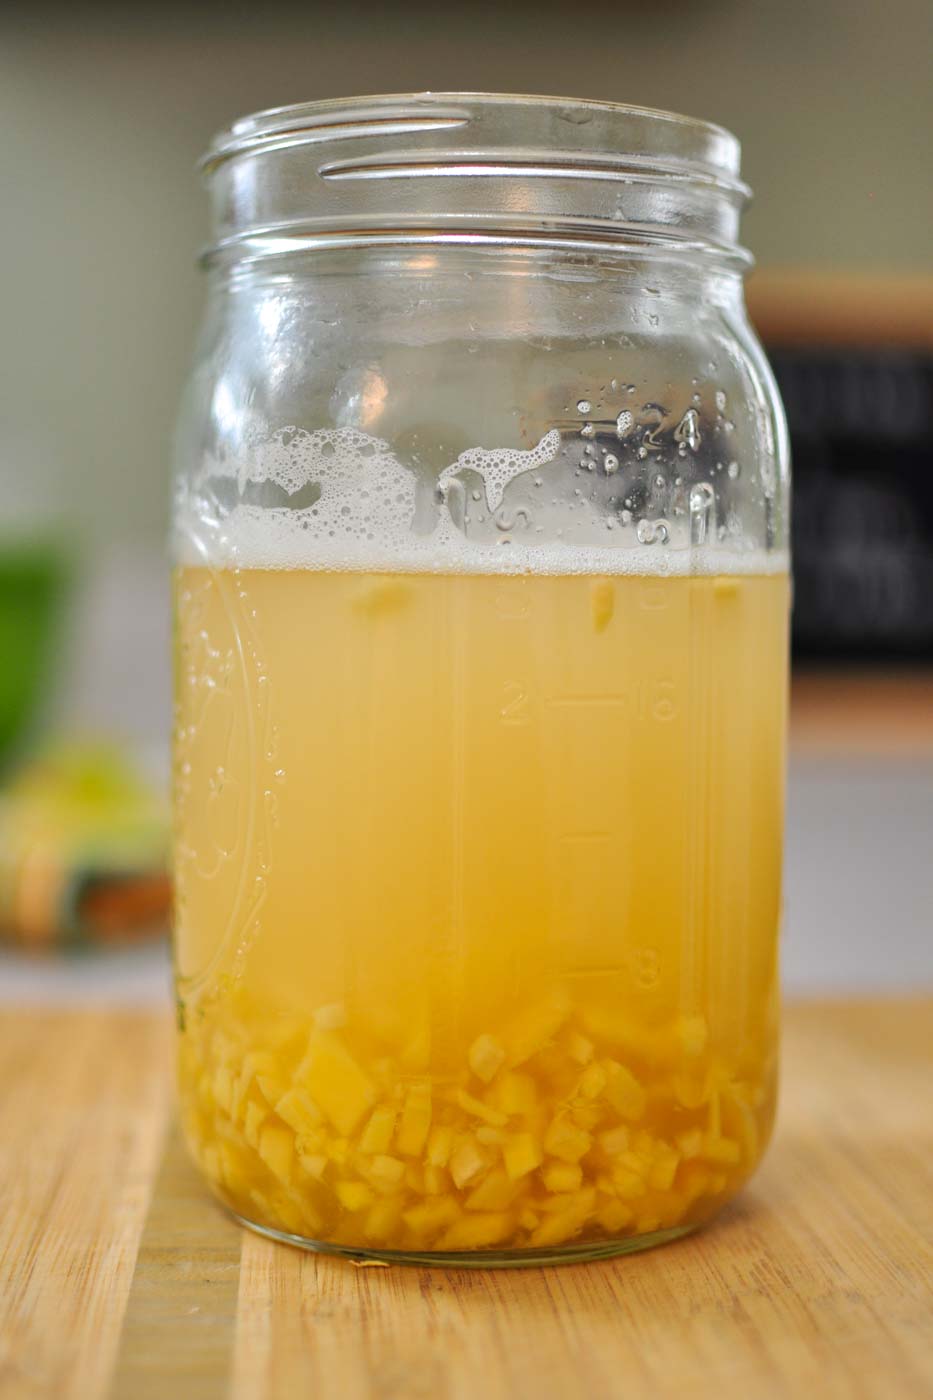
Every day after, continue adding 1 tablespoon of ginger and 1 tablespoon of sugar and stir. Depending on the room temperature, it might take up to about a week to see results.
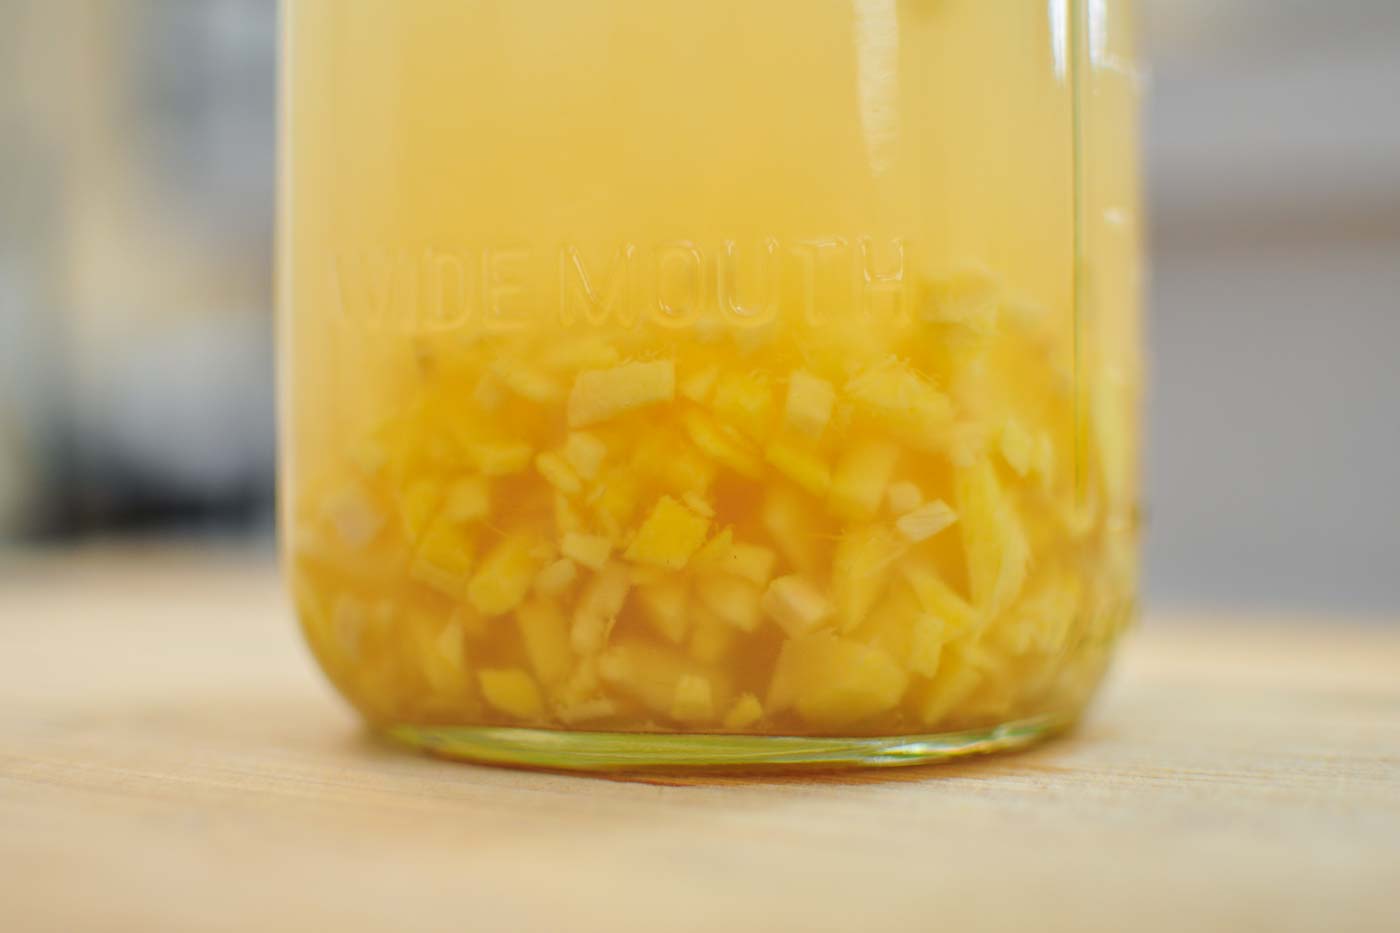
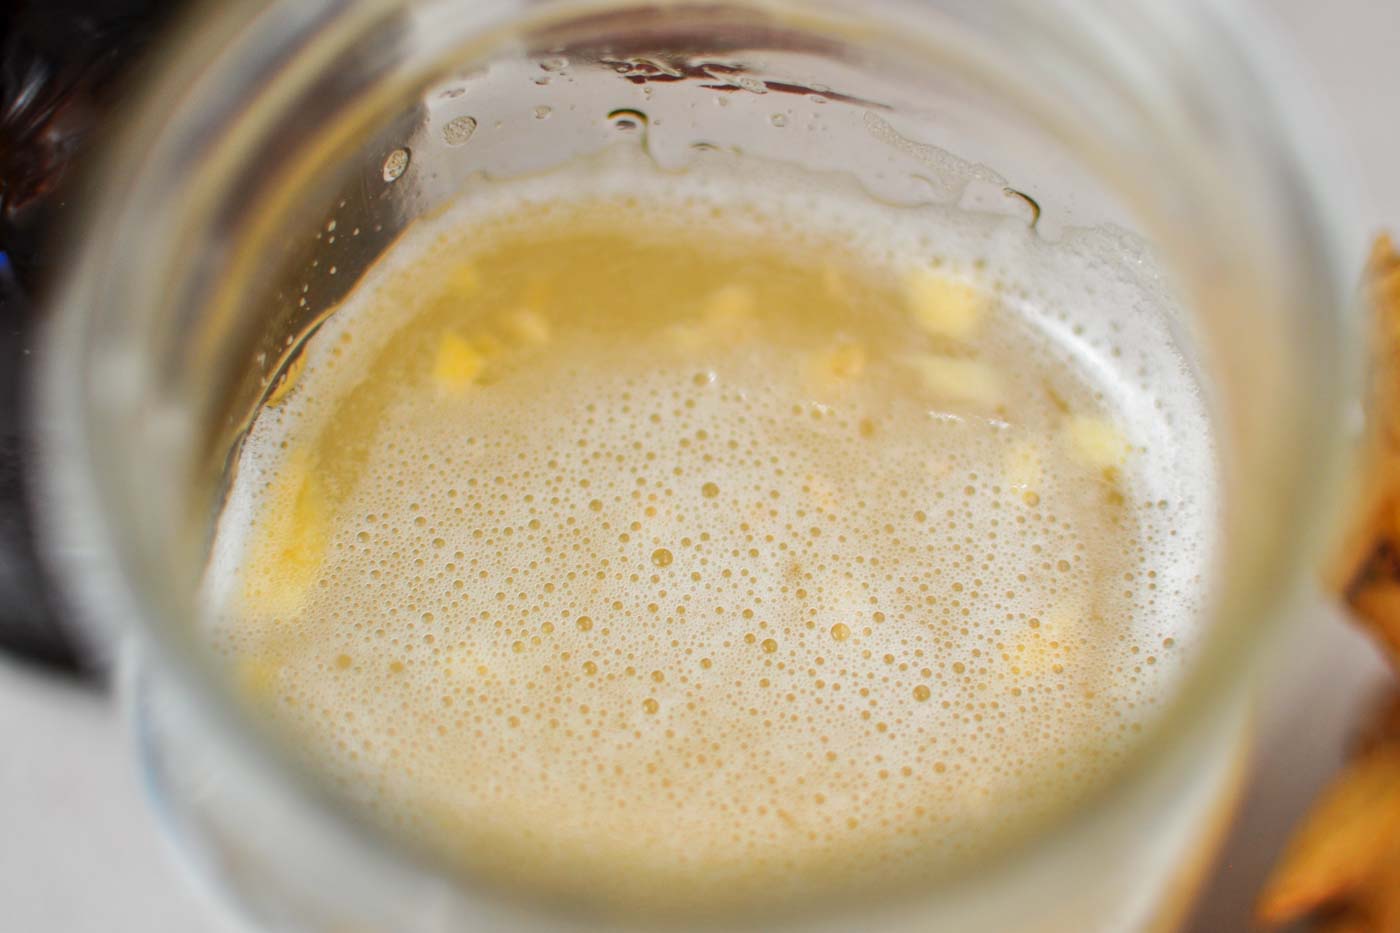
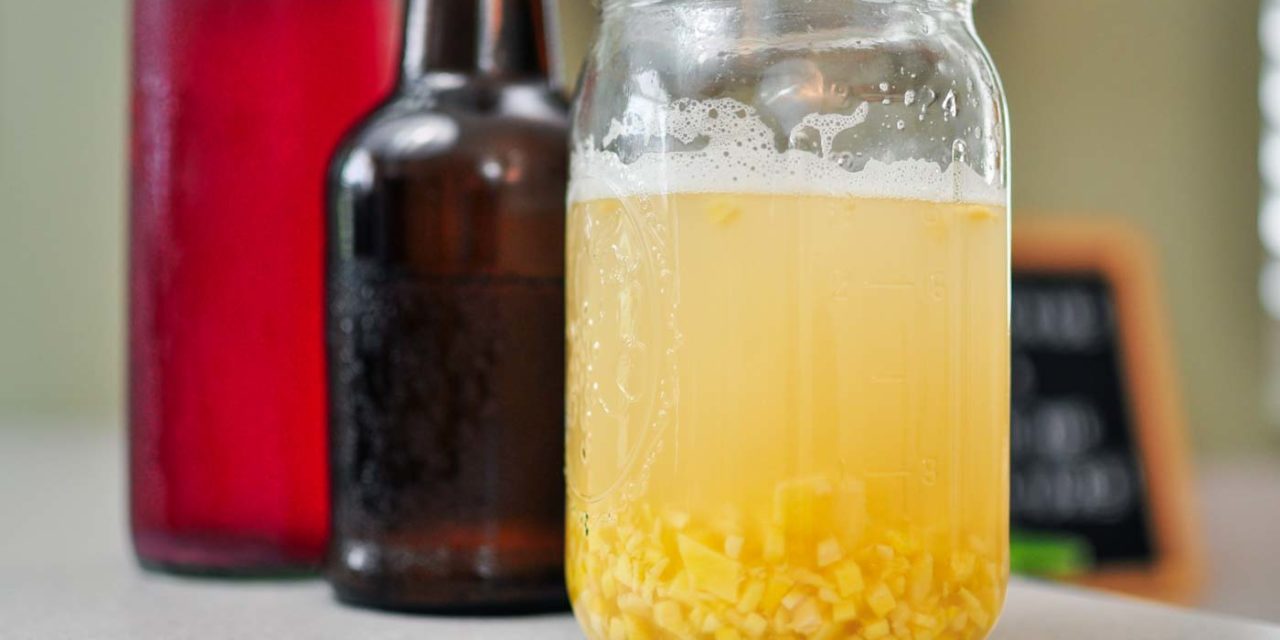
You’ll know when it’s ready when you start seeing a lot of bubbles forming on the top. It will smell pleasantly yeasty, and you’ll hear a bit of a fizz when you stir it. Ours is typically ready in about 5 days, but after a little over a week if you’re not seeing results, throw it out and start over.
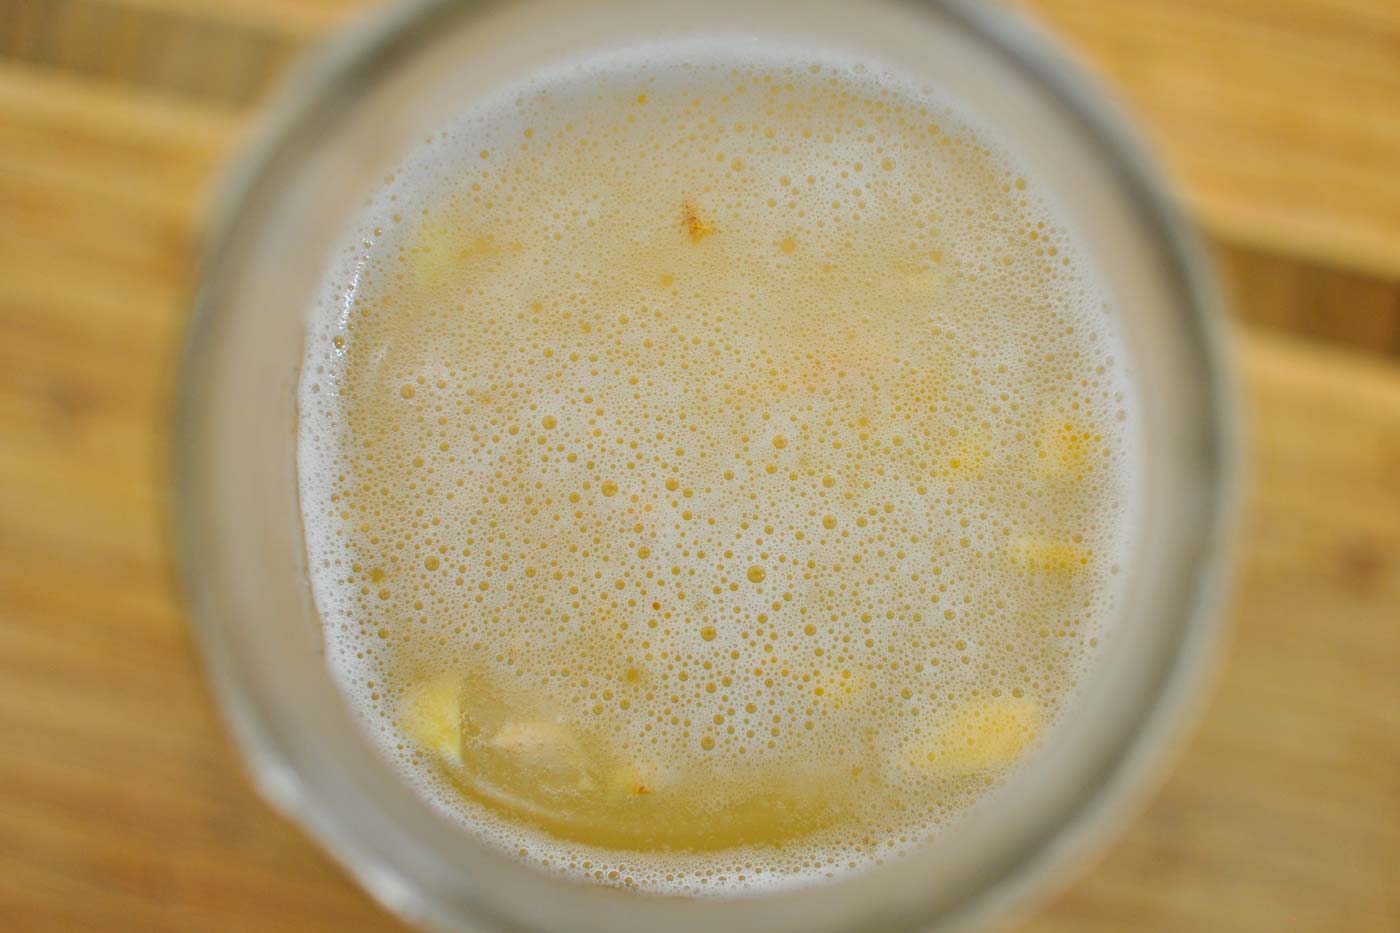
Once it’s ready, you can keep it at room temperature but you’ll have to feed it 1 teaspoon of ginger and sugar per day. I like moving it to the refrigerator so that you only need to feed it once a week.
Ginger Bug Uses
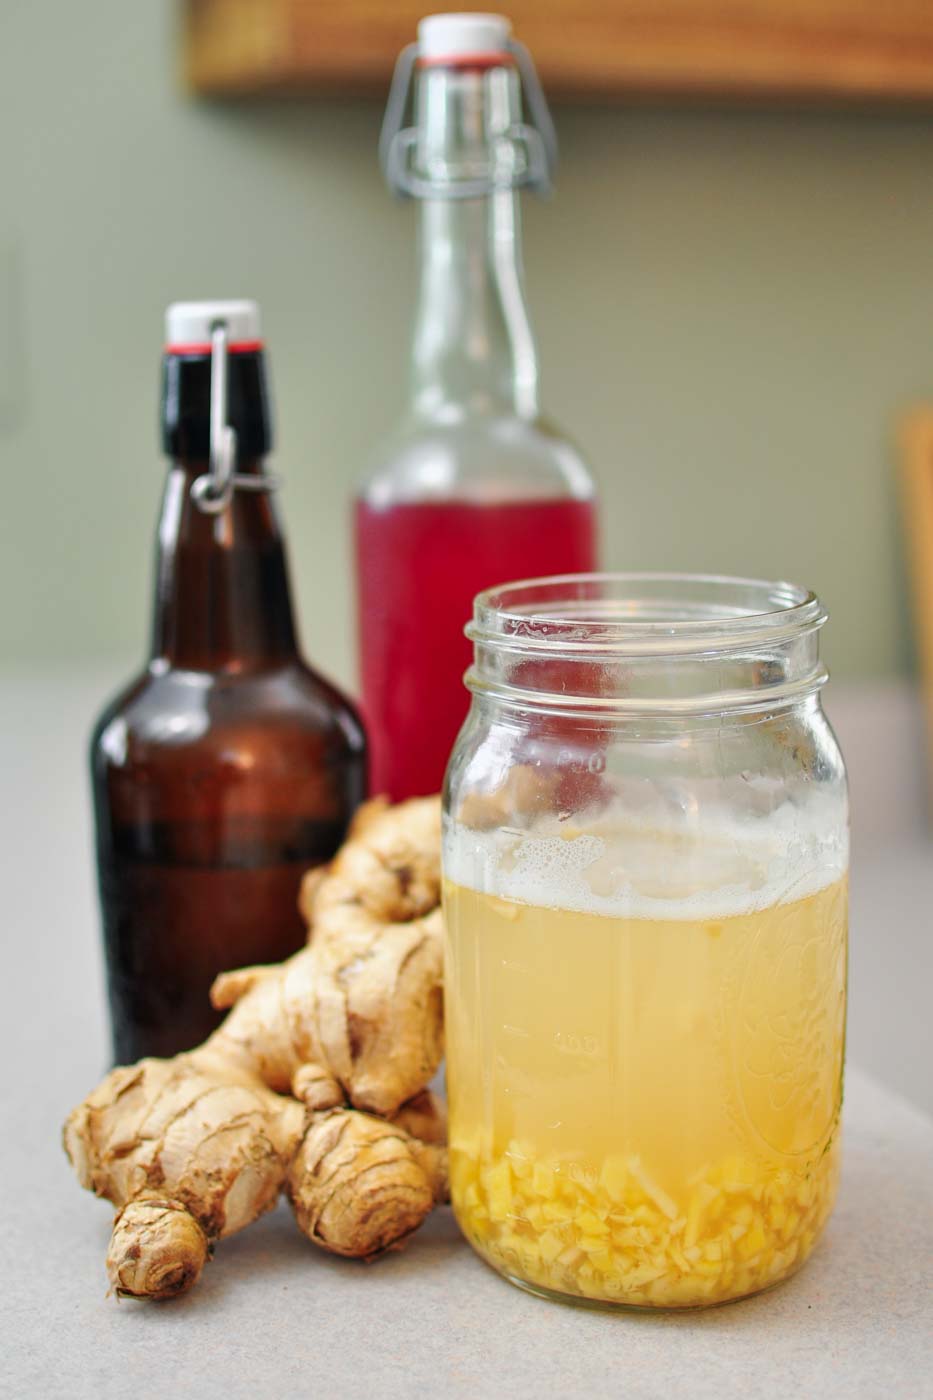
Now that you have your ginger bug alive and ready for action, you can use it to make all kinds of soda concoctions. You’ll simply strain off a bit your ginger bug starter liquid and pour that into a larger volume of flavored, sweetened liquid at a ratio of 1/4 cup ginger bug starter to 1 quart sweet liquid.
This is where homemade sodas shine. You’re using the flavor of actual roots, fruits and herbs to create your sweetened liquid soda base and adding the living component off your ginger bug starter.
Ginger Bug Tips and Recommendations
- Chop the ginger to make it easier to strain later
- Make sure your water doesn’t have chlorine by filtering it or buying non-chlorinated water
- Try different types of sugar such as plain white sugar or raw sugar
- Try ginger from different stores if you’re having issues getting it to ferment
- If your counter is stone or granite, keep in mind it might be cooler and take longer to ferment
When I use my ginger bug, do I need to add water back to the jar?
Yes! Over time as you use your ginger bug, you won’t have much liquid left in the jar, so make sure to fill it back up occasionally with fresh non-chlorinated water. It doesn’t matter how much water as the starter bug will balance itself out to fill the jar.
What if over time there is too much ginger in the jar?
As you feed your ginger bug ginger and sugar eventually you’re going to have a large volume of ginger in the jar. As it starts filling up more of the jar, simply scoop out and remove some of the ginger root. Since you’ve fed the ginger bug starter fresh chunks of ginger over time, they’ve served their purpose of adding life and flavor to the starter liquid. It doesn’t matter how much you remove or leave in the jar. You’ll always be adding more. But I usually leave and inch or so of ginger root at the bottom of the jar.
I’ve heard you shouldn’t stir a ginger bug with a metal spoon?
This probably had some truth to it in the past, but today utensils are made of high quality steel. When spoons were made with tin, it probably wasn’t good and wouldn’t have reacted well to the acidic environment. In reality, your spoon only comes into contact with the liquid for brief seconds so it shouldn’t really matter. In any case, use a good spoon, metal or not. We haven’t had any problems using either one.
What if I’m not going to use my ginger bug right away? Can I save it?
If you’re not using your starter right away, you can move it to the refrigerator where it will slow down the fermentation process. You’ll then have to feed it occasionally. It’s recommended about 1 teaspoon of ginger and sugar per week, but I’ve gone several weeks after forgetting about it and haven’t had an issue when using the ginger bug to make soda.
Homemade Ginger Bug
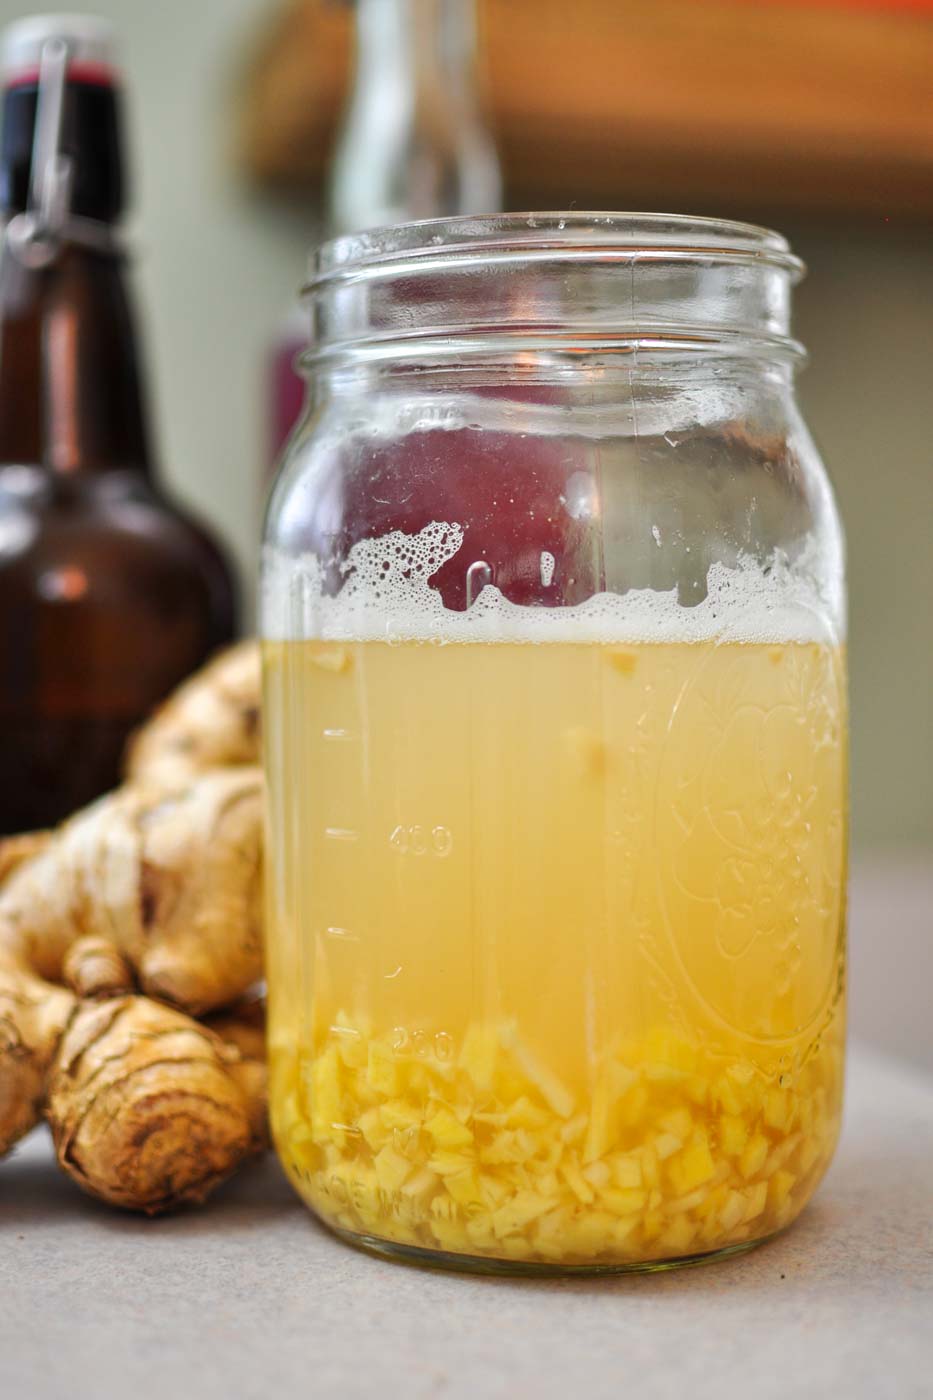
Now that you have a homemade ginger bug, you’re ready to make homemade ginger ale! Congratulations! Be sure to feed your bug to keep it excited to work hard for you. We’ll get into making ginger beer, fruit sodas, root beer, and much more next.
We hope you’ve loved this ginger bug recipe and that you’re experimenting with new flavors and ideas. Be sure to give us a comment below and don’t forget to subscribe to our YouTube Channel!
Have you ever tried real ginger ale or made a ginger bug?





I just started my ginger bug and looking forward to the finished product. I drink ginger turmeric tea every day for my arthritis, it works. This would be a nice change. I may try it with both ginger and turmeric and see if that works too. Thanks for the inspiration.
Ooooo! Awesome Colleen. We’ll have to try a mix like this with ginger and turmeric sometime. That would probably be a mix of mild and spicy. Happy fermenting!
Just started my ginger bug yesterday and I sure think I saw bubbles starting already! I’m so excited to finally try this. Thank you for making it so clear and easy to understand. I will be following your next video on how to use my bug to make homemade soda.
Thanks so much Diane! Glad you enjoyed it. We hope your ginger bug sodas are coming along nicely! 🙂
Holaaa gracias por la info muy clara y Útil. El problema es que la veo después de haber inicio mi bichito y estoy un poco preocupada siempre tuve el frasco cerrado y al anaerobico pero proocupa que hayan crecido baterías peligrosas. Que piensan ustedes??
Gracias para tu pregunta Tere! Si vio burbujas en su frasco y huele bien sin moho, entonces debería ser bueno. Después de unos días, tendrá un sabor más amargo pero aún así tendrá un sabor muy bueno. ¡Cuéntanos cómo te va!