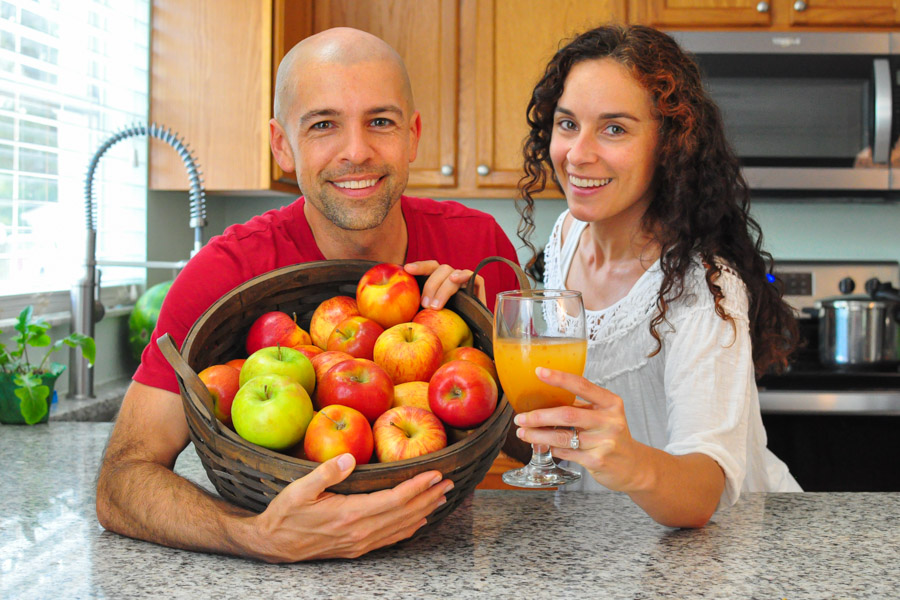
Fall is the perfect weather for brewing up delicious batches of homemade apple cider! What can you do with all of those fresh seasonal apples? We’re showing you how to make hard apple cider in this easy recipe.
We’re also going into the difference between apple cider and hard cider, alcohol content, and even a brief history of why there’s so many different names for apple cider.
Check out the full video and subscribe to our YouTube channel. We appreciate your support!
What’s the Difference? Apple Cider, Hard Cider, Mulled Cider, Apple Juice & More
So what’s the difference between all of these types of apple drinks? It really comes down to two things: processing and history. Here’s a breakdown of the differences between the names in apple cider starting with the least processed.
Apple Cider
Explained simply, apple cider is when you crush and press apples into a raw mixture of juice and pulp.
Mulled Cider
Mulled apple cider is when you take raw apple cider and add “Christmas” spices of cinnamon, cloves, nutmeg, among a few others and even alcohol.
Hard Apple Cider
When you take raw apple cider and ferment it to have an alcohol content. Simply referred to as “cider” in most of the world.
Apple Wine
When you take fermented apple cider, add sugar and yeast and ferment it further to an alcoholic content of 10-12% similar to grape wines.
Applejack
A process of freezing fermented cider called “jacking” (freeze distillation or fractional crystallization) and then removing frozen water which concentrates the alcohol upwards to 30%! This is similar to brandy. This process is technically illegal since it’s a form of distillation. It’s also potentially harmful since the remaining substances are not only ethanol, but poisonous methanol, esters, aldehydes, and fusel alcohols. Further filtering is required to remove harmful substances.
Apple juice
Apple juice is when you filter out the pulp out of raw apple cider, concentrate the juice, and then pasteurize it for long-term storage.
Apple Cider and the Tragedy of Prohibition
The difference between the terms “apple cider” and “hard apple cider” really comes down to where you live in the world. It also has a bit to do with American history. Americans think of hard apple cider as the alcoholic version whereas in the rest of the world alcoholic apple cider is simply known as cider.
The confusion started due to the passage of Prohibition in the United States in the 1920s where alcohol became illegal. During prohibition, cider became known as “the devil’s brew.” Due to the demonization of cider, many of the major apple orchards all over the United States were cut down and burned. The genetics of so many rare tannic apple varieties that were used to make the perfect blends of cider have been lost forever. Only recently have orchardists and gardeners began experimenting to cross-breed and create the perfect cider apples.
It was illegal to sell alcoholic cider so companies rebranded raw apple cider to refer to the non-alcoholic version and when Prohibition was finally defeated, the term “hard” was added to the beginning of apple cider to mean alcoholic and has stuck ever since. Fortunately, cider has made a major comeback in the past few decades, but the major tragedy that happened so long ago still affects us today.
Hard Cider Recipe (How to Make Cider)

Makes 1 quart (or 2 bottles)
This homemade fermented soda is an awesome drink for the holidays. Try it out! If you don’t like the holiday spices, just leave them out and serve over ice.
Equipment:
- 1/2 gallon jars or jugs for Primary Fermentation
- Juicing Machine – This is a cheaper upgrade from ours (masticating works best for raw juice)
- (1) 16 oz. glass flip-top beer bottles <– We love these
- (1) 16 oz. heavy duty plastic bottle (such as Perrier or a soda bottle)
Ingredients for Hard Cider:
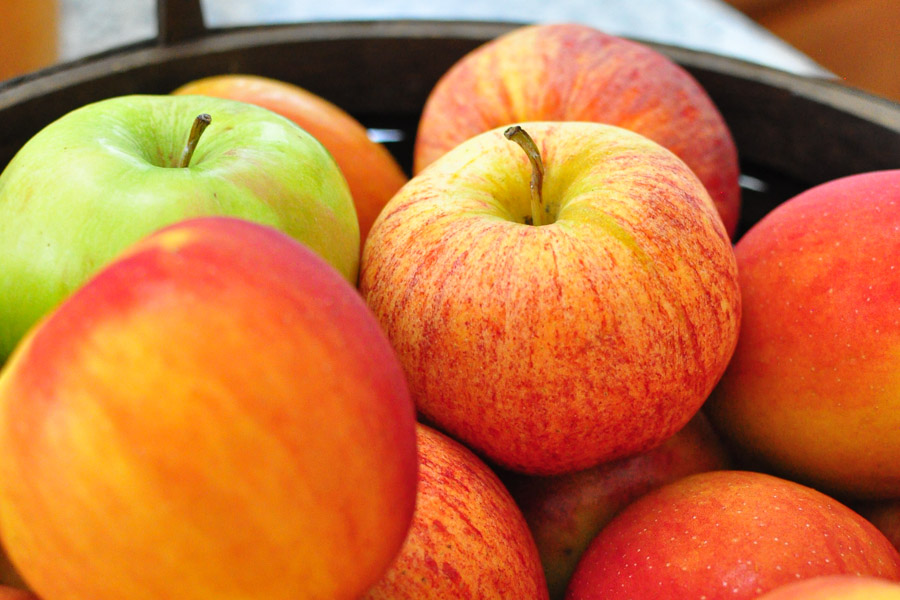
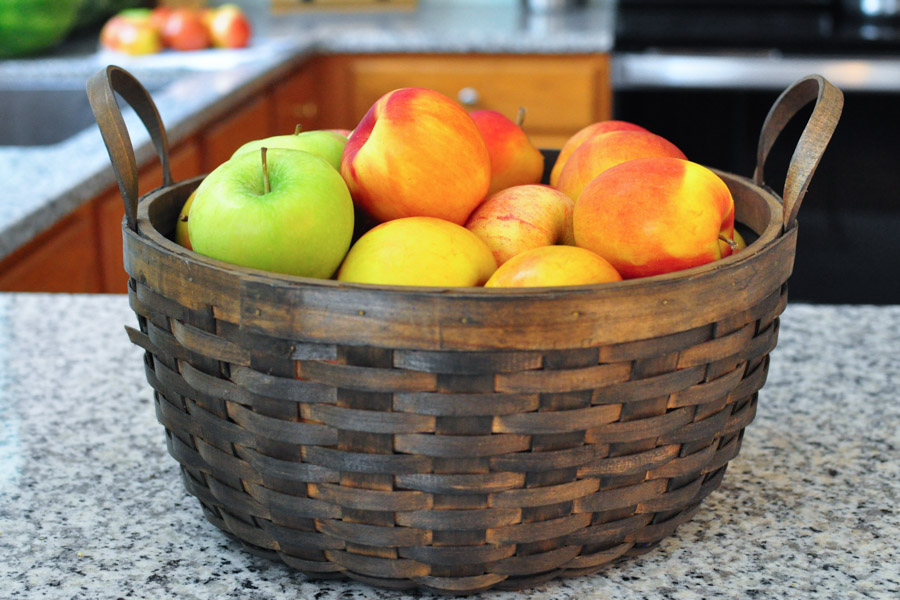
- 3 1/2 pounds medium sized apples, (5 jazz, 3 gala, 1 granny smith) – try any combination of apples
- (optional) 1/4 cup Ginger Bug starter <– full post & video on how to make one
Choose the type of apples you’d like to use to make your homemade cider. It’s generally better to create a mix of apples that range from sweet to sour to bitter to get that traditional apple cider taste. Feel free to use any varieties you can find. Since we don’t have a lot of crab apples in our area for bitterness, we added a Granny Smith apple to add some sourness.
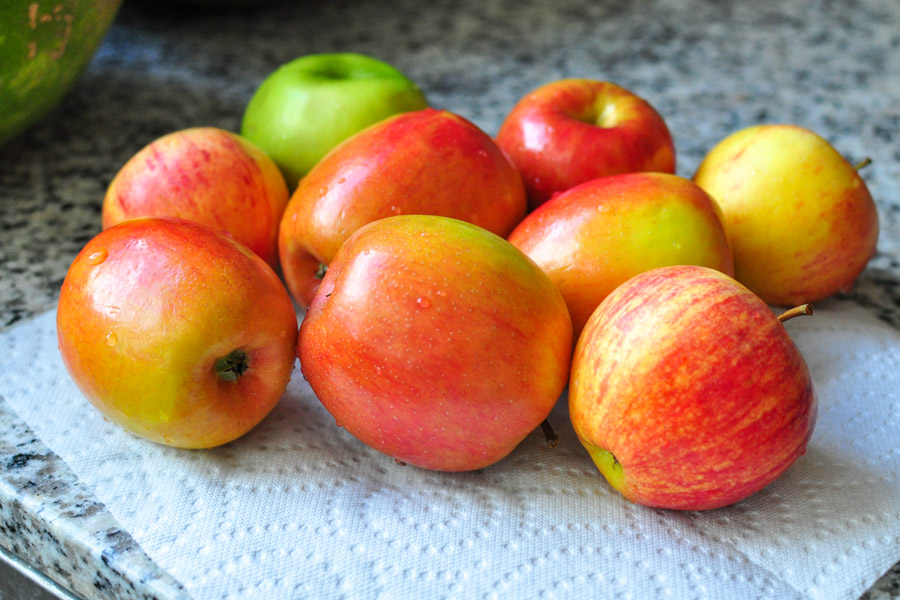
Wash and dry your apples and if you’d like to save the juicing scrapes to bake with, core your apples to remove the seeds, stem and core. Apple seeds actually have a chemical that turns into trace amounts of cyanide so we prefer to remove the seeds before processing. Sarah made some delicious apple scrap cake after juicing our apples!
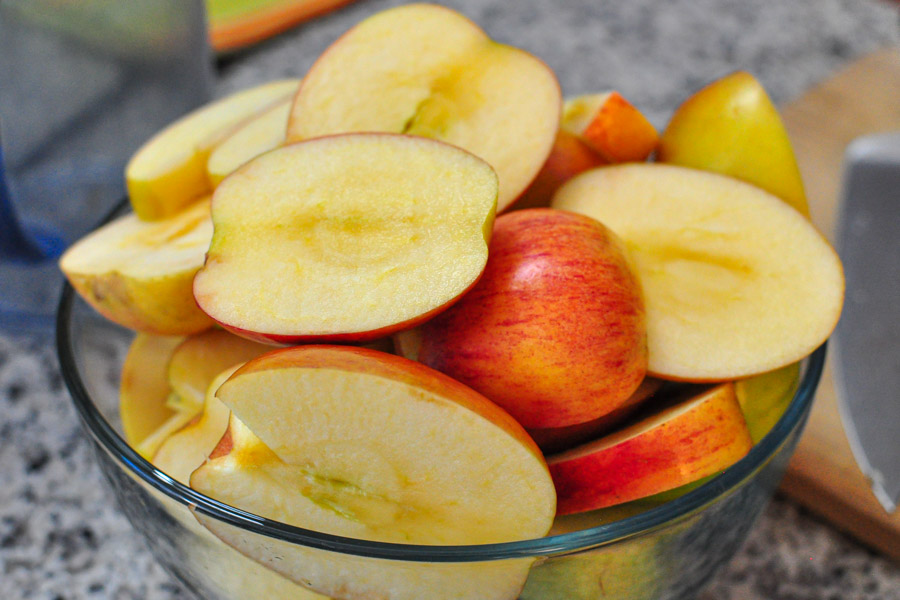
Juice your apples using either a juicer, blender, or an apple press. Our centrifugal juice technically heats up the juice a tiny bit so it’s possible some of the yeasts are destroyed, but we have never had a problem fermenting after, but feel free to use a masticating juicer if you prefer. You can also use a blender by adding a tiny bit of non-chlorinated water to get the blender started and strain with a cheesecloth or strainer.
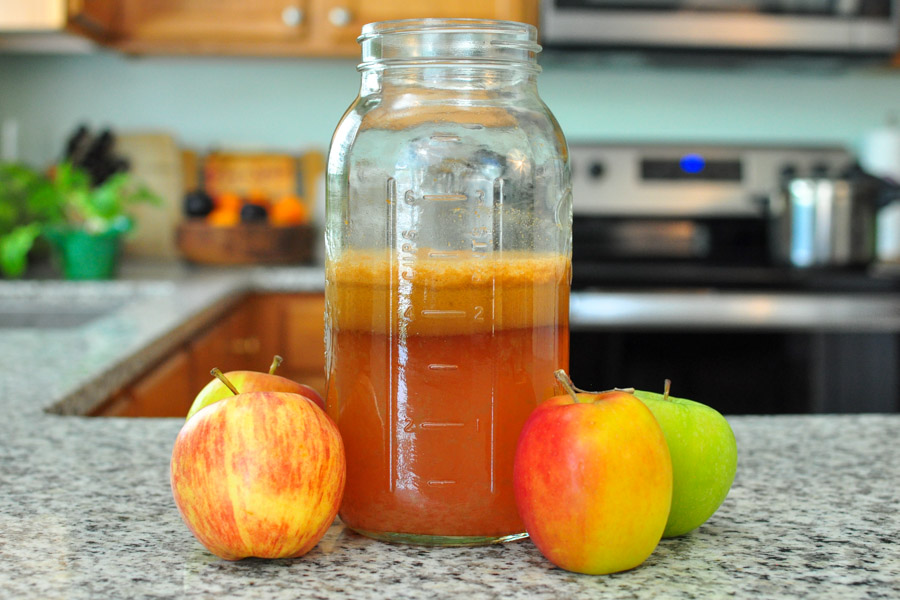
Fill a 1/2 gallon mason jar with 1 quart of your freshly juice apple cider. We use a larger jar because the foam gets so high. It also allows us a lot of room to vigorously stir every day to introduce wild yeasts from the air into our fresh raw cider.
Cover with a cloth to allow the top to stay somewhat open to the air. We use a rubber band to hold it on.
Stir vigorously several times a day to make sure either you introduce wild yeasts or so that the yeasts that are present get oxygen to get busy in the fermentation process. Feel free to scrape off the foam but we like to keep stirring it in since there’s a lot of flavor in the foam.
Ferment until bubbly or until you enjoy the taste of your hard cider. It took four days for ours to see any signs of fermentation and we even had to scrape off a tiny bit of white mold.
Bottle at any point after you like the taste or see that it’s showing signs of fermentation. Be careful to also use a plastic tester bottle so that you know how much pressure is building up in your glass bottle! We skipped the bottling process completely, but if you want some carbonation, bottle for a day or two.
Hard Cider – What to Expect During Fermentation
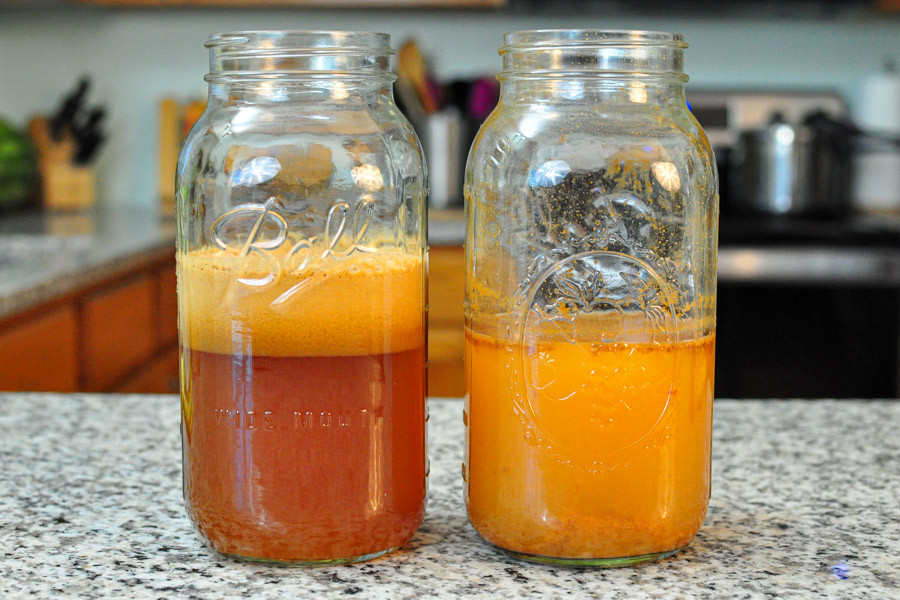
It took several days of stirring our apple cider vigorously to see any signs of fermentation. By day three we actually started seeing the tiniest bit of white mold forming on top of our bubbly foam. Since it was only a tiny amount, we felt comfortable scraping it off and continuing to stir vigorously.
Since this is an open air ferment and we had a large amount of foam, mold can start growing much easier on top due to the oxygen. The very next day on day four we started seeing our champagne style bubbles coming up from the bottom. The sediment that settles to the bottom called “dregs” was also stirring around actively as the bubbles began shooting to the top of our homemade cider.
We tasted our cider every day after and by day six, we felt it was beginning to slow down a little and the taste was nice. It was only a little sweet, had some sourness to it, and had a bit of natural carbonation. Our hard cider even had a hint alcohol in the taste.
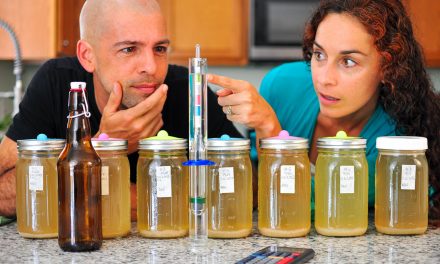
Hard Apple Cider Alcohol Content
So what’s the results for our hard cider alcohol content? We’ve always been curious how much alcohol is in our homemade sodas and cider so we picked up a hydrometer to measure the alcohol content.
We measured the gravity of our homemade hard cider before and after the fermentation process and plugged it into the generally accepted formula:
Alcohol By Volume (ABV) Formula
ABV = (og – fg) * 131.25
Original Gravity (og): 1.042
Final Gravity (fg) (3 days): 1.02
Final Gravity (fg) (6 days): 1.016
(3 days) ABV = (1.042 – 1.016) * 131.25 = 2.89% ABV
(6 days) ABV = (1.042 – 1.016) * 131.25 = 3.41% ABV
After six total days of fermentation, we have a hard cider estimated at just under 3.5% alcoholic content. Wow!
Homemade Hard Apple Cider
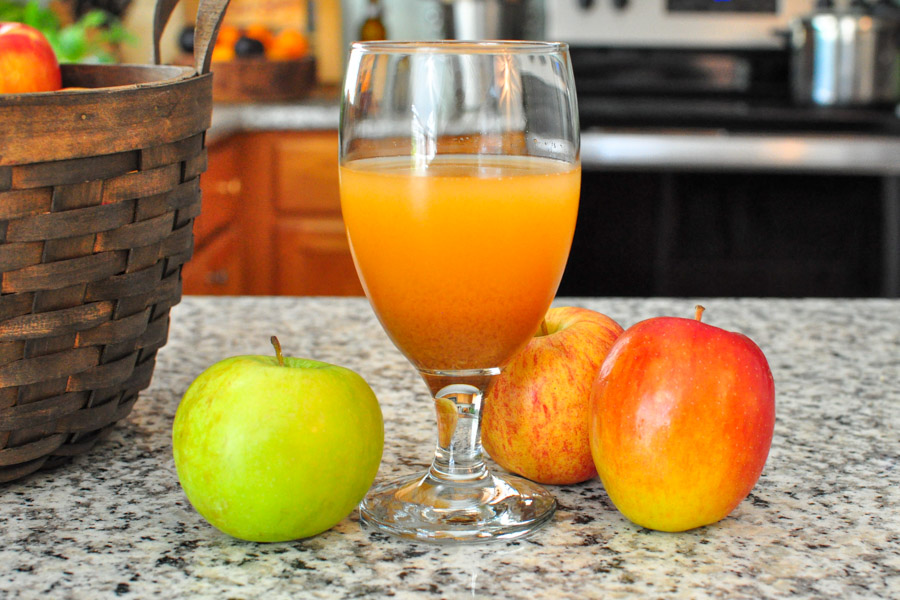
Once you make homemade apple cider, you’ll wonder why you didn’t try it sooner! It literally only take one ingredient or you can add a simple starter culture for some insurance. If you ferment for several days you’ll end up with a hard cider that even has a bit of alcohol.
It’s hard to beat the taste of homemade cider especially when you know you’ve made it yourself. Grab a bag of apples and try out this recipe. Feel free to add spices and you have yourself a nice holiday treat.
Let us know how it goes! Leave us a comment below and don’t forget to subscribe to our YouTube channel!